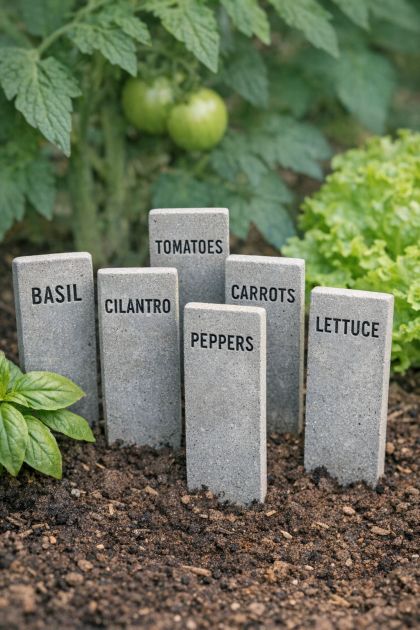
Creating custom garden marker stakes is an excellent way to add a personal touch to your vegetable garden. These DIY markers are not only practical for organizing your plants and making sure everything grows in the right spot, but they also enhance the aesthetic appeal of your garden. By using concrete, these markers are durable and weather-resistant, making them a long-lasting solution for garden organization.
These concrete garden markers complement a variety of garden styles, from rustic to modern. The minimalist design of the gray concrete pairs well with natural outdoor environments and can blend seamlessly into a farmhouse or contemporary garden aesthetic. Their subtle appearance ensures they do not overpower the garden's natural beauty but add a touch of organization and style.
Concrete Garden Marker Stakes
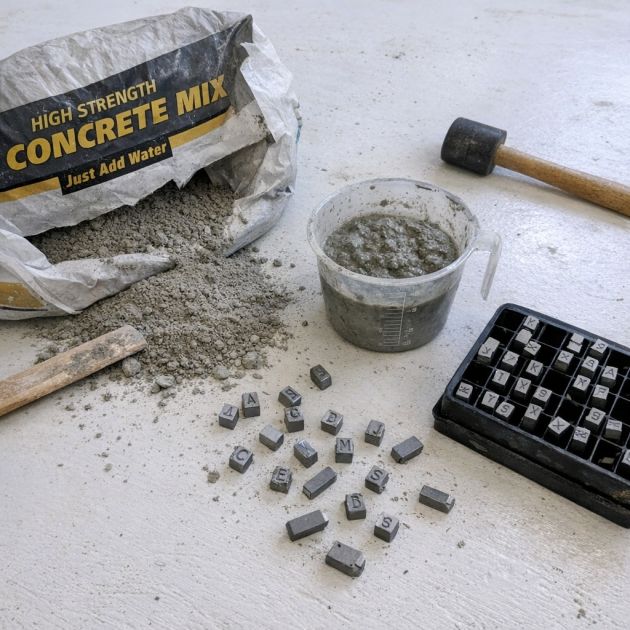
Materials
Quick-setting concrete mix (1 bag)
Water (as per concrete mix instructions)
Mixing bucket
Trowel
Wooden dowels or popsicle sticks (for stakes)
Flat plastic or silicone molds for concrete (rectangular, approx. 4 x 2 inches)
Black letter stamps
Fine sandpaper (optional, for finishing)
Protective gloves
Mask (for dust protection)
Directions
1. Prepare your workspace by laying down a protective cover and ensuring all materials are within reach.
2. Put on protective gloves and a mask. In a mixing bucket, prepare the quick-setting concrete mix according to the package instructions, adding water gradually and mixing until a smooth consistency is achieved.
3. Pour the mixed concrete into the flat molds, filling each one evenly to the top.
4. Gently tap the sides of the molds to release any trapped air bubbles and to level the concrete surface.
5. While the concrete is still wet, press the black letter stamps into the surface of each concrete rectangle to mark the names of your plants or vegetables. Ensure each letter is pressed evenly and clearly.
6. Insert a wooden dowel or popsicle stick into one end of each mold to create the stake portion, ensuring it is secure and straight.
7. Allow the concrete to set according to the package instructions, usually around 24 hours.
8. Once set, carefully remove the concrete markers from the molds. If needed, use fine sandpaper to smooth any rough edges.
9. Place the finished garden marker stakes in your vegetable garden, inserting the stakes into the soil at the desired locations.
Variations & Tips
For a more colorful garden aesthetic, consider painting the concrete markers with outdoor-grade paint before stamping the letters. Use different colored paints for different types of plants to create an organized color-coded system. To increase durability, apply a clear weatherproof sealant to the concrete once it's fully set. For an eco-friendly alternative, use recycled glass or ceramic pieces set into the concrete for a mosaic effect. Personalize further by experimenting with different mold shapes or sizes to best fit your garden's needs.