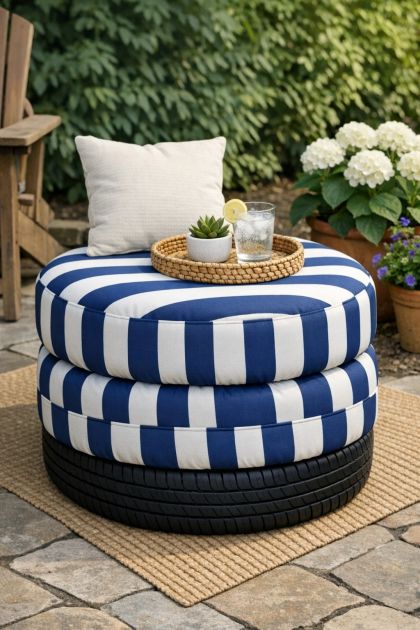
Transform your backyard into a cozy and stylish lounge area with a unique DIY project that turns old tires into a functional and chic outdoor ottoman. This creative solution not only upcycles unused materials but also provides an eco-friendly and budget-friendly way to enhance your outdoor space. Perfect for adding extra seating or a footrest, this ottoman is both durable and weather-resistant, making it ideal for any backyard setup.
This DIY outdoor ottoman integrates seamlessly into both modern and rustic backyard settings. Its navy striped fabric complements nautical, coastal, or farmhouse styles, while the sturdy black rubber base adds a touch of industrial chic. Place it near a patio set, beside a hammock, or as a standalone piece on your deck. Pair it with neutral or wooden outdoor furniture for a cohesive look, and consider using similar fabric patterns for cushions or throws to tie the space together.
DIY Outdoor Tire Ottoman
Materials
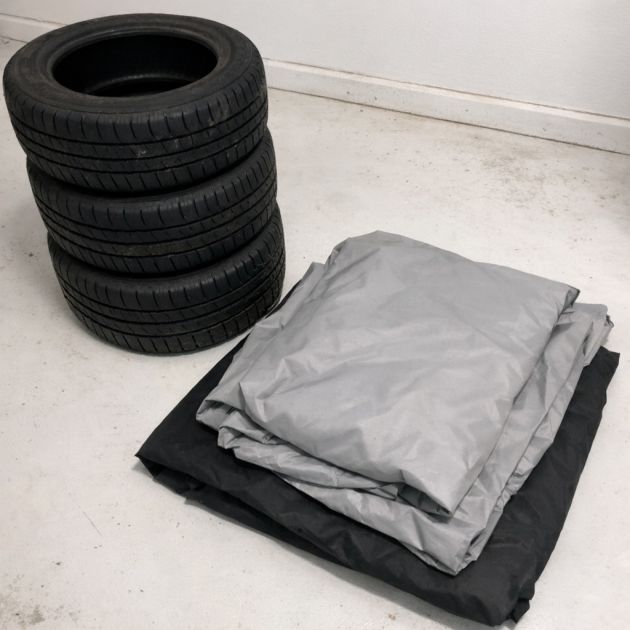
2 black rubber tires, clean and dry
Navy striped weatherproof fabric, 2 yards
Outdoor-safe adhesive, 1 tube
Scissors
Measuring tape
Staple gun with staples
Heavy-duty needle and outdoor thread (optional)
4 wooden feet, pre-drilled with screws (optional)
Directions
1. Begin by thoroughly cleaning the tires to remove any dirt or debris, ensuring a smooth surface for the fabric.
2. Stack the two tires on top of each other and secure them using outdoor-safe adhesive applied around the inner rims. Allow the adhesive to dry according to the manufacturer's instructions.
3. Measure the circumference and width of the stacked tires. Cut the weatherproof fabric to fit around the tires with an extra 2 inches on each side for overlap.
4. Wrap the fabric tightly around the stacked tires, ensuring the stripes are aligned. Use the staple gun to secure the fabric at the top and bottom edges of the tires, hiding the staples along the inner rim.
5. For a more finished look, hand-sew or staple any fabric overlap at the seam where the ends meet.
6. If desired, attach wooden feet to the bottom of the ottoman for added height and stability. Drill screws through the pre-drilled holes into the bottom tire.
7. Inspect the ottoman to ensure the fabric is securely attached and there are no loose edges.
Variations & Tips
For a personalized touch, consider using different fabric patterns or colors to match your existing outdoor decor. Bright floral prints or geometric designs can add a pop of color and personality. For added durability, treat the fabric with a UV-protective spray to prevent fading. Alternatively, replace the wooden feet with casters for easy mobility, making the ottoman more versatile and functional. To enhance comfort, add a round cushion or pillow on top, coordinating with the fabric for a cohesive look.