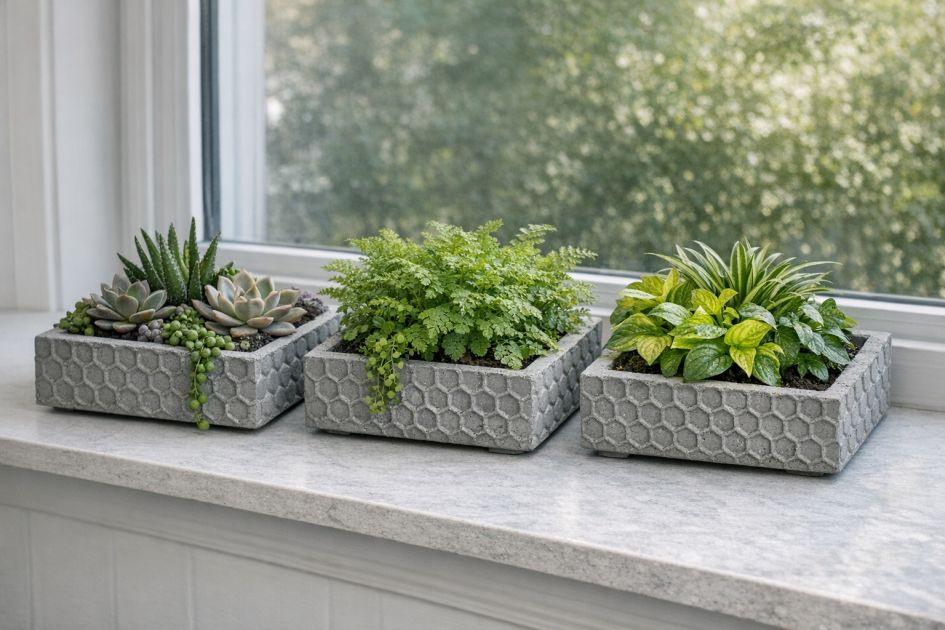
Transform ordinary cement into an eye-catching honeycomb textured planter using simple household items. The unique texture created by pressing bubble wrap into wet cement adds a stylish and modern design element to your home or garden, making it a conversation starter for visitors.
To enhance the visual appeal of your honeycomb textured planter, place it on a windowsill or as a centerpiece on your porch. Pair it with vibrant green succulents or trailing plants to complement the gray cement and emphasize the texture. Coordinate with other natural materials like wood or stone for a cohesive, earthy aesthetic.
Bubble Wrap Imprint Planter
Materials
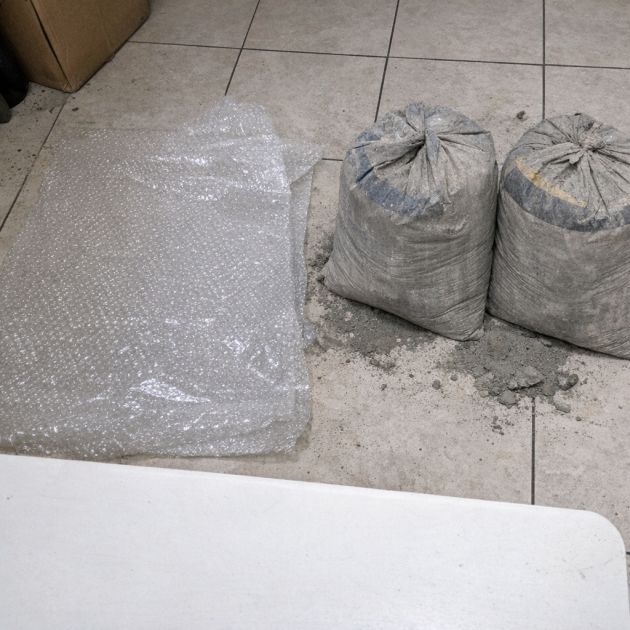
Bubble wrap sheet (large bubbles)
Quick-setting cement mix (5 lbs)
Shallow wooden form (dimensions: 10x10x4 inches)
Water (as per cement mix instructions)
Pair of rubber gloves
Directions
Prepare the wooden form by ensuring it is clean and dry.
Mix the quick-setting cement with water according to the package instructions until smooth.
Pour the cement mixture into the wooden form, filling it up to about 3 inches deep.
Cut a piece of bubble wrap slightly larger than the form.
While wearing rubber gloves, gently press the bubble wrap onto the surface of the wet cement, ensuring full contact.
Allow the cement to cure partially, approximately 30-45 minutes, until it is firm enough to hold the texture.
Carefully remove the bubble wrap, revealing the honeycomb texture on the cement surface.
Let the cement cure completely as per the cement mix instructions before removing it from the form.
Once fully cured, gently remove the cement planter from the wooden form.
Variations & Tips
For a more personalized planter, experiment with different sizes of bubble wrap or combine bubble wrap with other textured materials like lace or leaves for varied patterns. You can also tint the cement with concrete pigments to add color, making your planter a unique reflection of your personal style while maintaining the same textural design.