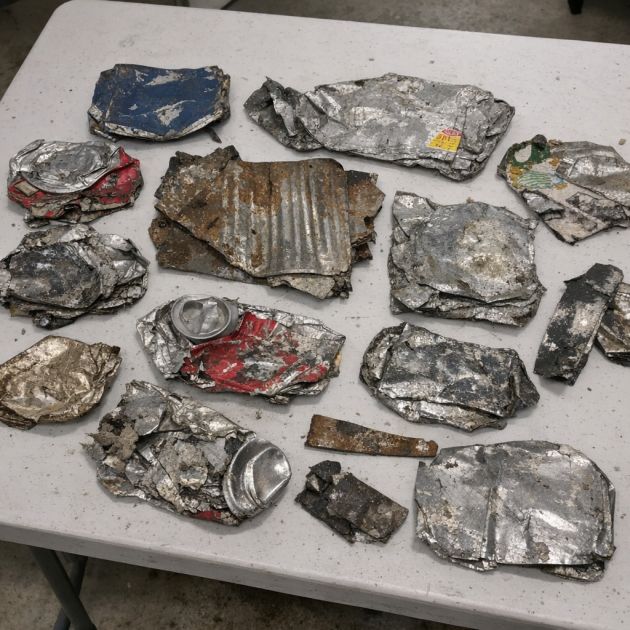
This DIY project transforms everyday aluminum cans from your recycling bin into charming herb markers for your kitchen garden. Perfect for homeowners who appreciate sustainability and want to add a rustic, personalized touch to their garden, these markers help organize your herb plants while enhancing the garden's aesthetic. By repurposing materials, you not only reduce waste but also create a functional and decorative solution for identifying your plants.
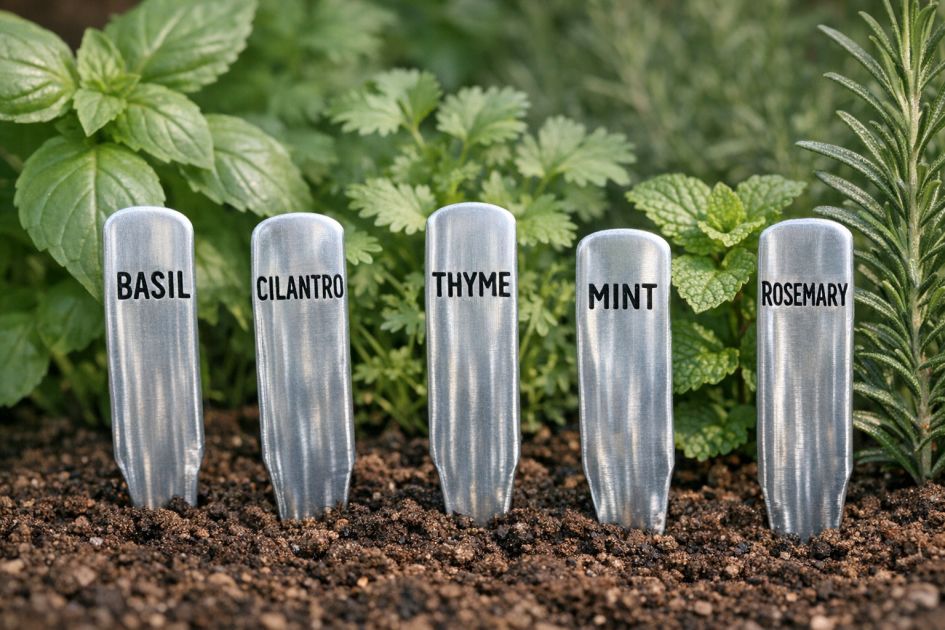
These herb markers seamlessly integrate into a farmhouse or rustic-style kitchen garden. Their metallic texture and handcrafted appearance add a vintage charm that pairs well with wooden planters or terracotta pots. The black stamped letters provide a modern contrast against the silver aluminum, making the markers easy to read while maintaining a cohesive look. Use them in an herb garden on a sunny windowsill or an outdoor planter box to bring a touch of simplicity and elegance to your gardening space.
Rustic Aluminum Herb Markers
Materials
Empty aluminum cans (soda or similar, cleaned and dried)
Metal snips
Metal file or sandpaper
Metal stamping kit with letters
Hammer
Permanent marker
Protective gloves
Directions
1. Put on protective gloves. Carefully cut off the top and bottom of the aluminum can using metal snips, then cut down the side to create a flat sheet of metal.
2. Use the metal snips to cut the sheet into rectangular strips about 1 inch wide and 6 inches long. These will be the stakes for your herb markers.
3. Smooth the edges of each strip with a metal file or sandpaper to prevent any sharp edges.
4. Choose the letters you need for your herb names from the metal stamping kit.
5. Place a strip on a sturdy, flat surface. Align the first letter stamp on the strip and gently tap with a hammer to imprint the letter into the metal. Repeat for each letter of the herb name, leaving even spaces between them.
6. Once you have stamped the names, use a permanent marker to fill in the letters, making them more visible against the silver background.
7. Repeat the process for each herb name you wish to create.
8. Insert the finished markers into the soil next to the corresponding herbs in your garden.
Variations & Tips
For a more colorful approach, consider painting the aluminum strips with outdoor spray paint in a color that complements your garden's palette before stamping the letters. Alternatively, use copper or brass sheets for a warmer, more vintage feel. To ensure durability, apply a clear waterproof sealant over the completed markers, protecting them from the elements. For a personalized touch, add small decorative designs or patterns around the edges using the stamping kit.