
Crocheting can transform unexpected materials into functional and stylish items, blending craftsmanship with creativity. Repurposing old leather work belts into a rustic grill-side tool apron not only gives new life to forgotten items but also adds a unique, rugged aesthetic to your outdoor cooking setup. This project tackles the problem of discarding sturdy materials and turns them into a practical solution for organizing grill tools while enhancing the overall grilling experience.
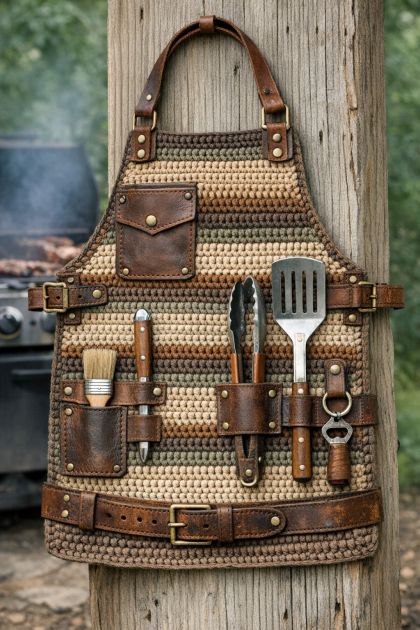
The finished crochet grill-side tool apron should be styled as a robust and rustic accessory for any outdoor cooking area. Its texture, a mix of leather and crocheted yarn, offers a rugged, industrial vibe. Use earthy tones like brown, tan, or charcoal to complement the leather's natural hues. Hang it prominently on the side of a grill or an outdoor kitchen setup to maximize both style and functionality.
Leather-Enhanced Crocheted Grill-Side Tool Apron
Materials
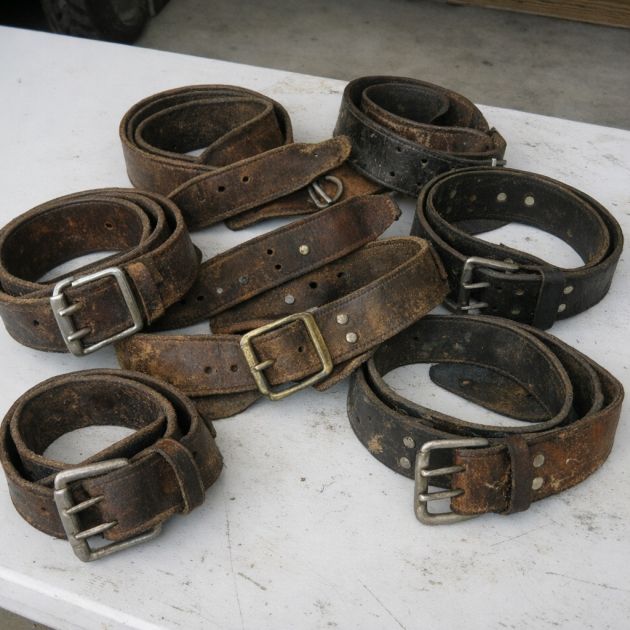
Old leather work belts (3-4 belts, approximately 1.5 inches wide each)
Cotton yarn, weight category 4 (medium), in earthy tones
Crochet hook, size 5mm
Heavy-duty scissors or leather shears
Hole punch tool for leather
Stitch markers
Tapestry needle
Directions
Cut the leather belts into strips, approximately 12 inches long, using heavy-duty scissors. These will serve as the apron straps and tool loops.
Using a hole punch tool, create holes along the edges of the leather strips, spacing them approximately 1 inch apart.
Attach the yarn to the first strip by pulling it through the first hole and securing it with a knot.
Chain 20 stitches to form the base of your crochet section, attaching it back to the leather strip by working a slip stitch into the next hole.
Continue this pattern: chain 20, slip stitch into the next hole, until you reach the end of the strip.
Turn your work and single crochet into each chain stitch across, attaching with a slip stitch to the leather strip’s next hole.
Repeat this pattern, gradually building the crochet section by alternating rows of chain stitches and single crochets, until you have created a rectangle approximately 16 inches by 24 inches.
Use leather strips to create loops for tools: cut shorter sections, punch holes at each end, and attach them to the apron base by crocheting through the punched holes.
Create a neck strap and waist ties by braiding or crocheting additional lengths of yarn, connecting these securely to the top and sides of the apron.
Finish by weaving in any loose yarn ends with a tapestry needle.
Variations & Tips
For a different look, try using jute or hemp yarn instead of cotton for a more rustic texture. Experiment with color combinations like olive green or brick red to match your outdoor decor. Adjust the apron size by increasing or decreasing the number of chain stitches and rows. Incorporate decorative stitches like the half double crochet for added texture, while still maintaining the apron’s core structure. These variations ensure that your apron is not only unique but perfectly tailored to your personal style and needs.