
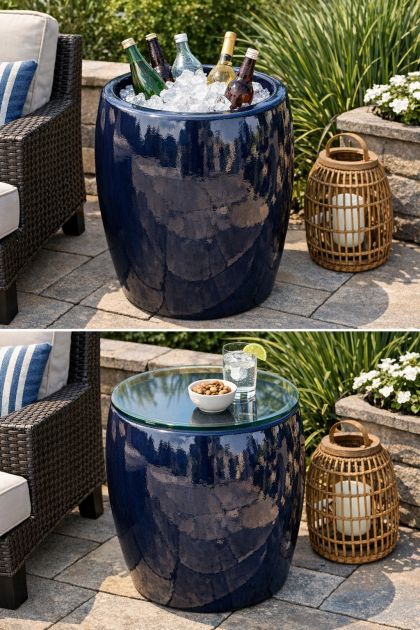
This DIY project transforms a large ceramic flower pot into a stylish and functional patio ice bucket table, perfect for entertaining guests on your deck. This project combines aesthetics with practicality, offering a unique way to keep beverages chilled while adding a touch of elegance to your outdoor space. Homeowners will appreciate the blend of decorative appeal and utility, making it an excellent addition to any patio setup.
The finished DIY integrates seamlessly into modern or eclectic patio designs. Its glazed navy finish works well with both neutral and bold color palettes, complementing outdoor furniture in natural materials like teak or rattan. This piece functions as both a table and an ice bucket, making it ideal for hosting outdoor gatherings or simply enjoying a cool drink while relaxing. Its compact size means it can fit easily into smaller patio spaces without overwhelming the area.
Ceramic Flower Pot Patio Ice Bucket Table
Materials
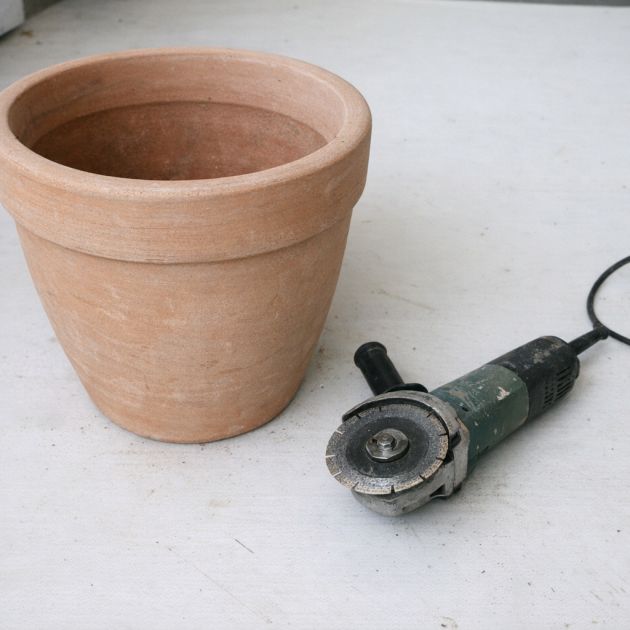
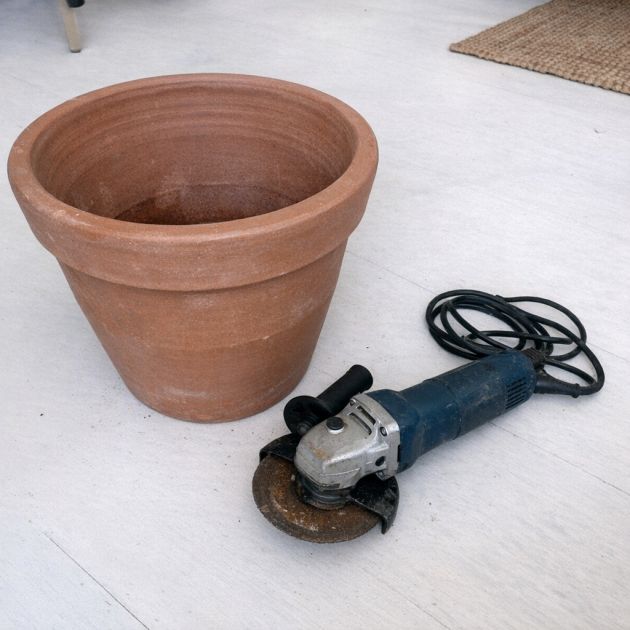
1 large glazed navy ceramic flower pot, approximately 20 inches in diameter and 24 inches high
Diamond-tipped hole saw drill bit, 6 inches in diameter
Electric drill
Safety goggles and gloves
Clear silicone sealant
Plastic or metal bowl, 6 inches in diameter, and 6 inches deep
Fine-grit sandpaper
Soft cloth
Directions
1. Begin by ensuring your ceramic pot is clean and dry. Use a soft cloth to wipe away any dust or debris.
2. Wear safety goggles and gloves to protect yourself from ceramic dust and sharp edges.
3. Attach the diamond-tipped hole saw drill bit to your electric drill.
4. Carefully position the drill bit at the center of the flower pot's bottom and begin drilling a 6-inch circular hole. Apply steady pressure and maintain a slow speed to prevent cracking.
5. Once the hole is cut, use fine-grit sandpaper to smooth any rough edges around the opening.
6. Place the plastic or metal bowl inside the pot, aligning it with the drilled hole to ensure a snug fit.
7. Apply a bead of clear silicone sealant around the edge of the bowl where it meets the pot to secure it in place and prevent any leaks.
8. Allow the silicone to cure according to the manufacturer's instructions before using the table.
9. Fill the bowl with ice and your choice of beverages to use as an ice bucket, or cover with a round piece of glass to use as a table.
Variations & Tips
For a personalized touch, consider using ceramic pots in different colors or finishes to match your existing decor. Opt for a matte ceramic finish for a more rustic look, or use metallic paint for a more modern vibe. If durability is a concern, select a pot made from high-quality, weather-resistant materials. For additional functionality, consider adding a removable glass top to use the pot as a table when not in use as an ice bucket. To further enhance the setup, you could incorporate LED lights inside the pot for evening gatherings, creating a cozy and inviting atmosphere.