
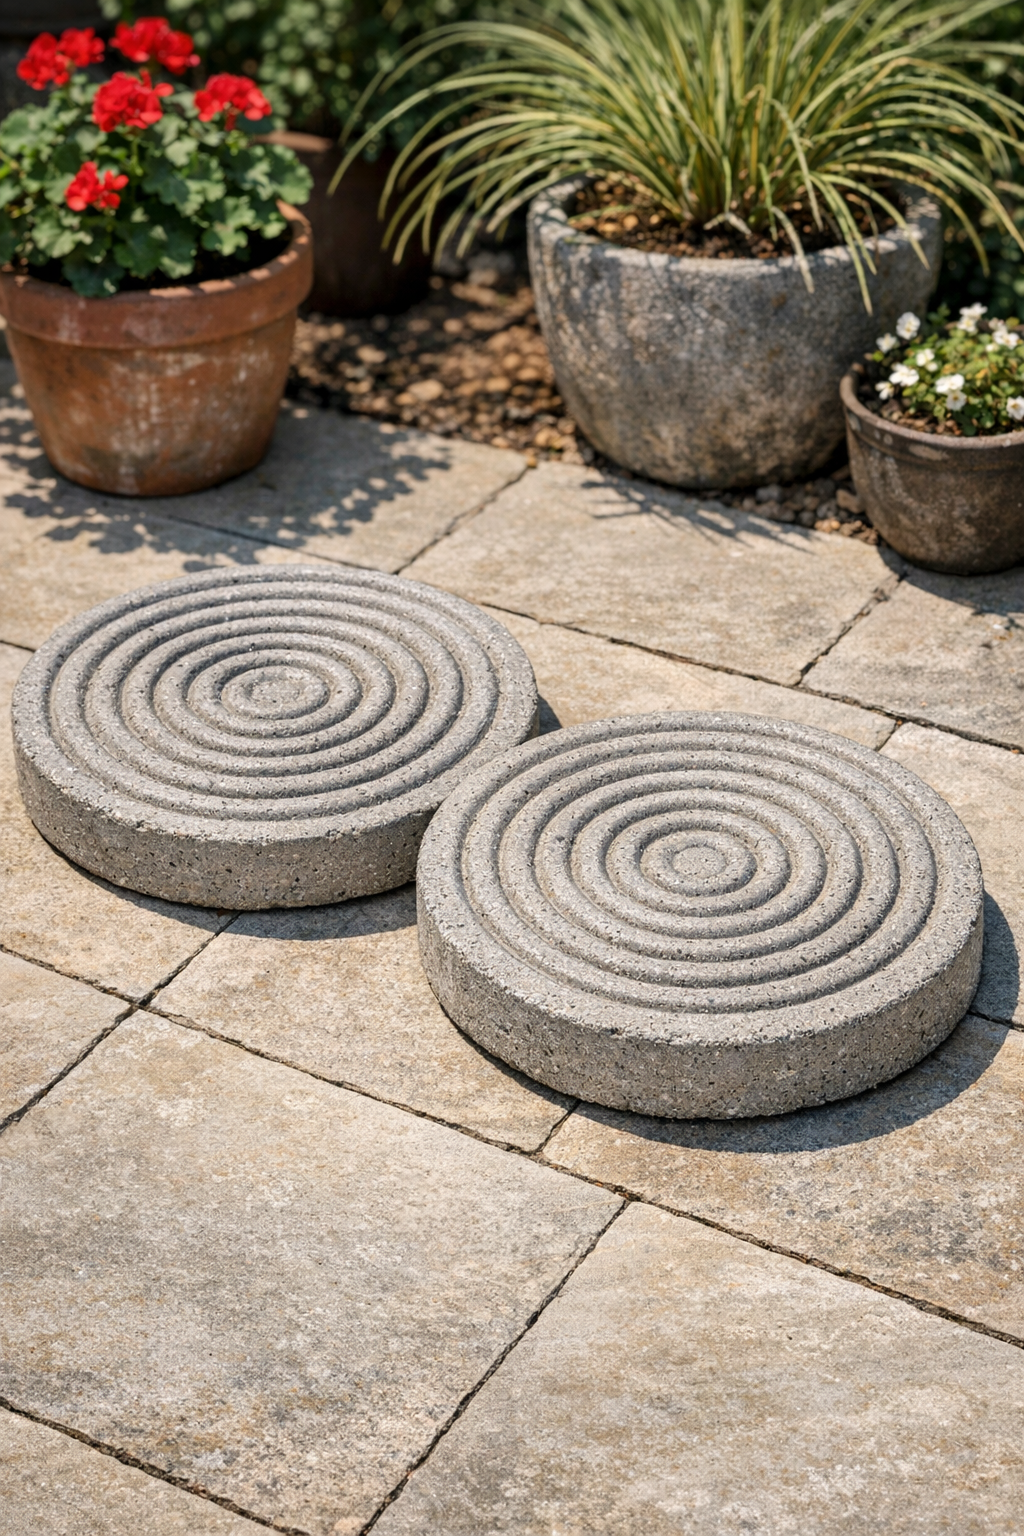
There’s something mighty satisfying about turning a plain old garden hose and a bag of concrete mix into something sturdy enough to earn a permanent spot on the patio. This project makes two heavy, ringed patio bases with a handsome molded shape, and they’re useful for all sorts of things: holding large planters, anchoring lightweight garden décor, or serving as simple, durable bases anywhere you need a bit of weight and weather resistance.
I’ve always had a soft spot for practical projects like this, the kind our folks would have called “using what you’ve got and making it do double duty.” The coiled hose creates those wonderful ridged rings in the concrete, and the result looks far fancier than the process feels. If you’re comfortable mixing cement and don’t mind a little outdoor mess, you can make these in an afternoon and let them cure overnight.
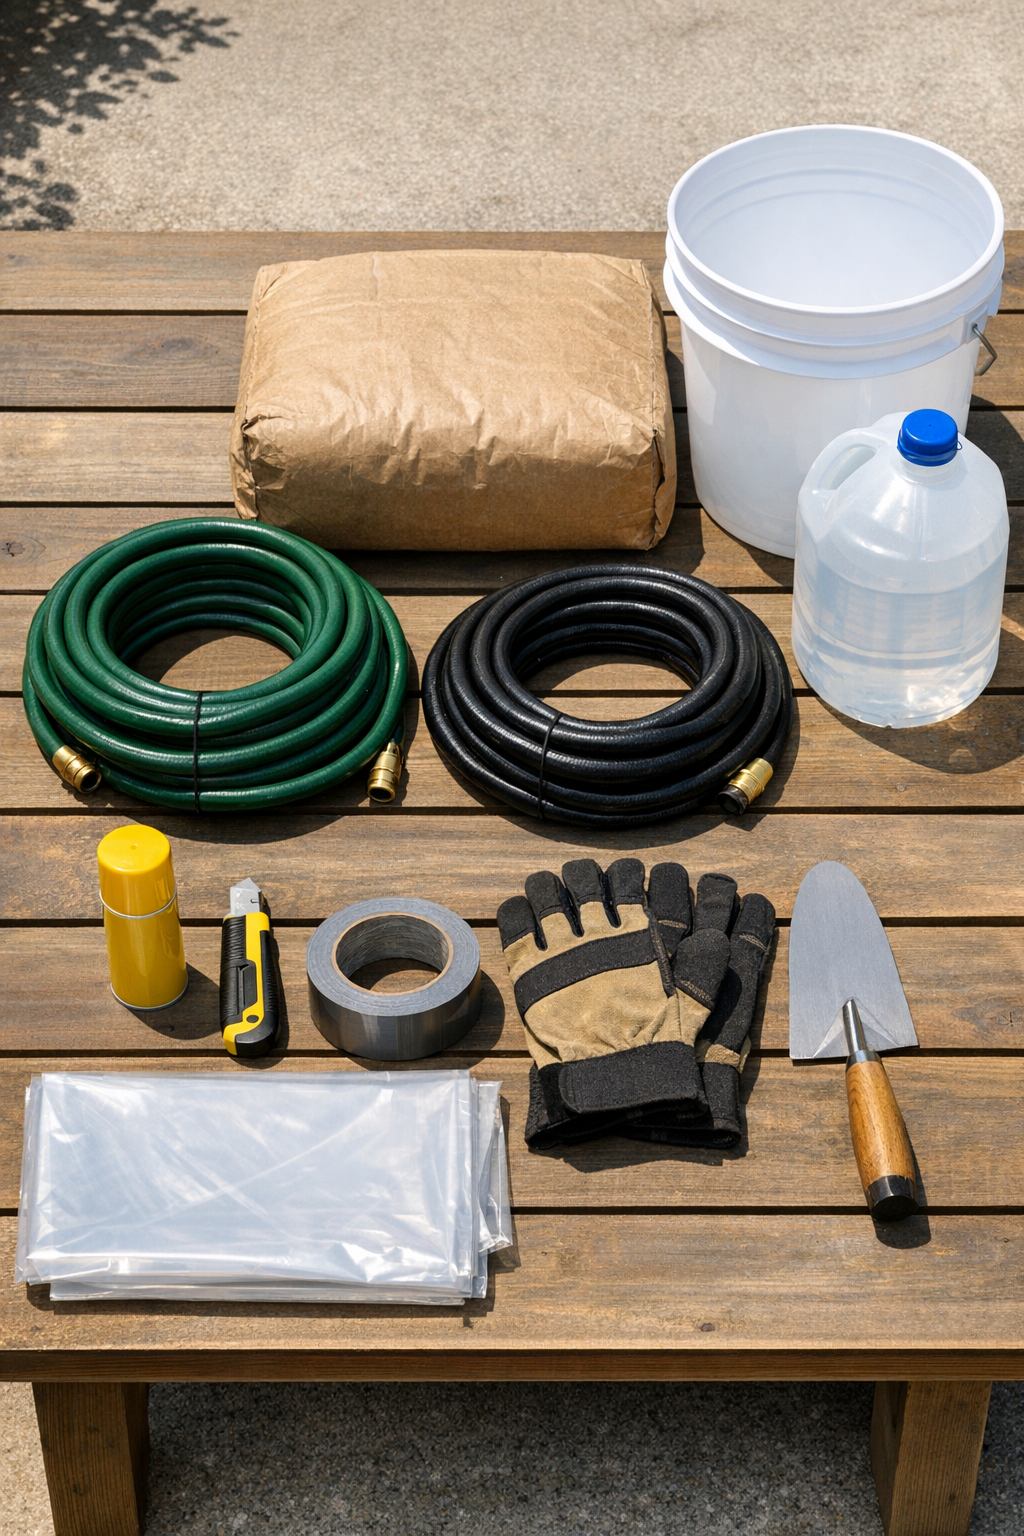
Materials
2 vinyl garden hoses, 25 feet each, 5/8-inch diameter
Instructions
1. Choose a flat outdoor work area and cover it with the plastic sheet. Set one cardboard square on top for each base so you can move the molds without disturbing their shape.
2. Coil the first garden hose into a tight flat spiral about 16 to 18 inches across, then tape the outside end securely so the coil holds its shape. Repeat with the second hose, making both coils as even and level as you can.
3. Spray the top inside surface of each hose coil lightly with cooking spray so the concrete will release more easily after curing. Keep the spray light and even so it doesn’t pool.
4. In a 5-gallon bucket, mix the concrete with water according to the bag directions until it reaches a thick, scoopable consistency like stiff oatmeal. Mix thoroughly so there are no dry pockets hiding at the bottom.
5. Scoop concrete into the center opening of the first hose coil, then continue filling outward until the entire ringed mold is filled level with the top of the hose. Repeat with the second coil, dividing the mix evenly between the two bases.
6. Tap the cardboard gently against the ground and rap the sides of the hose with your hand to settle the concrete and release trapped air bubbles. Smooth the top with a trowel, keeping the surface flat and compact.
7. Let the bases sit undisturbed for 24 hours, or until the concrete is firm enough to hold its shape without slumping. If the weather is hot and dry, cover them loosely with plastic after a few hours so they cure more evenly.
8. Peel away the tape and carefully uncoil the hose from each base. If any section sticks, work slowly and wiggle the hose loose rather than yanking, so the ringed edges stay crisp.
9. Allow the unmolded bases to cure for another 2 to 6 days before putting them to heavy use. For the strongest finish, mist them lightly once or twice a day during the first couple of days of curing.
10. Brush off any loose grit and place the finished bases on your patio or in the garden. Use them under planters, lantern stands, birdbath columns, or anywhere you want a low, solid base with a little decorative texture.
Variations & Tips
For smoother tops: After filling the molds, tap them well and run a steel trowel over the surface twice, about 10 minutes apart. That little extra pass gives the tops a cleaner, more finished look.
For smaller bases: Use shorter hoses or coil them tighter for a more compact form. Just be sure both pieces are the same height so your pair looks intentional together.
Add a center insert: If you want a planter stand with a recessed spot, press a plastic bowl or short can wrapped in plastic into the center while the concrete is still wet, then remove it once the mix firms up.
Choose the right hose: Vinyl hose works best because it bends into a smooth coil without much fuss. A stiff rubber hose can fight you all the way through and may leave an uneven shape.
Mind the weight: These bases are heavy once cured, which is part of their charm. I like to make them as close as possible to where they’ll be used, because lugging cured concrete across the yard is nobody’s idea of a pleasant afternoon.
Dress them up: Once fully cured, you can leave the concrete natural for a farmhouse look or brush on a masonry sealer for a deeper color and easier cleanup. They also look handsome grouped under matching pots on either side of a patio step.