
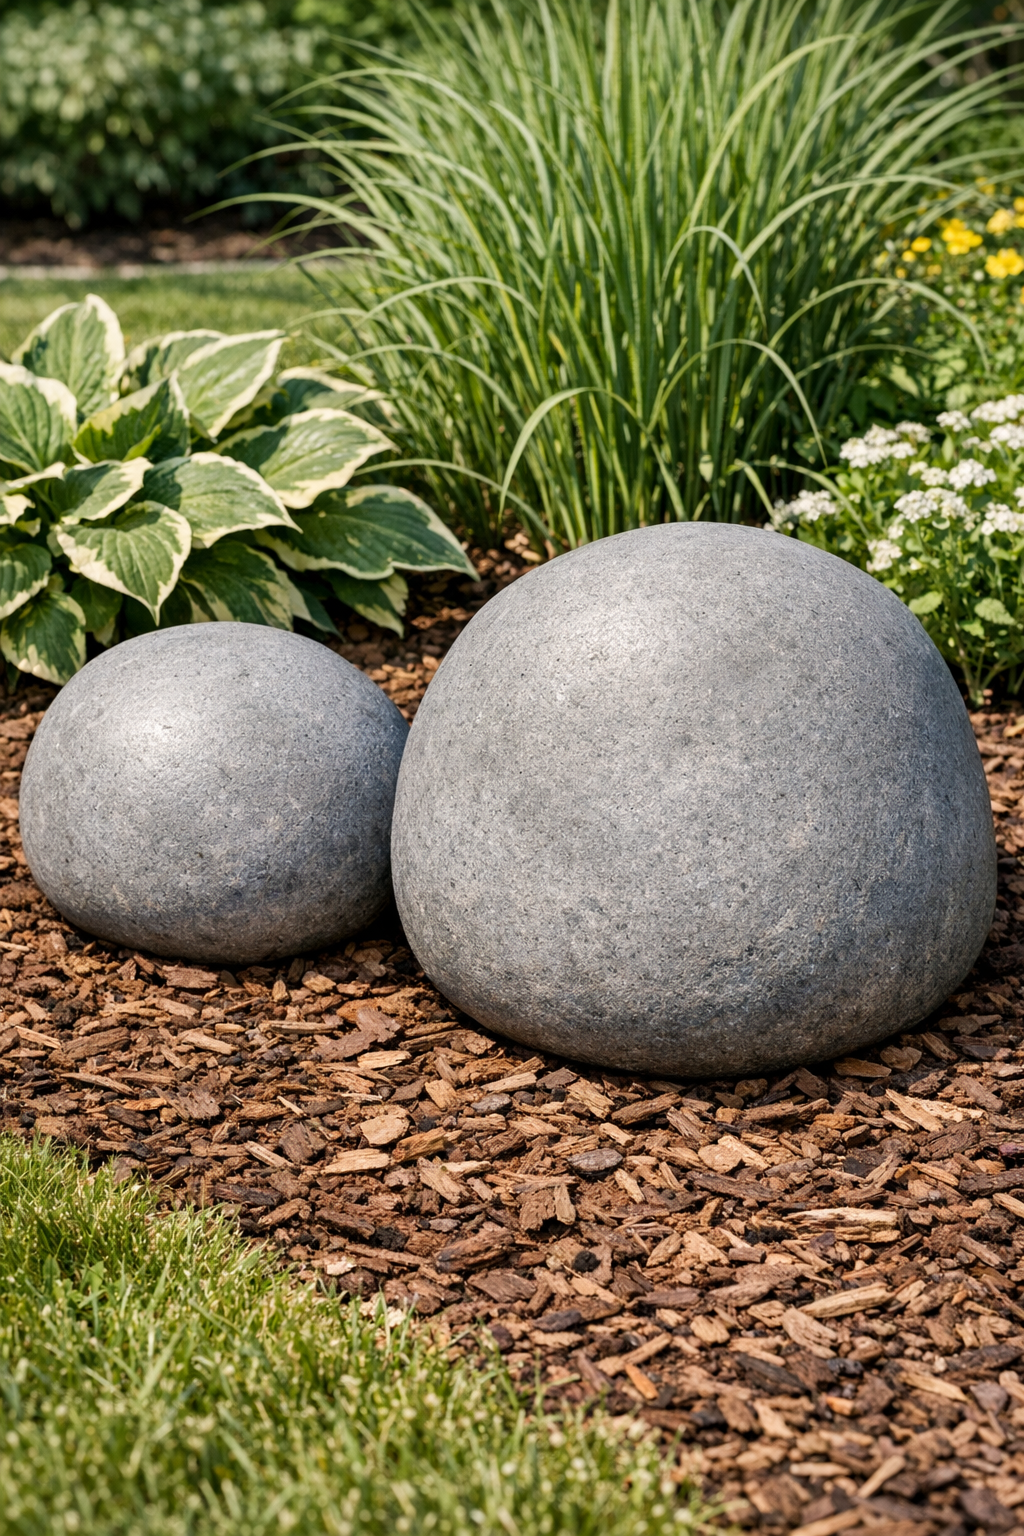
There’s something satisfying about making a garden feature with your own two hands, especially when it looks like it belongs out in the yard as naturally as an old fieldstone. This project turns plain cement and plastic gallon freezer bags into two heavy, smooth faux boulders you can tuck into a flower bed, set by a walkway, or use to anchor a little corner of the landscape that needs some weight and presence.
I’ve always liked the look of big stones in a Midwestern yard, but hauling in the real thing is hard on the back and hard on the budget too. These are simple to shape, sturdy once cured, and forgiving enough for beginners. If you want an easy weekend project that gives you a pair of useful garden accents, this is a fine place to start.
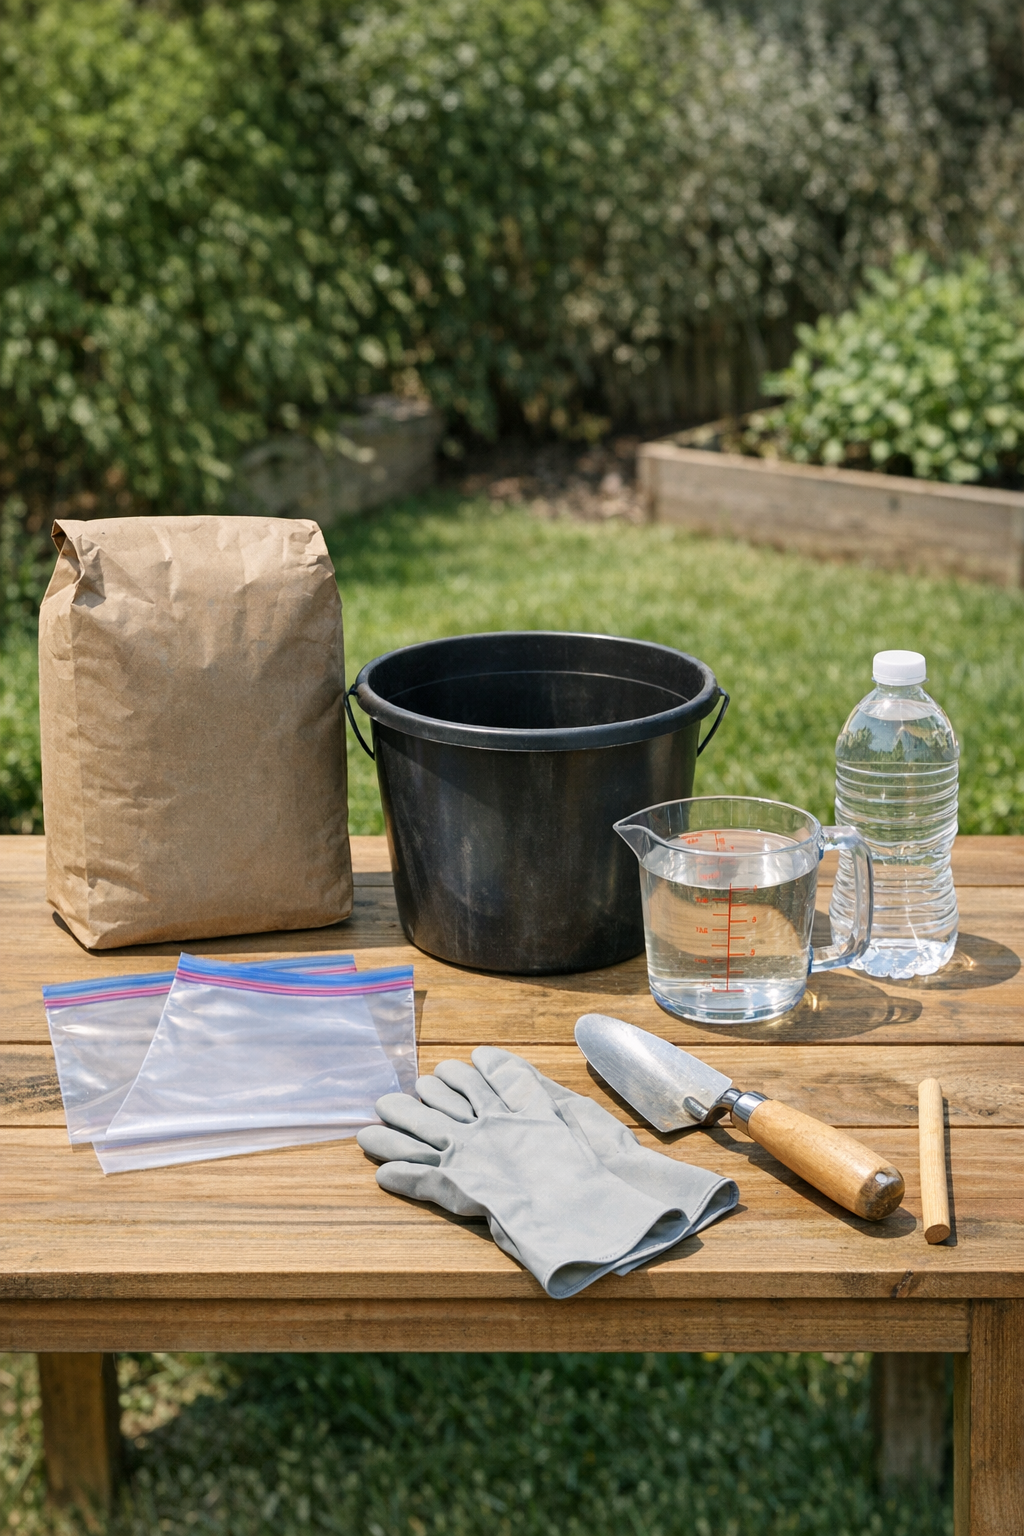
Materials
Instructions
1. Set your drop cloth or cardboard on a flat outdoor surface, then put on gloves and a dust mask before opening the cement. Lightly coat the inside of both freezer bags with cooking spray so the cured cement releases more easily later.
2. Pour the cement mix into the bucket and add water a little at a time, stirring with the trowel until it reaches a thick mashed-potato consistency. The mix should hold its shape but still be soft enough to settle into rounded forms inside the bags.
3. Divide the wet cement evenly between the two freezer bags, filling each bag a little over halfway so there is room to shape them. Press out most of the air and seal the bags tightly.
4. Gently turn and pat each sealed bag with your hands to round the cement into soft boulder shapes. Use the wooden stick to push and nudge from the outside of the bag, making shallow dips and uneven contours so they look more stone-like than perfectly round.
5. Set the bags down on the flat surface and leave them undisturbed for 24 hours so they can firm up. If one side flattens more than you like, rotate the bag once after about 2 hours to help keep the shape rounded.
6. After the first day, open one bag carefully and peel back the plastic to check the surface. If the cement is firm, remove the bag completely and repeat with the second boulder; if it still feels soft, reseal and wait another 12 to 24 hours.
7. Smooth any rough seams or sharp spots with medium-grit sandpaper or a sanding sponge while the cement is still slightly green. Keep the shaping light; a few natural imperfections make the finished pieces look more like real stones.
8. Let the two boulders cure in a shaded dry spot for 5 to 7 days, misting them lightly once a day for the first 2 days if the weather is hot and dry. Once fully cured, place them in the yard, flower bed, or beside a path where you want a little visual weight.
Variations & Tips
For more natural shapes: Make one boulder slightly taller and one wider so they do not look like a matched set. Real stones in the yard almost never come out identical, and that little difference helps a lot.
For a rougher stone look: Before the cement fully hardens, tap the outside gently through the bag or after unmolding press a stiff brush over the surface. That gives a more weathered texture if you do not want them quite so smooth.
For easier handling: Keep each bag to a manageable weight, especially if you plan to move the finished boulders around the garden. I’ve learned over the years that a project is a lot more enjoyable when you can still lift it without regretting it the next morning.
For better curing: Shade is your friend. Cement that dries too fast can weaken or crack, so avoid setting these in direct hot sun during the first few days.
For placement: Nestle each boulder slightly into mulch or soil rather than setting it right on top. That little trick makes them look settled and believable, like they’ve been part of the yard for years.
For color changes: If you want the boulders darker or earthier, you can mix in a small amount of concrete pigment made for cement. I’d keep the shade soft and natural so it blends into the garden instead of calling attention to itself.