
If you want a garden edge that looks like a pricey stone border without hauling home stacks of pavers, this is one of my favorite weekend projects. We’re turning simple slit foam pool noodles into heavy, curved landscape borders by filling them with wet cement and a hidden support item, and the end result has that smooth, upscale look that really frames a flower bed beautifully.
I love projects like this because they make a yard feel finished without a huge budget. This one is especially nice for curved beds and winding paths, since the noodle form naturally helps you create soft bends instead of stiff straight lines. If you’re a beginner and you don’t mind getting a little messy, you can absolutely make these.
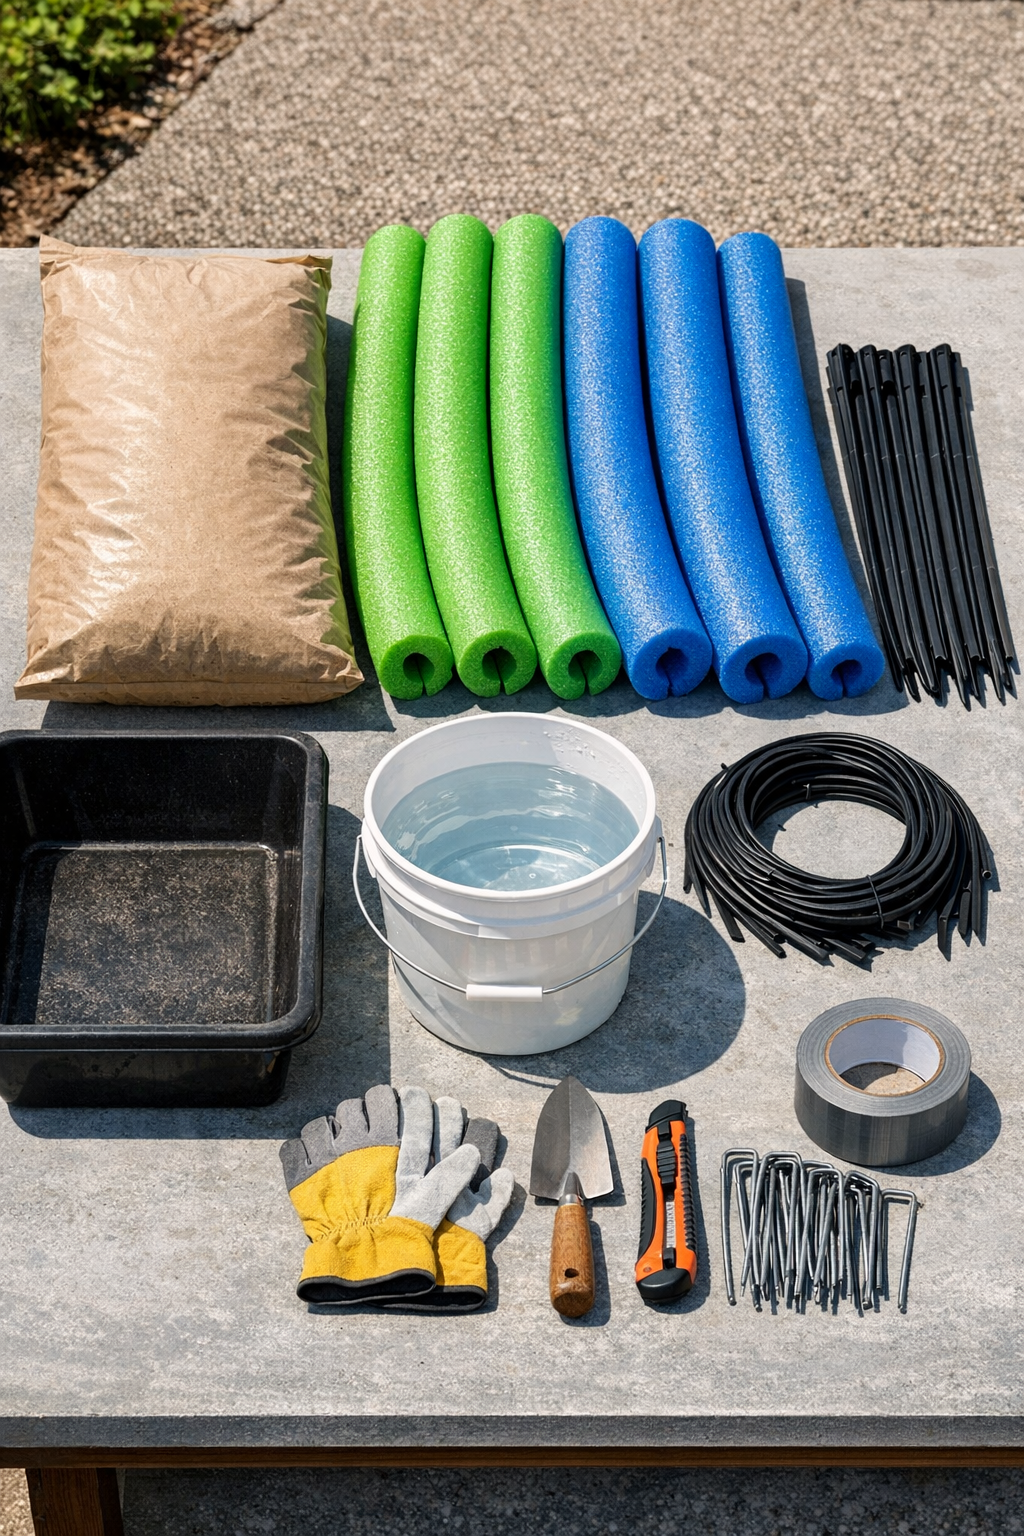
Materials
Instructions
1. Choose the border line in your yard and lay out the curve with a garden hose or rope so you can see the final shape before you start making the pieces.
2. Spread a plastic drop cloth over a flat work surface outdoors, and set your pool noodles on top with the slit facing upward.
3. Slide one flexible garden stake or one length of galvanized wire into each noodle through the slit; this is the secret item that helps the finished border hold a graceful curve and adds strength.
4. Tape one end of each noodle closed with several tight wraps of duct tape so the wet cement cannot spill out while you fill it.
5. Mix the concrete in a tub or bucket, adding water a little at a time until it reaches a thick, spoonable consistency that will still hold inside the noodle without running everywhere.
6. Scoop or pipe the wet concrete into the slit opening of each noodle, packing it in a little at a time and tapping the noodle gently to remove air pockets.
7. Fill each noodle to about 1 inch below the top of the slit, then press the slit edges together and secure them with strips of duct tape every 4 to 6 inches.
8. Bend the filled noodles into your planned garden curve right away, then pin them in place on the ground with landscape staples so they keep their shape while the concrete sets.
9. Let the pieces cure undisturbed for at least 24 hours, or longer if the weather is cool or damp, until they feel firm and heavy all the way through.
10. Once fully cured, remove any loose tape, settle the border pieces snugly into the soil or mulch, and touch up the spacing so the curves look smooth and continuous around the bed.
Variations & Tips
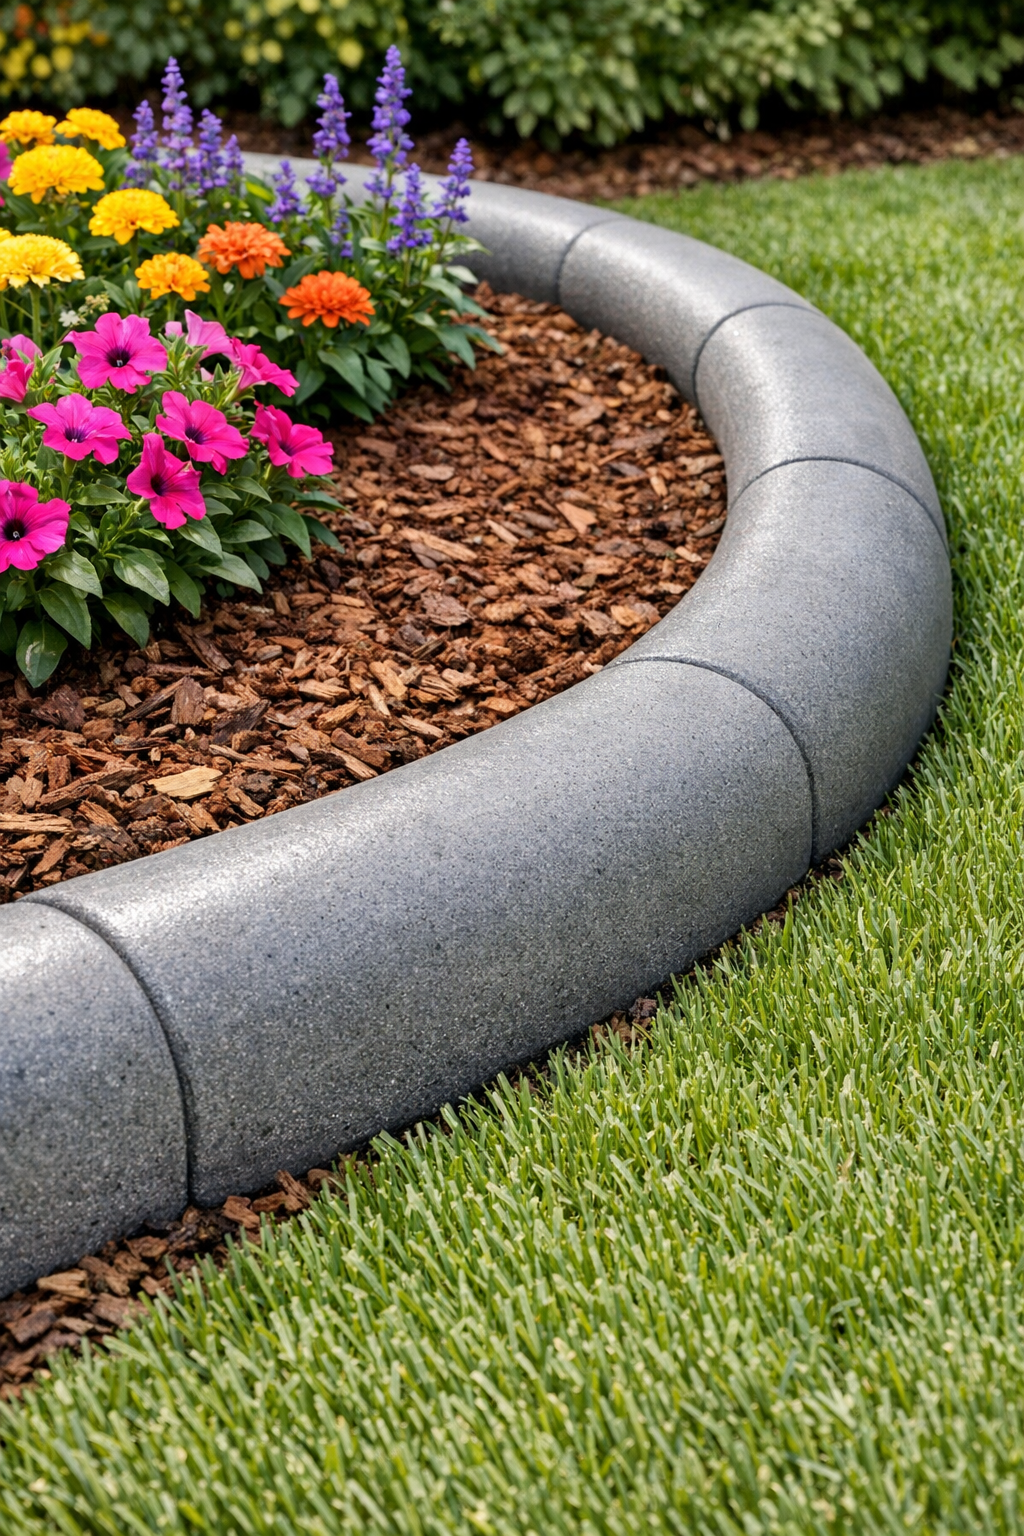
For a stone-like look: After curing, brush the exposed surface with outdoor masonry paint in soft gray, sandstone, or taupe. I find that a little color variation makes these look even more like expensive garden edging.
For picky yard styles: If your landscaping is more modern, keep the curves broad and simple. If your garden is cottage-style like mine tends to be in summer, tighter winding shapes around flowers look especially sweet.
For easier filling: A large piping bag, a heavy zip-top bag with the corner cut off, or even a scoop made from a cut plastic bottle can help get the wet cement neatly into the slit.
For stronger pieces: Use galvanized wire or flexible fiberglass garden stakes inside the noodles if you want extra support. That inner piece really helps the border hold together when you move it into place.
Curing tip: Don’t rush this part. If you try to reposition the borders before the cement has fully hardened, they can flatten or crack, so I always give them extra time if the weather is humid.
Best placement: These work especially well between lawn and mulch beds, around small trees, or along a curved walkway edge. They’re heavy enough to stay put better than plain foam but still much easier to shape than traditional stone.