
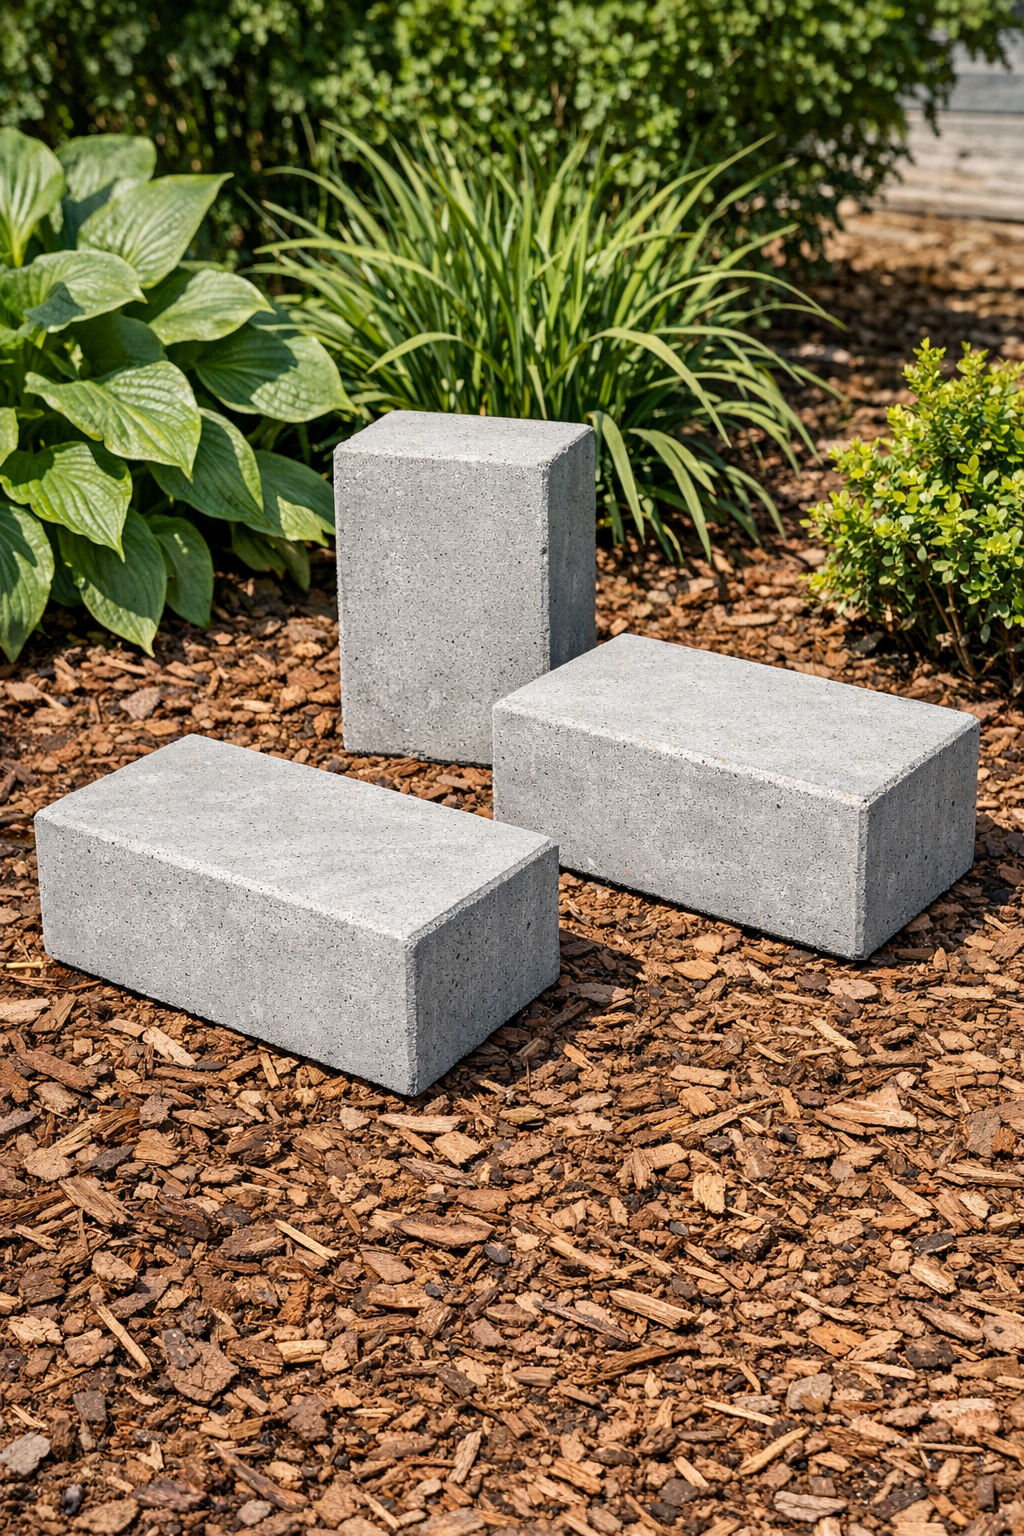
I’m always looking for outdoor projects that are inexpensive, practical, and a little bit unexpected, and these heavy rectangular yard blocks check every box. By using simple plastic pencil boxes as molds, you can turn a bag of cement into a set of sturdy decorative blocks that work beautifully in garden beds, along walkways, or as simple landscape accents.
This is the kind of DIY I love when life feels busy, because the prep is easy, the materials are affordable, and most of the work is just mixing, pouring, and letting everything cure. If you want a beginner-friendly concrete project that gives you three substantial pieces for your yard without needing fancy forms or power tools, this one is a great place to start.
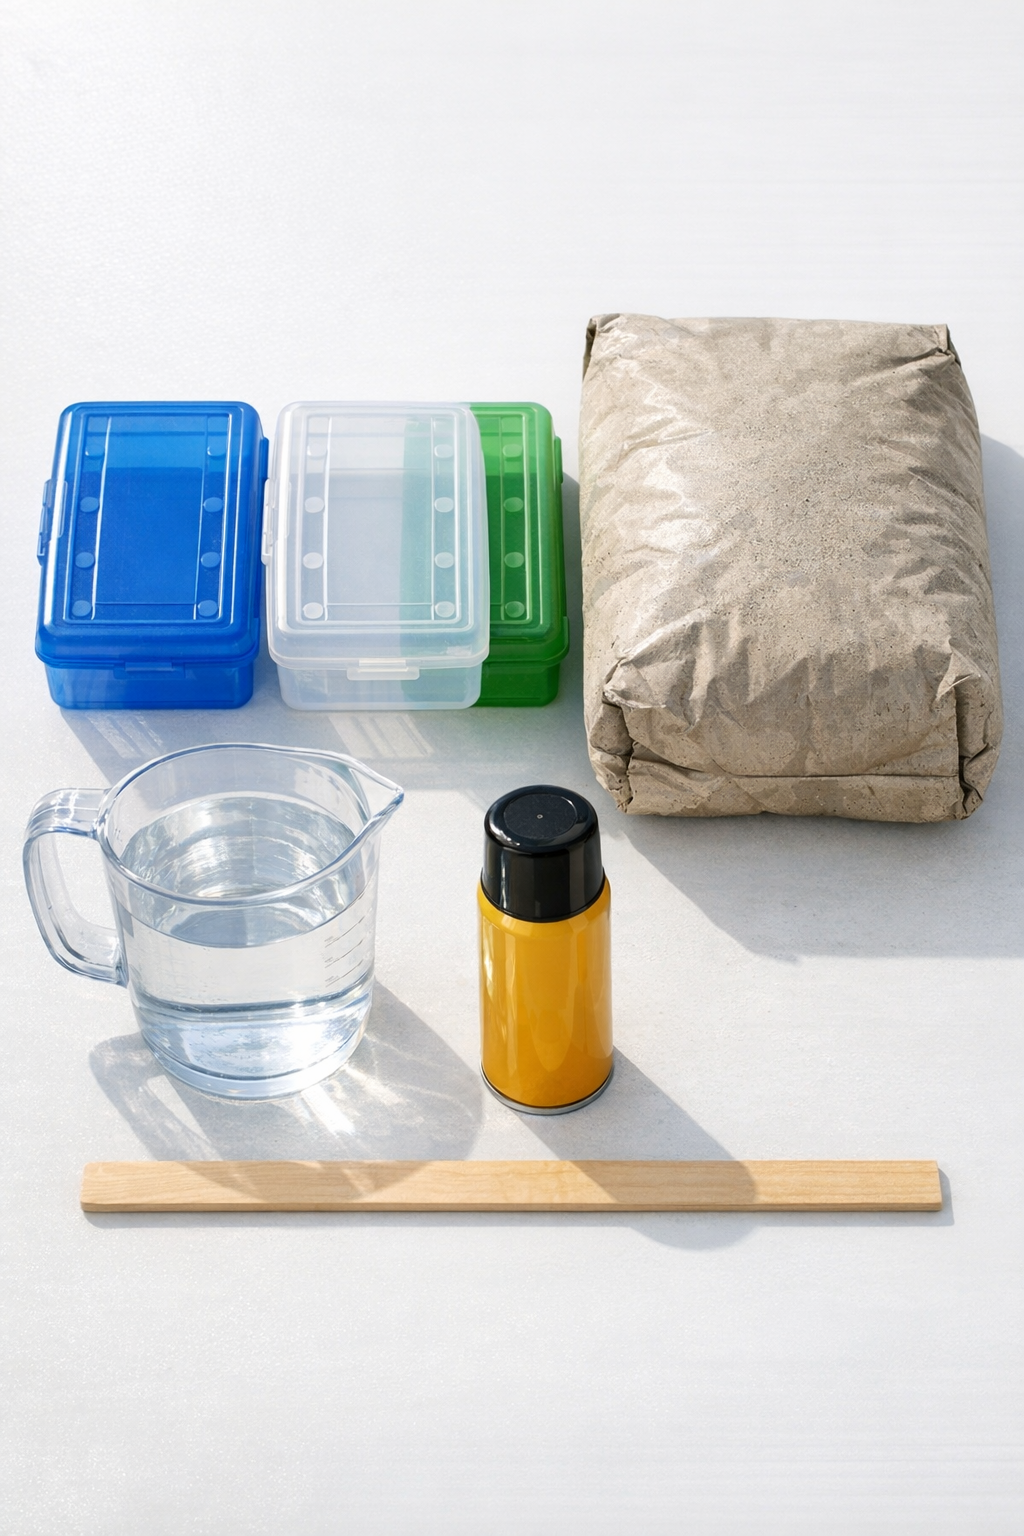
Materials
Instructions
1. Set your pencil boxes on a flat, protected work surface and make sure each one is clean and fully dry inside. A level surface matters here, because it helps all three blocks cure with even, flat sides.
2. Lightly coat the inside of each pencil box with cooking spray or a thin film of oil. I’ve learned not to skip this step with concrete projects, because it makes unmolding so much easier later.
3. In a separate container or directly in the concrete bag if it allows, mix the cement with water a little at a time until it reaches a thick brownie-batter consistency. Stir thoroughly so there are no dry pockets hiding in the mix.
4. Divide the wet cement evenly among the three pencil boxes, filling each one nearly to the top. Tap the boxes gently on the table a few times to release trapped air bubbles and settle the mix.
5. Use a craft stick or paint stir stick to smooth the tops, scraping off any excess so the blocks have a clean, squared shape. If you want a more finished look, tap the sides once more after leveling.
6. Let the cement sit undisturbed until it firms up, then leave the blocks to cure completely according to your cement mix instructions, usually 24 to 48 hours. I usually set them somewhere out of the way in the garage so I’m not tempted to move them too soon.
7. Once fully cured, gently flex or open the plastic pencil boxes and slide the blocks out. If any edges feel rough, rub them lightly with a scrap piece of concrete, a sanding stone, or simply leave them as-is for a more rustic yard look.
8. Place the finished blocks in your yard, garden bed, or along a pathway as decorative accents or compact edging pieces. Their weight helps them stay put, which is one of the reasons I like this project so much for low-maintenance outdoor styling.
Variations & Tips
For smoother sides: Choose pencil boxes with straight interiors and minimal ridges, since every detail inside the mold will transfer to the finished concrete.
For easy cleanup: Mix the cement in a disposable container or directly in a lined bucket, because dried concrete is not fun to scrub out after a long workday.
For a more decorative look: Press small stones, glass gems, or shells lightly into the top surface while the cement is still wet if you want the blocks to feel a little more custom.
For better durability: Let the blocks cure an extra day or two before placing them outside permanently, especially if the weather is cool or damp.
For placement ideas: Use the three blocks together as a grouped accent near a planter, or space them evenly along a border for a simple modern landscape touch.
For mold release insurance: If a block feels stubborn, tap the outside of the pencil box gently and peel the plastic back slowly instead of forcing the concrete out all at once.