
I’m always looking for simple ways to make everyday spaces work a little harder for my family, and the garage is one of those places that seems to collect little dings and scrapes before you know it. This project turns boiled foam hair rollers into soft, impact-resistant garage bumpers that help protect car doors, walls, and even bike parking zones without spending much at all.
What I love most about this idea is that it uses just three main materials, comes together quickly, and is easy to customize for your own garage setup. If you’ve got a narrow parking space, kids hopping in and out of the car, or just want a softer buffer along the wall, this is a practical little fix that feels surprisingly satisfying to make.
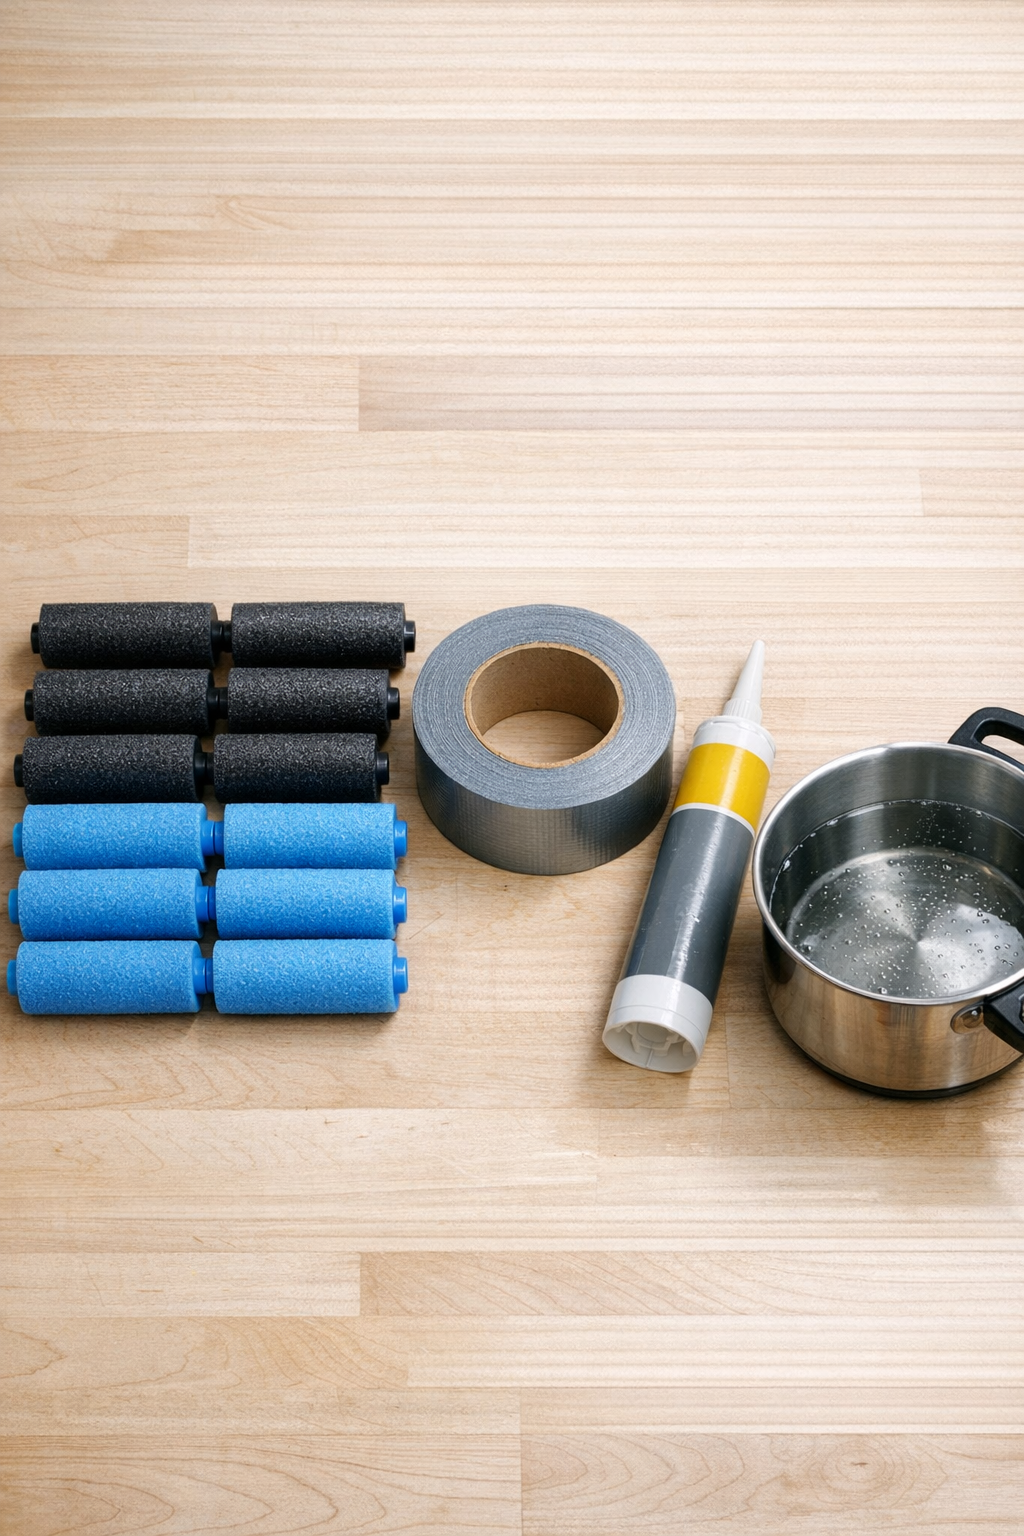
Materials
18 foam hair rollers, standard 3 to 4 inch size
Instructions
1. Remove any plastic clips or internal rods from the foam hair rollers so you are working with soft foam only.
2. Bring 6 cups of water to a gentle boil, add the foam rollers, and let them soften for 3 to 5 minutes until they are more flexible but not falling apart.
3. Drain the rollers well, let them cool until safe to handle, and shred or tear them into small, chunky foam pieces about 1/2 to 1 inch wide.
4. Tear off a strip of duct tape about 18 inches long and place it sticky-side up on your work surface, securing the ends so it stays flat.
5. Pile a thick line of shredded foam down the center of the tape, keeping it about 2 inches wide and evenly distributed from end to end.
6. Fold the tape over the foam or add a second strip on top, pressing firmly so the foam is enclosed in a padded tube or strip.
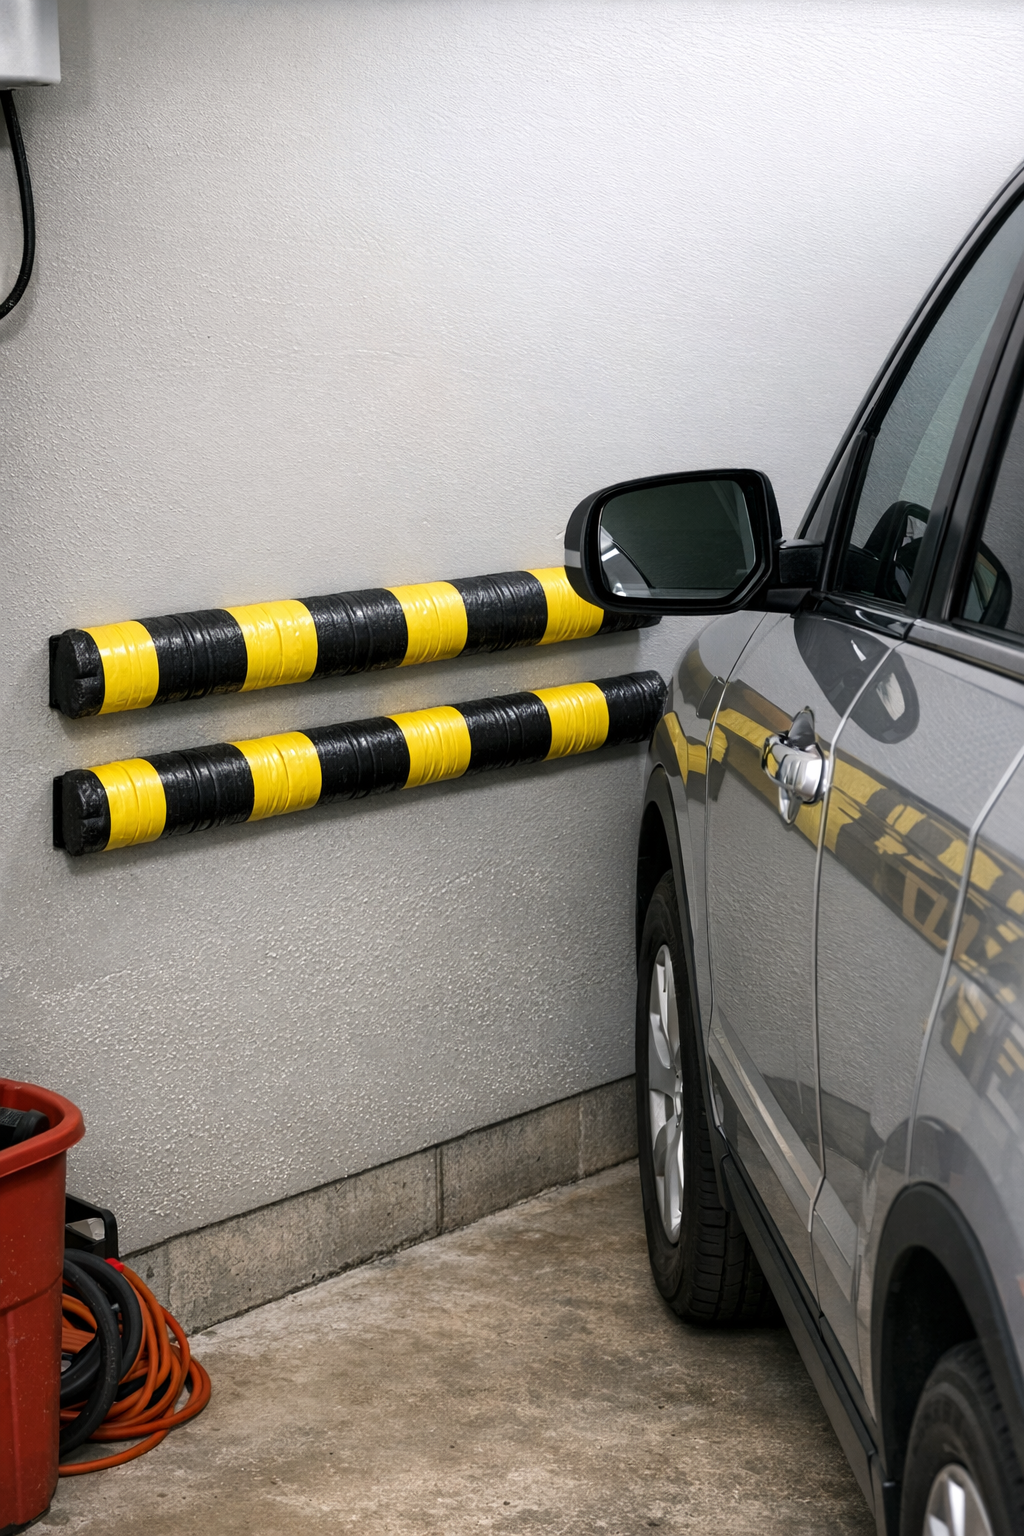
7. Repeat the process to make as many bumper strips as you need, matching the height of the area where your car door or bumper usually hits the wall.
8. Clean and dry the garage wall, then test the placement by opening the car door carefully and marking the best contact point.
9. Apply a generous bead of construction adhesive to the back of each padded strip and press it onto the wall for 30 to 60 seconds.
10. Let the adhesive cure according to the package directions before using the space normally, then test the bumper gently with the car door to make sure it cushions the contact point.
Variations & Tips
For narrow garages: Make two shorter bumpers instead of one long one so you can place them exactly where the front and rear door edges touch.
For picky DIYers who like a cleaner look: Use black, white, or garage-colored duct tape so the bumpers blend in better with the wall.
For extra cushioning: Pack the shredded foam a little thicker and double-wrap the outside with another tape layer to help it hold its shape longer.
For renters: Test your adhesive on a hidden spot first, or mount the bumpers to a thin board panel that can be attached more temporarily depending on your wall surface.
For family garages: I like marking the bumper height with the help of whoever uses the passenger side most often, because a kid swinging a door open has a way of finding the wall every single time.
Maintenance tip: If the tape gets scuffed over time, just wrap on a fresh outer layer instead of rebuilding the whole bumper.