
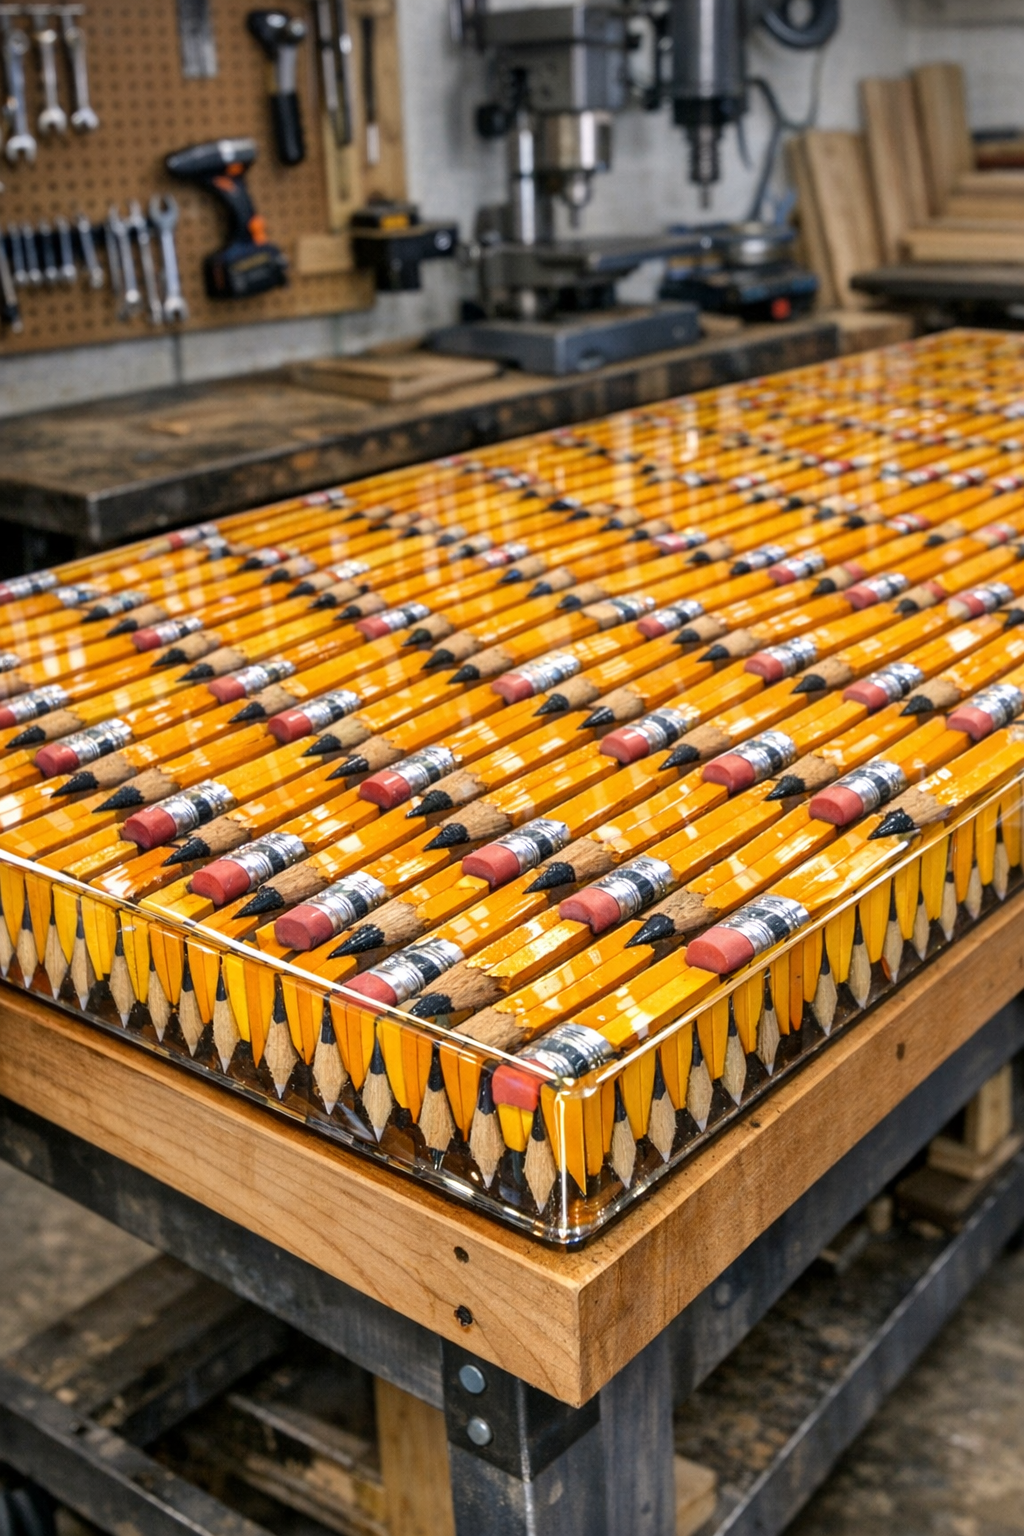
I love a project that sounds a little odd at first and then turns out surprisingly useful, and this pencil workbench top absolutely fits that category. By soaking split wooden school pencils and combining them with clear epoxy, you can create a dense, tough slab that works beautifully as a small heavy-duty workbench top, assembly surface, or shop side table top.
This is a great weekend build if you like upcycled-looking materials but still want something practical. I’m always looking for projects that feel creative without becoming too precious, and this one hits that sweet spot: the pencils make a bold patterned surface, and the epoxy locks everything into a solid, durable top that can handle real use.
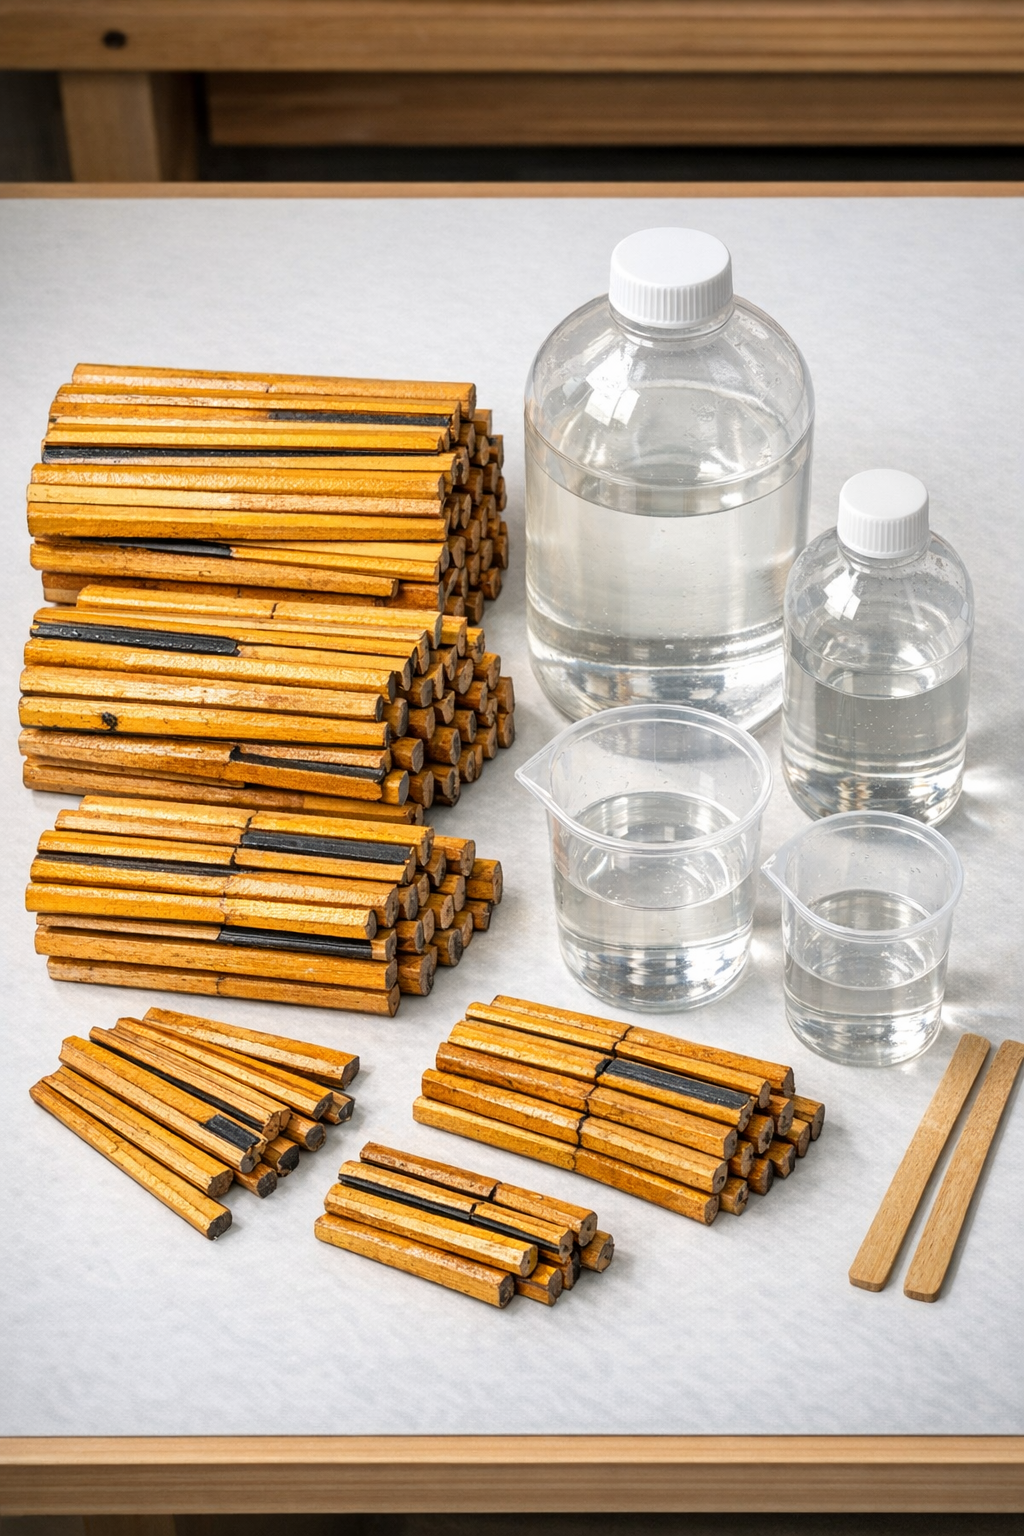
Materials
Yellow wooden school pencils, 300 to 350 pencils, split lengthwise
Instructions
1. Fill a bucket with water and soak the split pencils for 12 to 24 hours so the wood softens enough to bend and settle tightly together.
2. Prepare a flat mold sized to your finished top, about 24 by 48 inches, and coat the inside surfaces with mold release or paste wax so the cured slab will come out cleanly.
3. Seal every seam in the mold with painter’s tape and set the mold on a perfectly level surface, because epoxy will find any gap and any slope.
4. Drain the pencils and pat them lightly so they are still flexible but not dripping; then begin packing them cut-side down in tight rows across the mold.
5. Stagger the pencil pieces and press them firmly together to minimize gaps, adjusting the curves as needed while the wood is still soft from soaking.
6. Mix a small sealing batch of epoxy according to the manufacturer’s ratio and drizzle it over the first pencil layer to lock the arrangement in place.
7. Let that first epoxy layer sit for 30 to 60 minutes until the pencils stop shifting easily when touched with a gloved finger.
8. Mix the remaining epoxy in batches and pour it slowly over the pencils, working from one end to the other so the resin fills the gaps instead of trapping big air pockets.
9. Pass a heat gun or small torch quickly over the surface to release bubbles, keeping the heat moving so you do not scorch the wood or overheat the resin.
10. Allow the slab to cure fully for the time recommended on the epoxy package, usually 24 to 72 hours, without moving the mold.
11. Remove the cured top from the mold and trim or sand the edges flat and square so it sits cleanly on a workbench base.
12. Mount the finished slab onto a sturdy workbench frame or cabinet base, supporting it well across the span because the top is dense and heavy.
Variations & Tips
Smaller build: If a full workbench top feels like too much, make a 16-inch by 24-inch benchtop panel first. That’s the route I’d take if I were squeezing this into a busy week and just wanted a manageable test piece.
Pour in layers: For a thicker slab, pour the epoxy in multiple layers instead of one deep fill. It takes longer, but it helps control heat buildup and usually gives a cleaner result.
Tight packing matters: The more tightly you pack the softened pencils, the stronger and better-looking the slab will be. I’ve learned the hard way on resin projects that little gaps always look much bigger once everything cures.
Edge finish: If you want a more polished look, sand the edges progressively and add a thin final coat of epoxy. If this top is for a true shop bench, a sanded edge is usually more than enough.
Surface use: This top is durable, but I’d still use a sacrificial mat for metal pounding or extremely hot items. It holds up well for assembly, light vise work, and general workshop tasks.
Pencil layout: You can align all pencils in one direction for a cleaner striped look or alternate sections for a more patterned surface. Dry-fitting the arrangement before pouring saves a lot of last-minute fussing.