
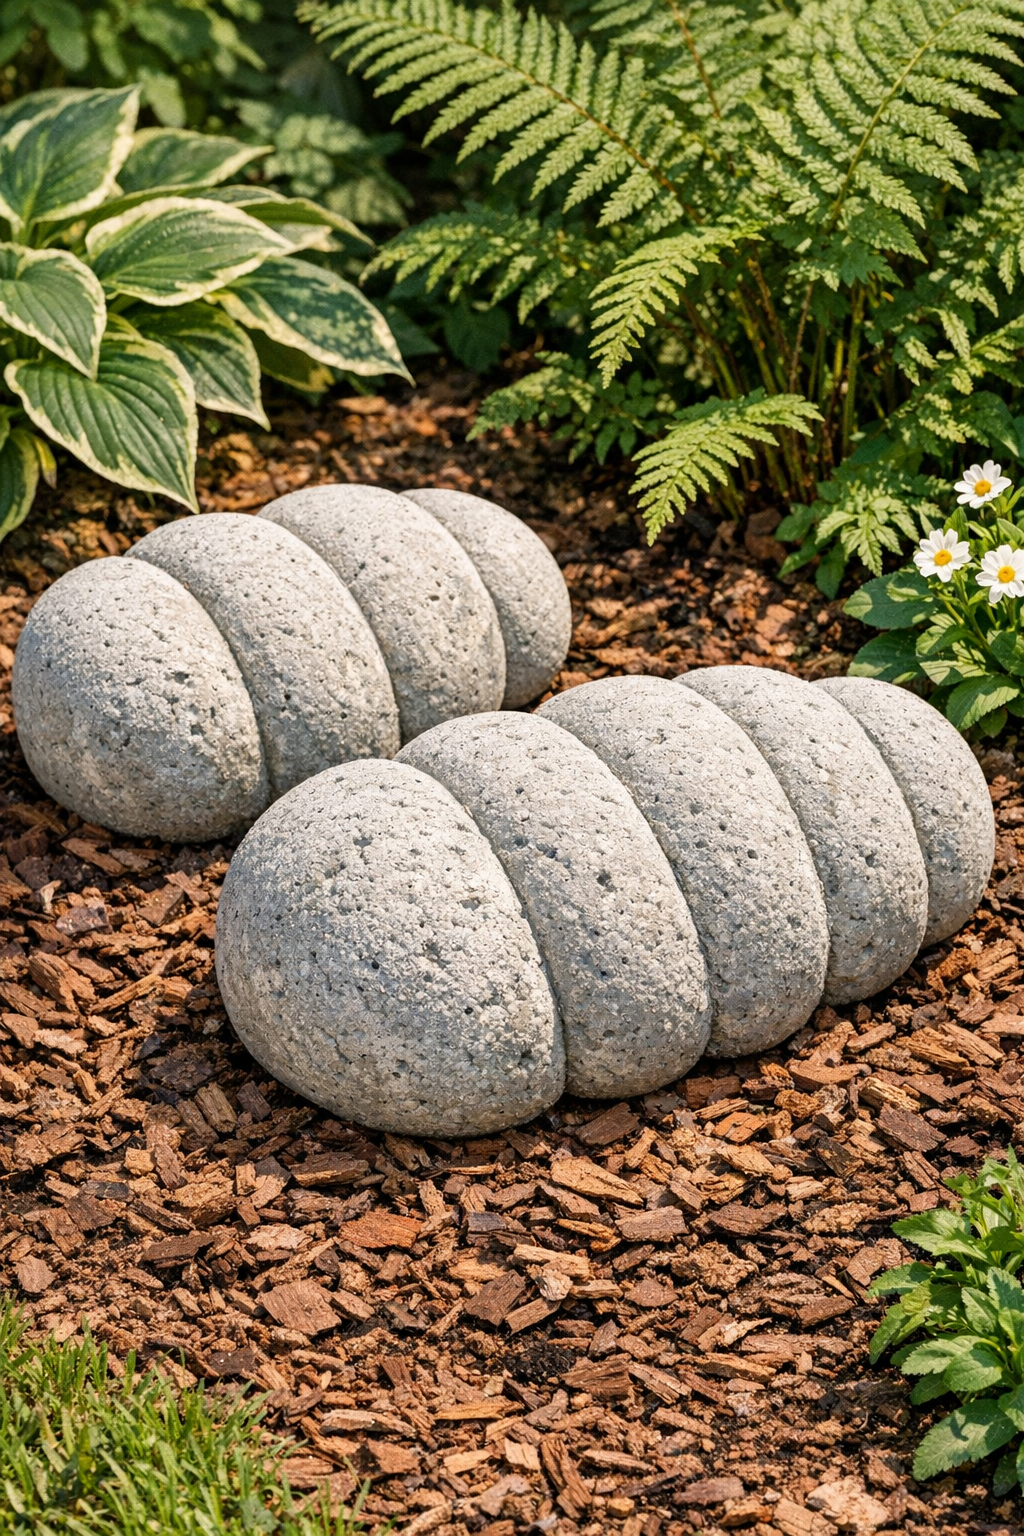
I love a garden project that looks surprisingly refined without asking for a long shopping list, and these segmented yard stones absolutely fit that category. By filling thick cotton tube socks with a simple cement mixture, you can create weighty, sculptural pieces that look a bit like carved stone garden accents or oversized natural seed pods. The finished result has that high-end landscape-store feel, but the process is wonderfully straightforward.
This is a great project for anyone who wants an easy outdoor DIY with strong visual impact. I especially like it for lining a flower bed, tucking between low plantings, or setting beside a front walk where a little texture goes a long way. As someone who spends plenty of time thinking about ingredients and texture in the kitchen, I find this project satisfying for the same reason: a few humble materials transform completely once you handle them the right way.
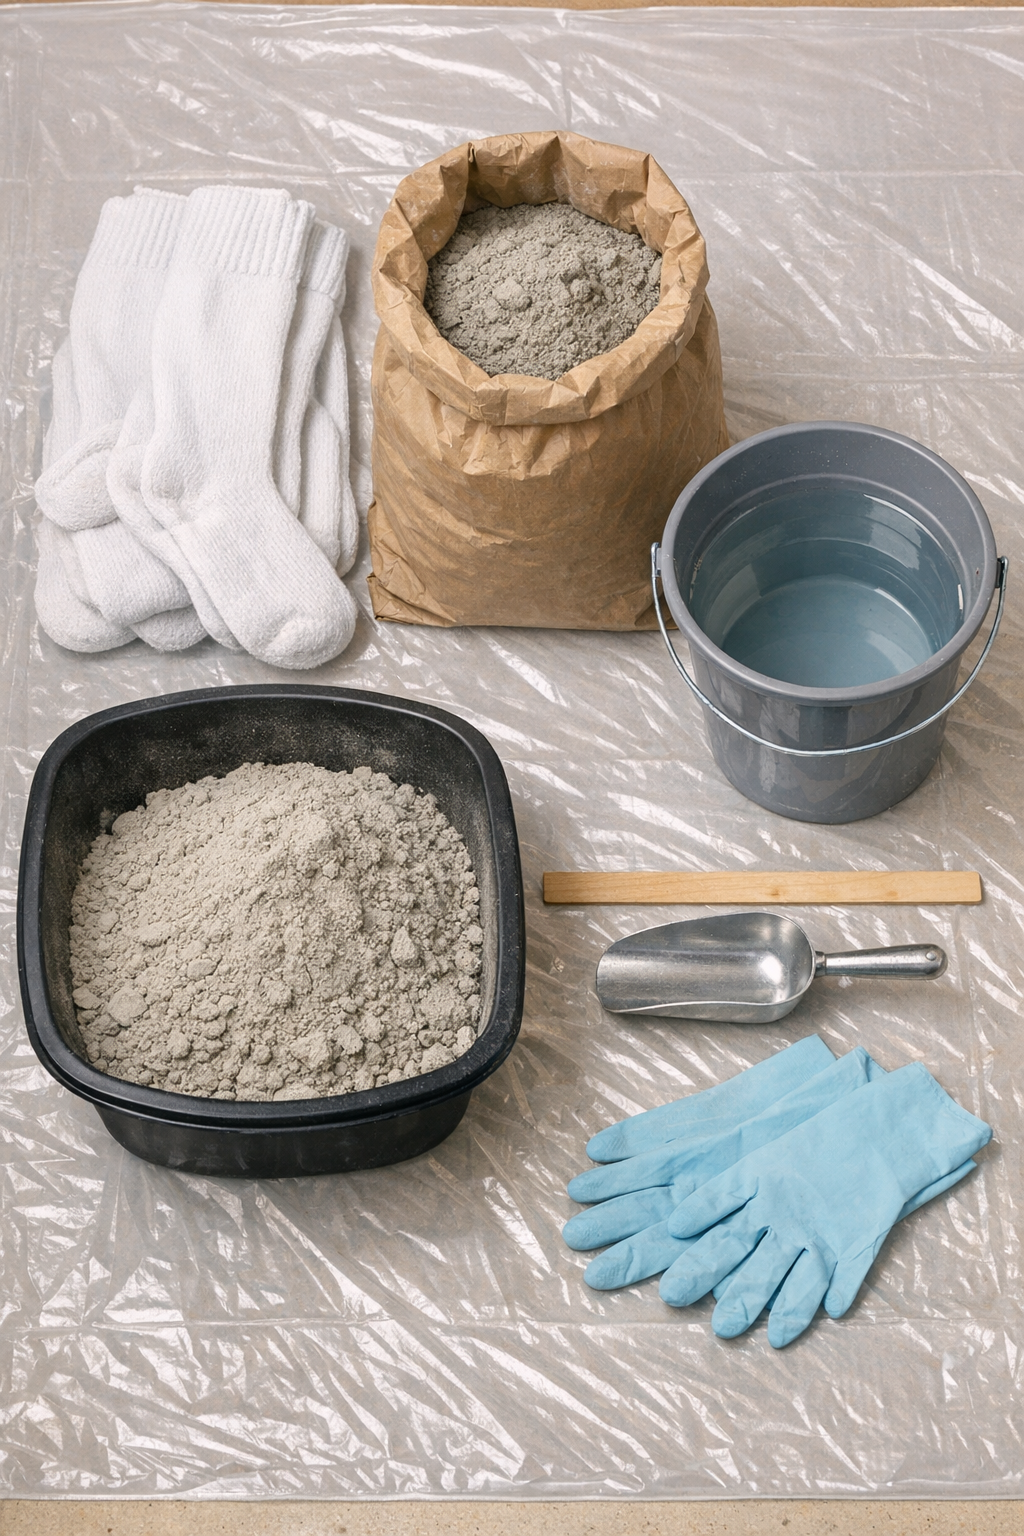
Materials
2 thick white cotton tube socks, men's crew length, approximately 10 to 12 inches long
Instructions
1. Spread the plastic drop cloth over a flat, protected surface outdoors or in a well-ventilated work area, then put on gloves. Set the two socks upright in a container or prop them open so they are easier to fill.
2. Pour the dry cement mix into the mixing tub and add water a little at a time, stirring until it reaches the texture of thick oatmeal. You want it wet enough to pack into the socks, but not so runny that it pours out.
3. Scoop the wet cement into the first sock, pressing it down every few scoops so the filling is dense and even. Stop when the sock is full but still has enough stretch left to bend slightly into a natural stone-like shape.
4. Fill the second sock the same way, keeping both roughly equal in size so they look like a matched pair when finished. Smooth the outside gently with gloved hands to distribute the cement and define the rounded segments created by the sock shape.
5. Lay the filled socks on the plastic-covered surface and curve or position them as desired for a more organic garden-stone look. If needed, tuck a little plastic under the sides to keep them from rolling while they begin to set.
6. Leave the pieces undisturbed for 24 to 48 hours, depending on temperature and humidity, until they feel firm all the way through. If the weather is very hot, lightly mist the surface once during the first day so the cement cures more evenly.
7. Once hardened, trim or peel away any loose sock fibers if you prefer a cleaner stone appearance, then place the finished pieces in the yard, along a path, or in a planting bed. Let them continue curing in place for several more days before exposing them to heavy rain or frequent handling.
Variations & Tips
Change the scale: Use smaller socks for compact accents in container gardens, or larger tube socks for more dramatic pieces near a walkway.
Adjust the shape: Bend the filled socks into gentle curves before they set if you want a more natural, weathered look instead of a straight form.
Surface texture tip: If you like a rustic finish, leave the sock fabric in place; it gives the stones a softer, stone-like texture that blends nicely into planting beds.
Cleaner finish option: For a more polished appearance, trim fuzz and loose threads after curing, especially if the stones will sit in a formal garden border.
Placement advice: These are best used as decorative landscape accents rather than stepping stones, since the sock-shaped form is sculptural and uneven underfoot.
Mixing tip: Add water slowly because cement goes from crumbly to too wet very quickly. In cooking terms, this is a bit like hydrating dough: you can always add more moisture, but correcting an overly loose mixture is less convenient.
Weather note: Try to make these on a mild, dry day. Cool or damp weather slows curing, while intense sun can dry the surface too fast before the center firms up.