
I love a project that looks far more expensive than it is, and these faux stained glass door panels absolutely fit that category. By layering plastic binder dividers and using just two everyday household items to create color and leading, you can turn a plain glass door or cabinet insert into something that looks custom-made from across the room.
What makes this especially satisfying is how approachable it is. You do not need specialty glass paints, soldering tools, or a craft room full of supplies. If you are comfortable measuring carefully and working slowly with an iron, you can make these panels in an afternoon. I especially like this project for renters, budget decorators, or anyone who wants privacy and color without committing to permanent stained glass.
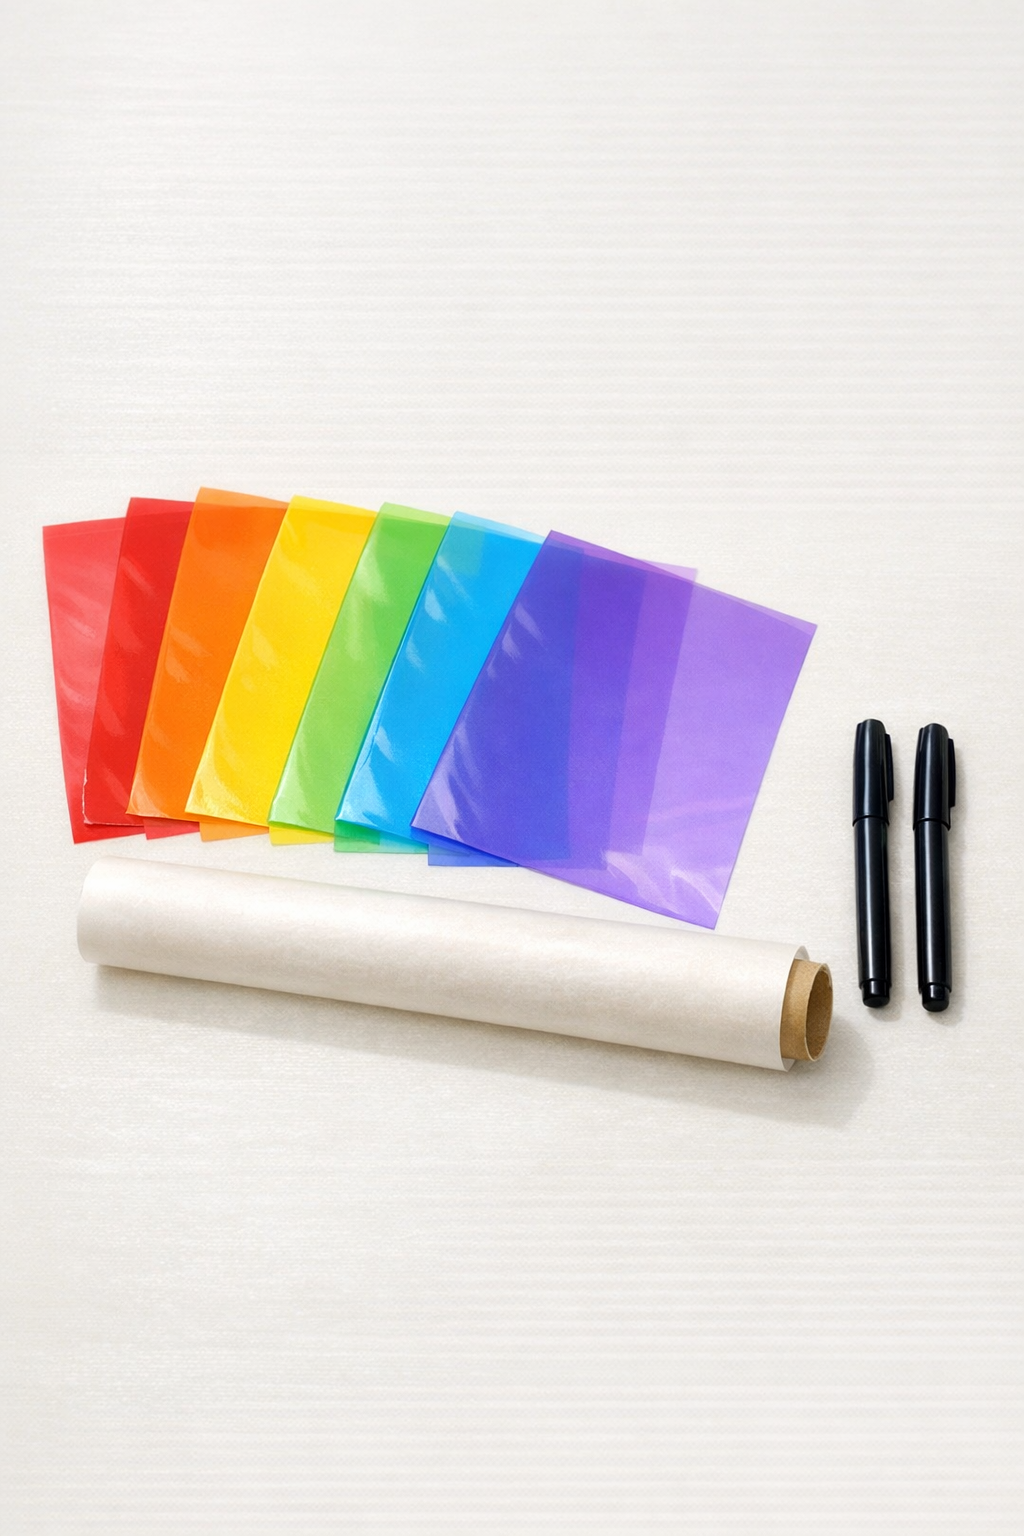
Materials
6 plastic binder dividers, translucent assorted colors, standard 8.5 x 11 inch size
Instructions
1. Measure each glass section you want to cover, then sketch a simple panel layout made of rectangles, arches, or geometric shapes so you know how large to cut the divider pieces.
2. Clean the glass thoroughly with a damp paper towel and dry it well so the finished panels sit flat and show through clearly.
3. Cut the tabbed edges off the binder dividers, then trim the plastic into overlapping shapes based on your sketch, allowing about 1/4 inch overlap anywhere two colors meet.
4. Arrange the plastic pieces on top of a sheet of parchment paper until the composition fits your measured glass area and the overlaps create the color mix you want.
5. Place a second sheet of parchment paper over the arrangement, then set an iron to low heat with no steam and press gently for 3 to 5 seconds at a time, lifting and moving rather than sliding, until the overlapping plastic pieces lightly fuse together.
6. Let the fused sheet cool completely, then peel it away from the parchment and trim the outer edges so the panel fits neatly inside the glass area with a small margin all around.
7. Use the black permanent marker to draw faux lead lines over every seam and around the outer border, making the lines slightly uneven in width for a more traditional stained glass look.
8. Hold the panel up to the light and add a second pass of marker anywhere the outlines look faint, especially where two dark colors overlap.
9. Position the finished panel against the inside of the glass and secure it discreetly at the corners with small loops of painter’s tape, keeping the tape hidden behind the black border lines if possible.
10. Repeat the process for the remaining glass sections so the door panels feel coordinated, then step back and check that the spacing, line weight, and color balance look even from across the room.
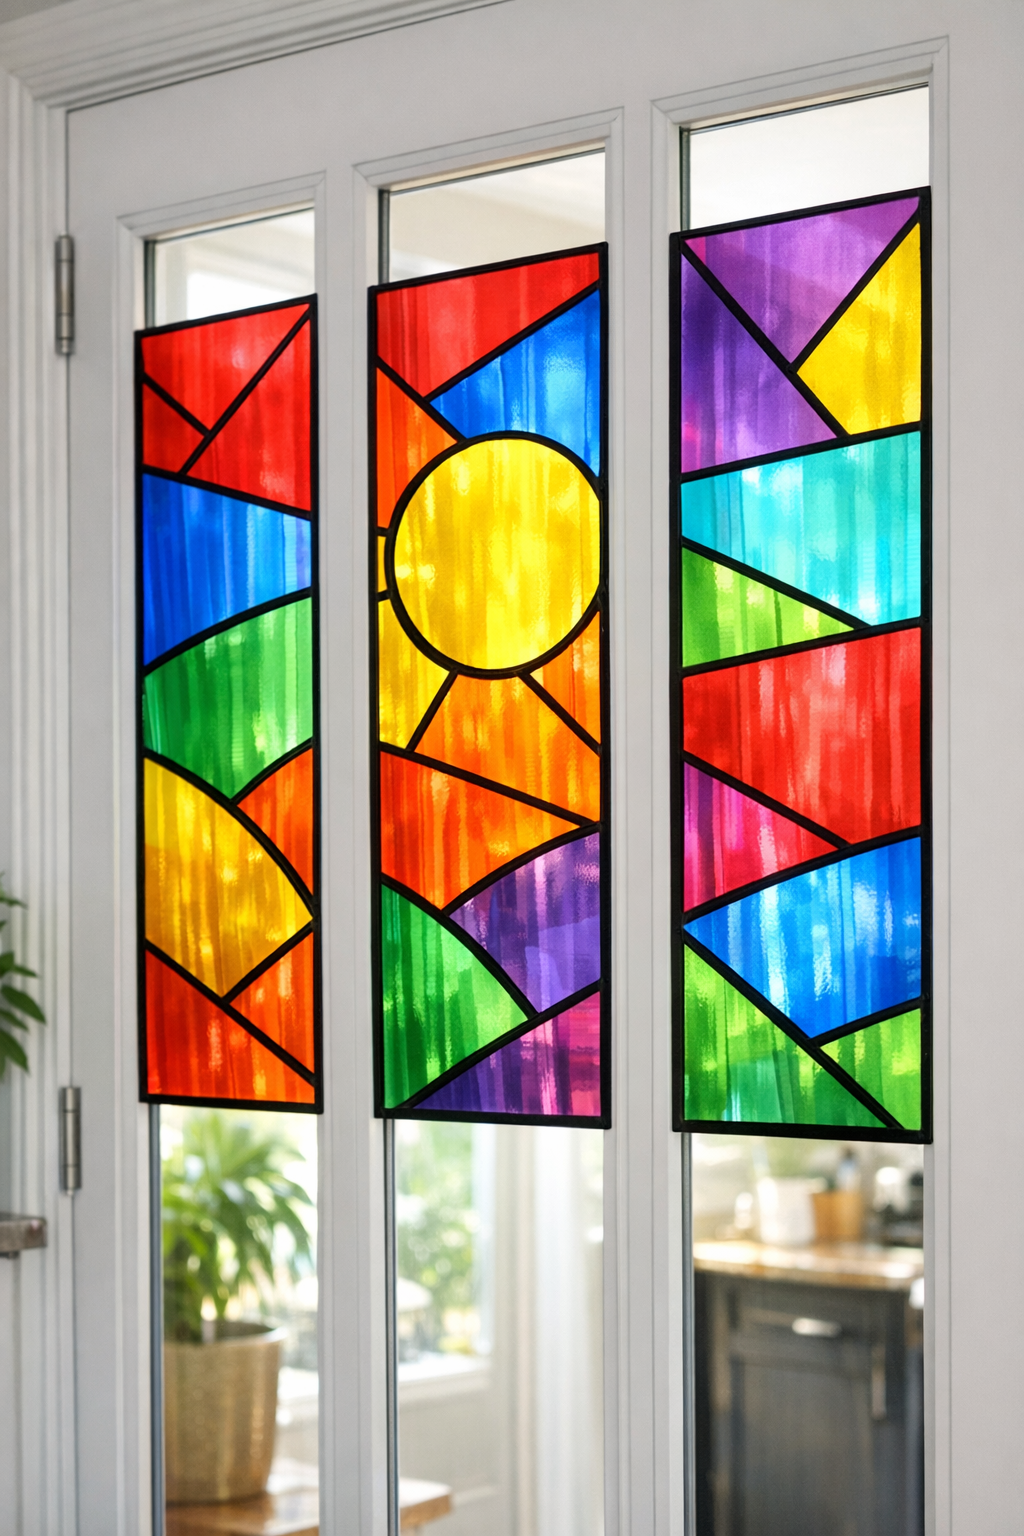
Variations & Tips
For a classic look: Stick to jewel tones like blue, green, amber, and red, and use mostly rectangles or tall arches. That combination reads most like traditional stained glass from a distance.
For more privacy: Overlap lighter colors more generously in the center of each panel. The extra layering softens the view through the glass while still letting in light.
Test the heat first: Not all divider plastics behave exactly the same way, so I always fuse a small scrap between parchment sheets before committing to the full panel. If the plastic curls quickly, lower the heat and shorten the pressing time.
Keep the iron moving by lifting: Do not drag the iron across the parchment. Pressing and lifting helps the pieces bond without shifting the pattern out of place.
Use imperfect lines to your advantage: Real stained glass has hand-built character, so your marker lines do not need to be ruler-straight. In fact, a little variation makes the finished panel more convincing.
Scale it for cabinets: This same method works beautifully on kitchen cabinet glass, bookcase doors, or sidelights. I have found that smaller panels are even easier for beginners because they are simpler to fuse and trim neatly.