
I’ve always had a soft spot for practical things that turn out prettier than anybody expects, and this project is just that kind of surprise. With a plain plastic laundry basket, a bag of cement mix, and an old household staple for shaping and support, you can make heavy woven-look yard planters that resemble something from a garden shop for a fraction of the cost. Once they cure, they have a sturdy, handmade feel that looks especially nice on a porch, tucked beside steps, or sitting out near the vegetable patch.
Out here in the Midwest, we learn not to waste a good container if it still has one more life in it. I like projects such as this because they take an everyday object and turn it into something lasting and handsome. If you enjoy upcycling, garden decorating, or simply making your outdoor space feel more personal, this is a satisfying weekend project.
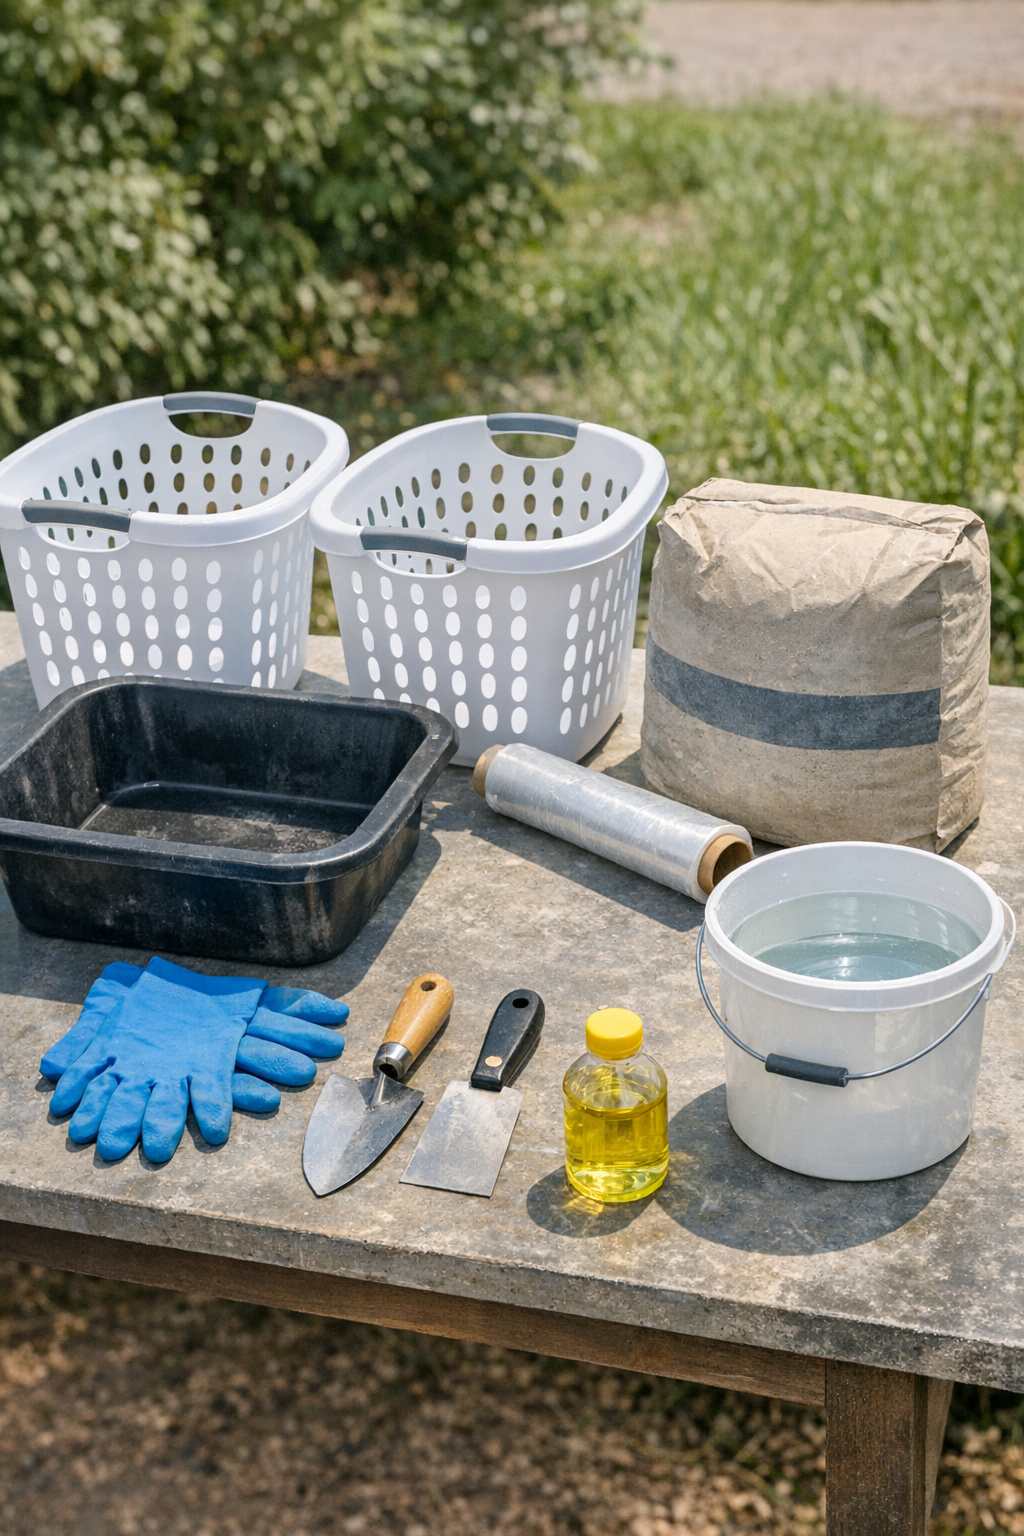
Materials
Instructions
1. Spread your tarp in a flat outdoor work area, and set the two laundry baskets upside down so you can coat them easily from all sides.
2. Wipe the baskets clean and dry, then rub a thin coat of cooking oil over the outside so the cement will release more cleanly after curing.
3. Wrap the outside of each basket snugly with plastic wrap, pressing it into the woven openings so the basket pattern still shows through.
4. In your mixing tub, combine the cement mix with water a little at a time until it reaches the texture of thick peanut butter and holds on a trowel without sliding off.
5. Starting at the bottom edge, slather a 1/2-inch-thick layer of cement over the outside of the first basket, pressing firmly so the mix settles into the wrapped weave pattern.
6. Continue coating the basket upward in sections, smoothing lightly with the trowel but leaving enough texture for the woven design to remain visible.
7. Shape the rim and base with your putty knife, and patch any thin spots so the cement shell is even and sturdy all around.
8. Repeat the coating process on the second basket, then let both pieces sit undisturbed for 24 hours until they are firm to the touch.
9. After the first cure, gently wiggle and lift the plastic baskets out from the cement shells, peeling away the plastic wrap if it sticks.
10. Turn the planter upright and let it cure for another 48 hours, misting it lightly once or twice a day so the cement hardens slowly and gains strength.
11. Sand any sharp edges if needed, then place a nursery pot or liner inside before adding soil, since this style works best as a decorative outer planter.
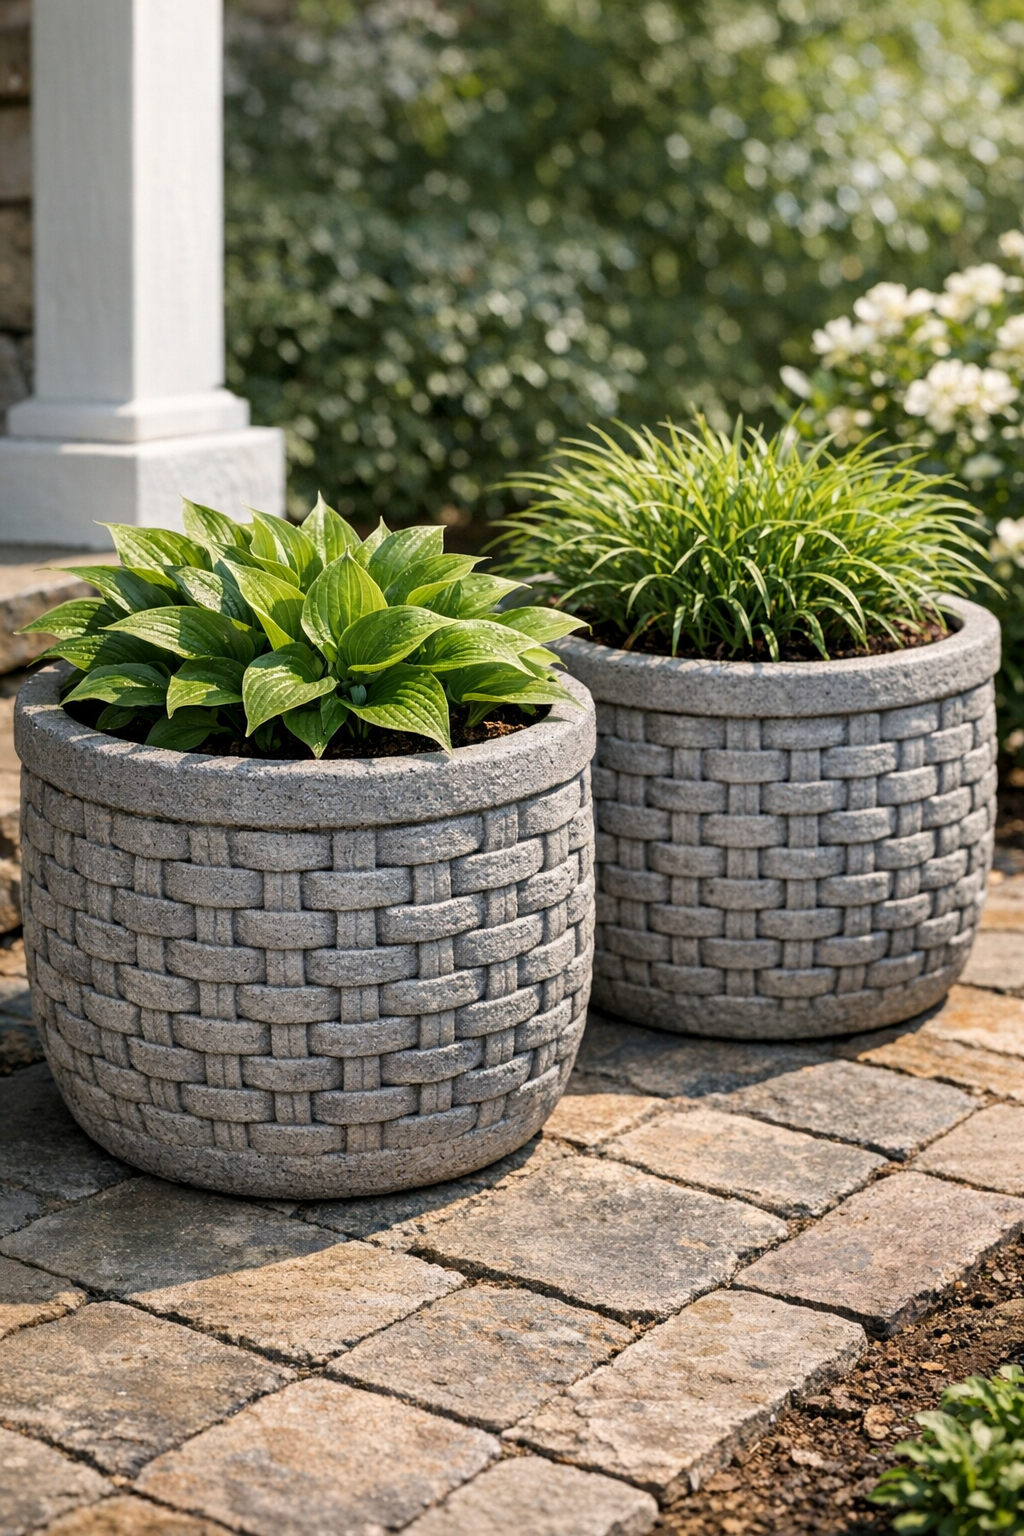
12. Set your finished planters in place and fill the liners with flowers, herbs, or trailing vines for a sturdy woven-look garden accent.
Variations & Tips
Different basket shapes: Round baskets give a classic crock-style planter, but tall rectangular baskets can make handsome statement containers for a doorway.
For a smoother finish: If you prefer less texture, press the cement in firmly and skim the surface lightly with a damp trowel before it begins to set.
For a rustic look: I like leaving a little unevenness in the surface because once it’s planted up, that old-world handmade character really shows.
Color option: You can brush on a masonry stain or outdoor concrete sealer after full curing if you want a deeper gray or weathered stone color.
Planting tip: Since solid cement planters can be quite heavy, I set them in their final spot before filling the inside liner with soil.
Cold-weather advice: Let the planters cure in mild weather above 50 degrees Fahrenheit if you can; quick temperature swings can weaken fresh cement.
Drainage reminder: If you plant directly in the cement shell instead of using a liner, add proper drainage holes with a masonry bit after the planter has fully cured.