
If you want oversized garden slabs with a surprisingly smooth finish, this is one of those low-cost projects that feels way more clever than complicated. I love a DIY that uses everyday items in an unexpected way, and using cheap plastic clipboards as molds gives these cement slabs such a clean, neat surface with almost no fuss.
This project is great for anyone who wants to make stepping stones, a small patio section, or a stable base for planters without buying pricey premade pavers. As someone who is usually squeezing projects in between work and making dinner, I really appreciate that this one is simple to set up, easy to repeat in batches, and doesn’t require fancy tools.
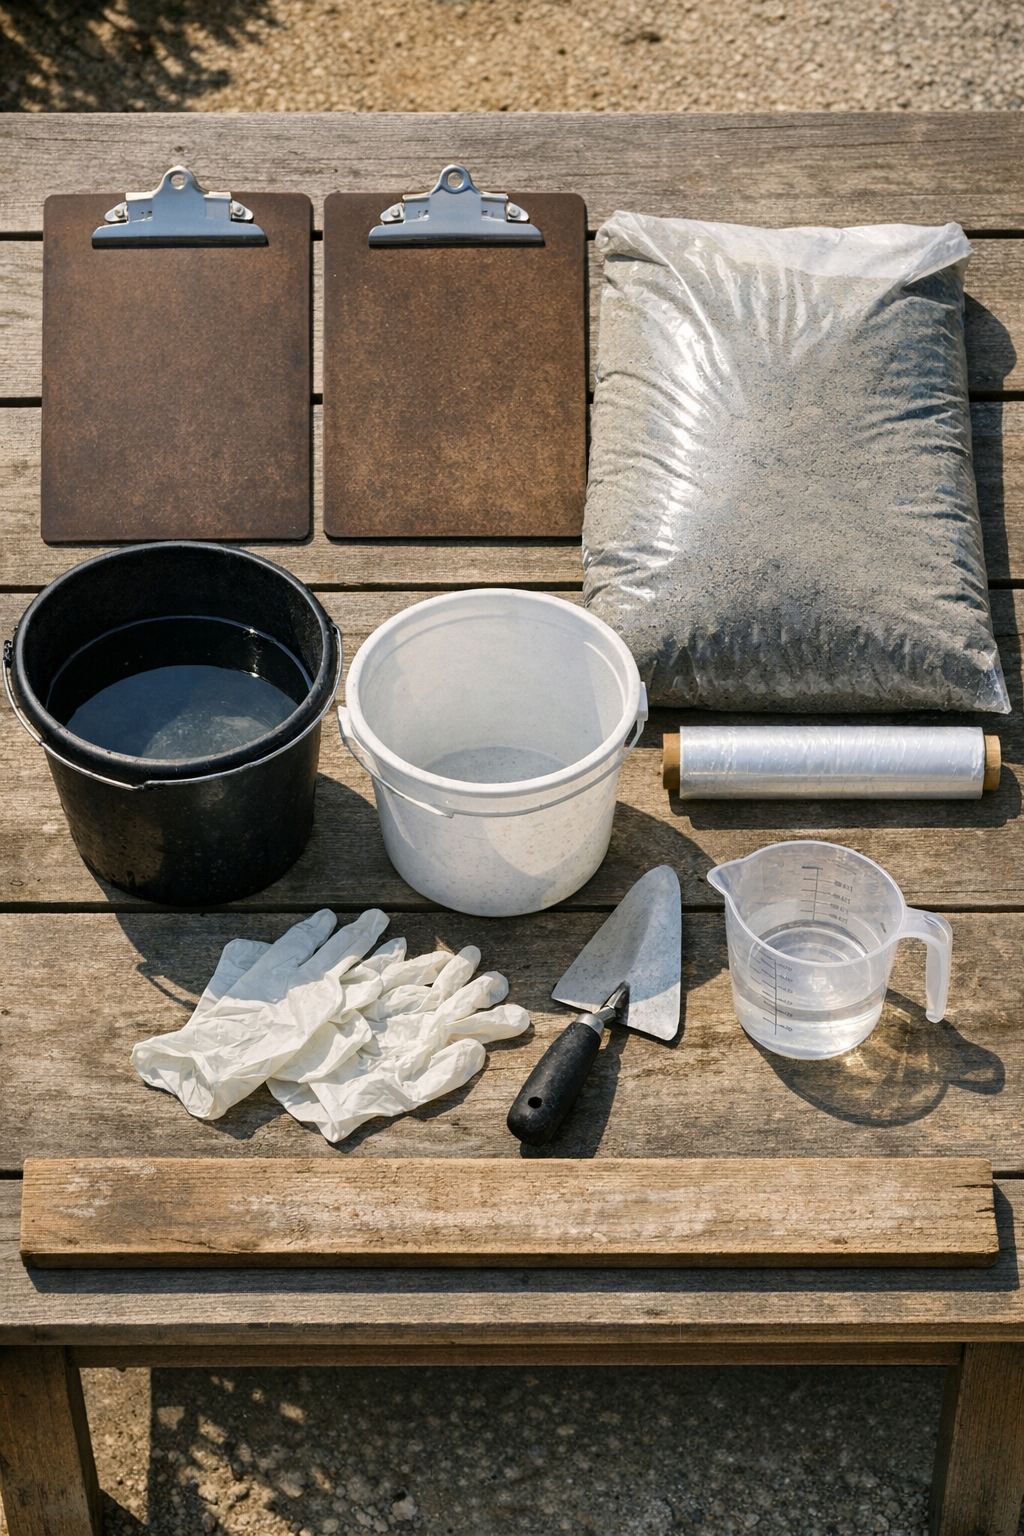
Materials
Instructions
1. Set up your work area on a flat surface and cover it with a drop cloth or trash bags. Make sure the spot can stay undisturbed for at least 24 to 48 hours while the slab cures.
2. Open both clipboards and remove any paper or inserts so you are left with the smooth plastic surfaces. If you want easier demolding, lightly coat the inside faces with a tiny amount of cooking spray or oil and wipe off the excess.
3. Tear off enough plastic wrap to fully line one clipboard and extend a few inches past the edges. Press it down as smoothly as possible so the cement won’t stick and the slab surface stays sleek.
4. Mix the concrete in a bucket according to the bag directions, adding water slowly until it reaches a thick brownie-batter consistency. Stir well so there are no dry pockets, but keep it stiff enough to hold its shape.
5. Scoop the wet concrete onto the plastic-lined clipboard and spread it evenly with your trowel. Build the layer to about 1 1/2 to 2 inches thick for a heavy, durable garden slab.
6. Tap the clipboard gently against the table a few times to release trapped air bubbles. Smooth the top with the trowel, then drag the scrap board across the surface to level it.
7. Lay another sheet of plastic wrap over the top of the wet concrete so it won’t stick to the second clipboard. Place the second clipboard on top, smooth side facing down, and press gently to create a flat, even slab.
8. Check the edges and add or remove a little concrete if needed so the slab stays evenly filled. Press down lightly across the top clipboard without forcing all the mix out the sides.
9. Leave the slab to set for 24 hours before moving it, then carefully remove the top clipboard and peel back the plastic wrap. If the slab still feels soft, give it another day before unmolding fully.
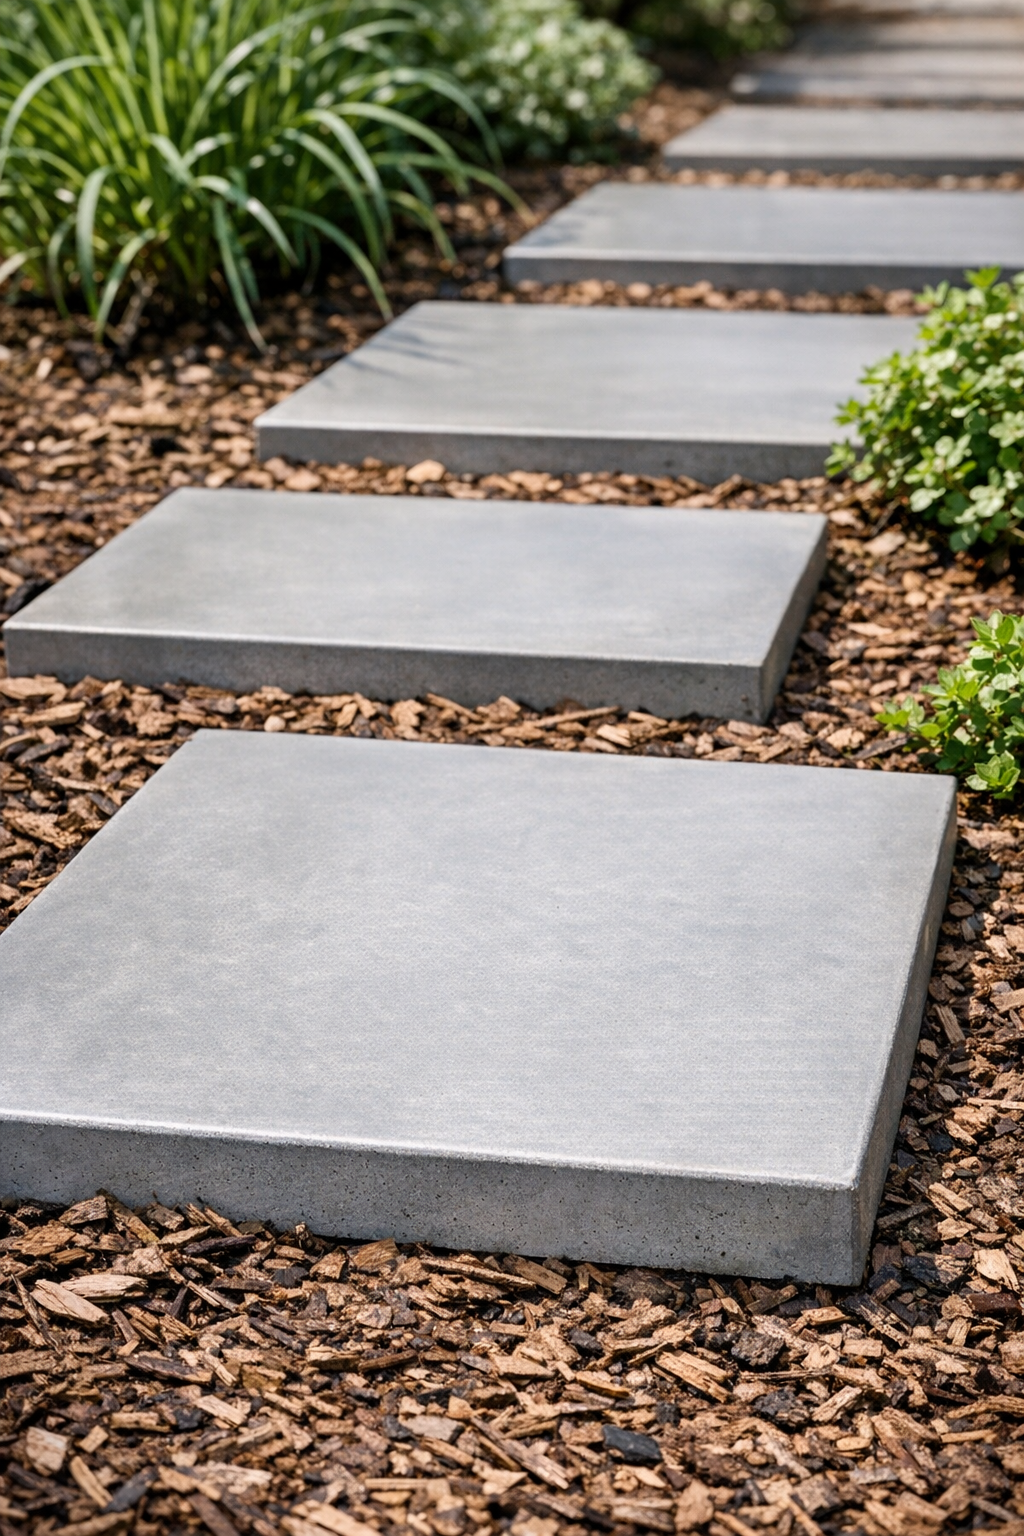
10. Let the slab cure for an additional 2 to 5 days in a shaded spot, lightly misting it once or twice a day if the weather is hot or windy. Once fully cured, place it in the garden as a stepping stone, paver, or planter base.
Variations & Tips
For larger batches: If you want a whole path, make several slabs over a weekend and rotate your molds as each one firms up. I like doing this assembly-line style because it fits nicely into a busy schedule.
For cleaner edges: Run a gloved finger lightly along the edges after unmolding if they feel sharp or crumbly. A tiny bit of smoothing early on makes them look much more finished.
For a different texture: Keep the plastic wrap as smooth as possible for sleek faces, or leave a few gentle wrinkles if you want a subtle stone-like surface. I usually go smoother near the house and more textured out in the garden beds.
For stronger slabs: Keep the thickness at least 1 1/2 inches if the slabs will be used as stepping stones. Thinner pieces can work as planter bases, but they are more likely to crack under weight.
For easier release: Do not skip the plastic wrap, because it acts as the simple everyday barrier that makes this trick work. If concrete sticks at all, let it cure a little longer before trying to separate the mold.
Placement tip: Set the finished slabs on compacted soil or a thin layer of sand so they sit evenly. That small prep step helps prevent rocking, which is something I learned the hard way after placing a wobbly one next to my herb bed.