
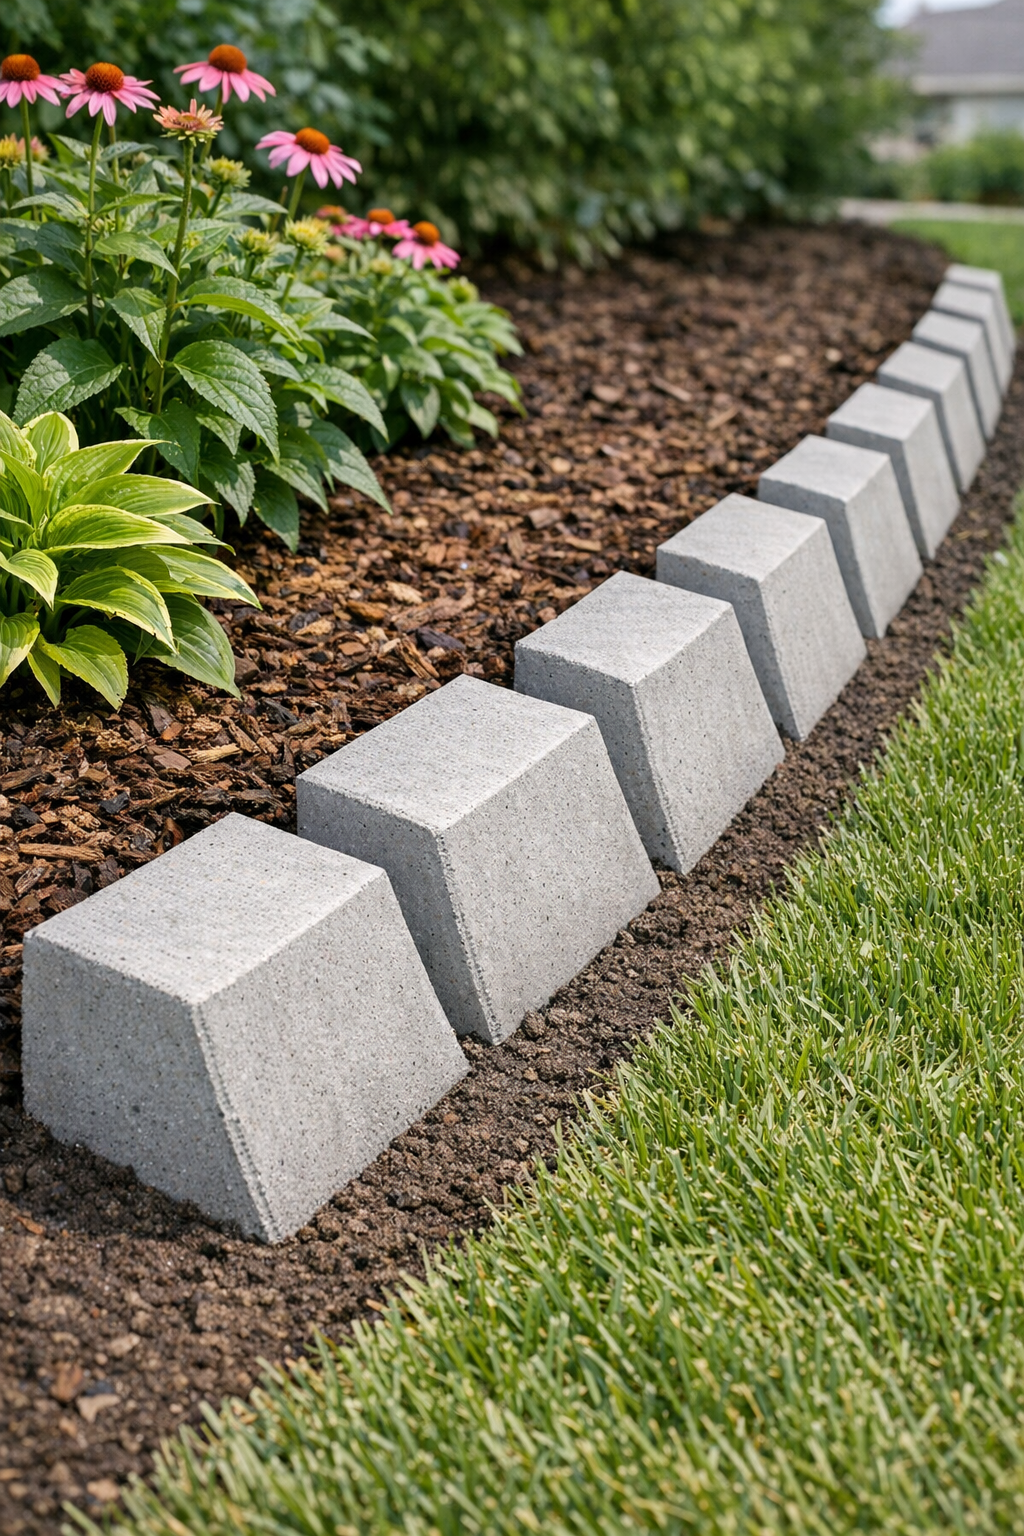
I love a project that uses something inexpensive in a completely unexpected way, and this garden edging is exactly that. By filling open vinyl 3-ring binders with cement, you can make sturdy angled edging pieces that give flower beds and walkways a clean, modern border without buying premade concrete forms or pricey landscape blocks.
This is a great weekend DIY if you want a crisp garden edge that looks custom but fits a real-life budget. I’m always looking for ways to make my yard look more polished without turning it into a month-long project, and this one checks that box beautifully. If you’re comfortable mixing a bag of cement and doing a little outdoor setup work, you can absolutely handle this.
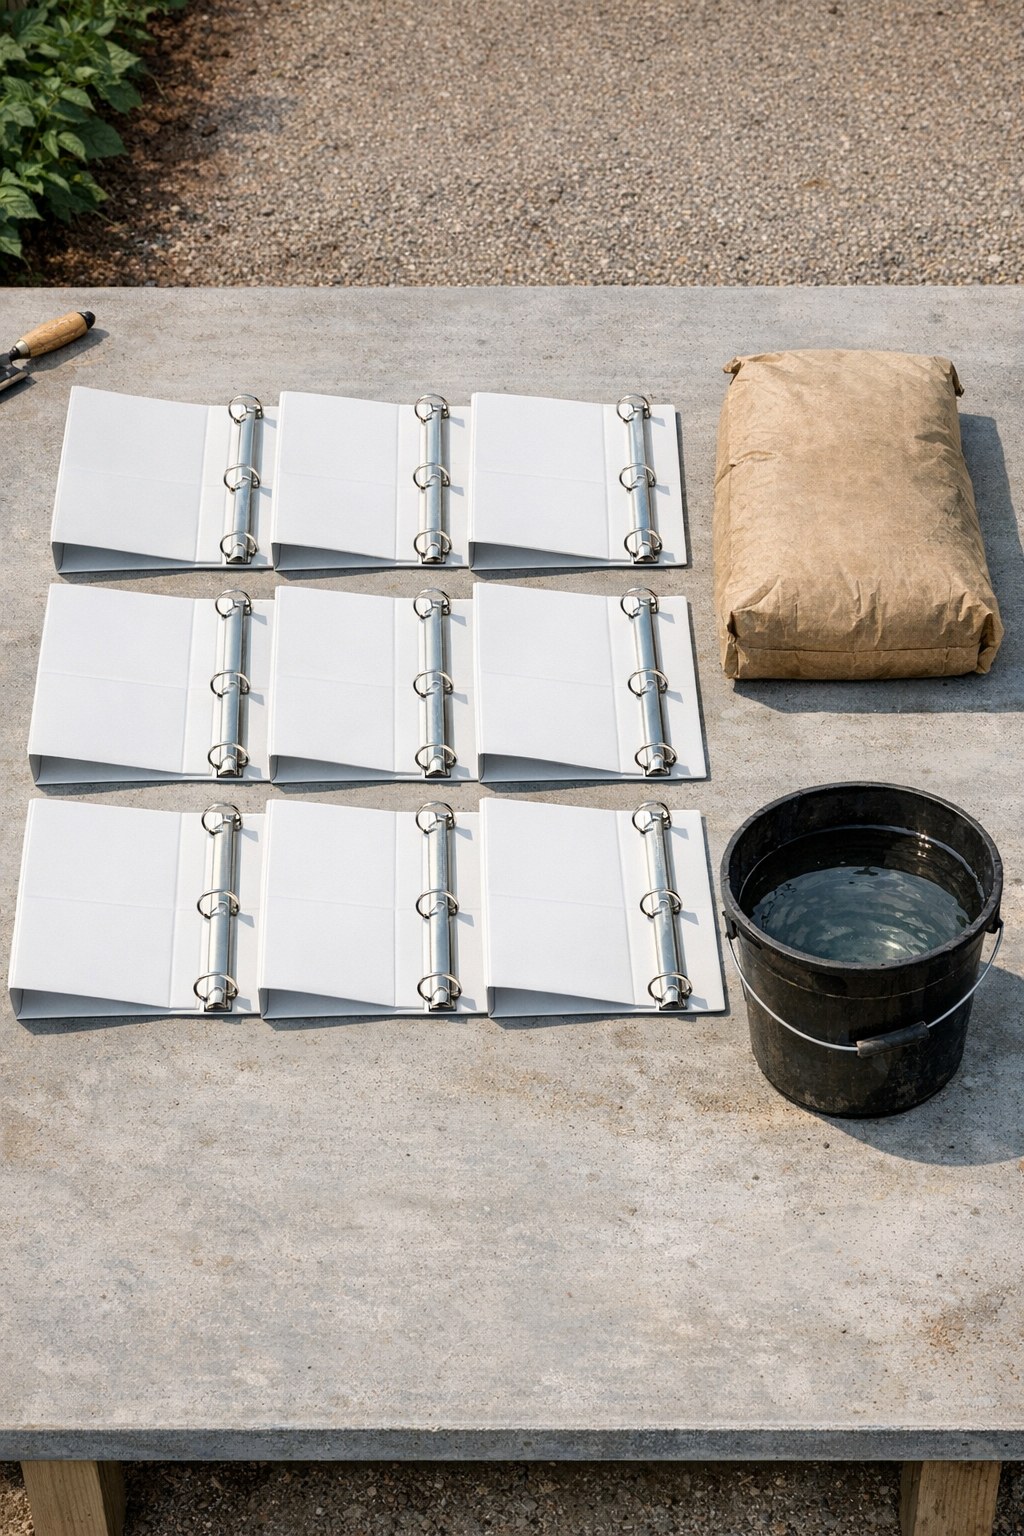
Materials
Instructions
1. Choose the area you want to edge and measure the total length so you know how many binder forms you need. Each filled binder makes one angled concrete edging piece roughly the length and height of the binder cover.
2. Set up a flat outdoor work surface and cover it with a plastic drop cloth. Put on gloves and a dust mask before opening the cement mix.
3. Open each vinyl binder fully so it forms a wide V shape, then remove any loose paper inserts, labels, or pockets if possible. Wipe the inside surfaces clean and lightly coat them with cooking spray or mineral oil so the cement releases more easily later.
4. Use duct tape to seal any openings along the binder edges and spine where wet cement could leak. Press the tape firmly so the forms hold their shape while curing.
5. Mix a small batch of cement in the bucket according to the bag directions, adding water gradually until it reaches a thick scoopable consistency similar to stiff oatmeal. Do not make it soupy, or the forms may bulge and leak.
6. Scoop the cement into each open binder, filling both sides evenly so the weight stays balanced. Stop about 1/2 inch from the top edge to prevent overflow when you tap the form.
7. Tap the sides of each binder gently and press the cement into the corners with a stir stick to release air pockets. Smooth the top surface with a small trowel or a scrap wood strip.
8. Leave the filled binders undisturbed on a flat surface for 24 to 48 hours, or until the cement is firm enough to handle. If the weather is hot or windy, loosely cover them with plastic so they cure more slowly and evenly.
9. Peel away the duct tape and gently open the binder covers to release each cured concrete piece. If a binder sticks, flex the cover slowly instead of prying hard against the concrete.
10. Let the concrete edging pieces continue curing for another 3 to 5 days before installation so they gain strength. Keep them in a shaded area and lightly mist once or twice a day if conditions are very dry.
11. Dig a shallow trench along your garden bed, about 3 to 4 inches deep and slightly narrower than the base of the edging pieces. Place each angled concrete section into the trench with the sloped face leaning outward for a clean finished look.
12. Backfill soil firmly around each piece and check alignment as you go so the row stays even. Water the soil lightly to help settle everything in place.
Variations & Tips
Use matching binders: If you want the edging to look consistent, use binders that are all the same size and thickness. I’ve learned the hard way that “close enough” can look surprisingly uneven once everything is lined up in the yard.
Add reinforcement: For longer-lasting pieces, you can press short lengths of galvanized wire or narrow hardware cloth into the center of the wet cement before smoothing the top. This is especially helpful if your soil shifts with freeze-thaw cycles.
Try a tinted finish: If plain gray concrete feels too stark, brush on a masonry stain after the pieces are fully cured. A charcoal or warm stone tone can make the edging blend in beautifully with mulch and landscaping.
Make installation easier: I like to install a few pieces at a time instead of carrying the whole batch across the yard at once. These get heavy quickly, and breaking the job into sections makes it much more manageable after a full workweek.
Work in small cement batches: Mixing only enough cement for two or three binders at a time gives you more control and less waste. It also helps you keep the texture consistent from piece to piece.
Expect a little trial and error: Your first binder might not come out perfect, and that’s okay. Once you see how full the mold should be and how thick the mix needs to stay, the rest usually go much more smoothly.