
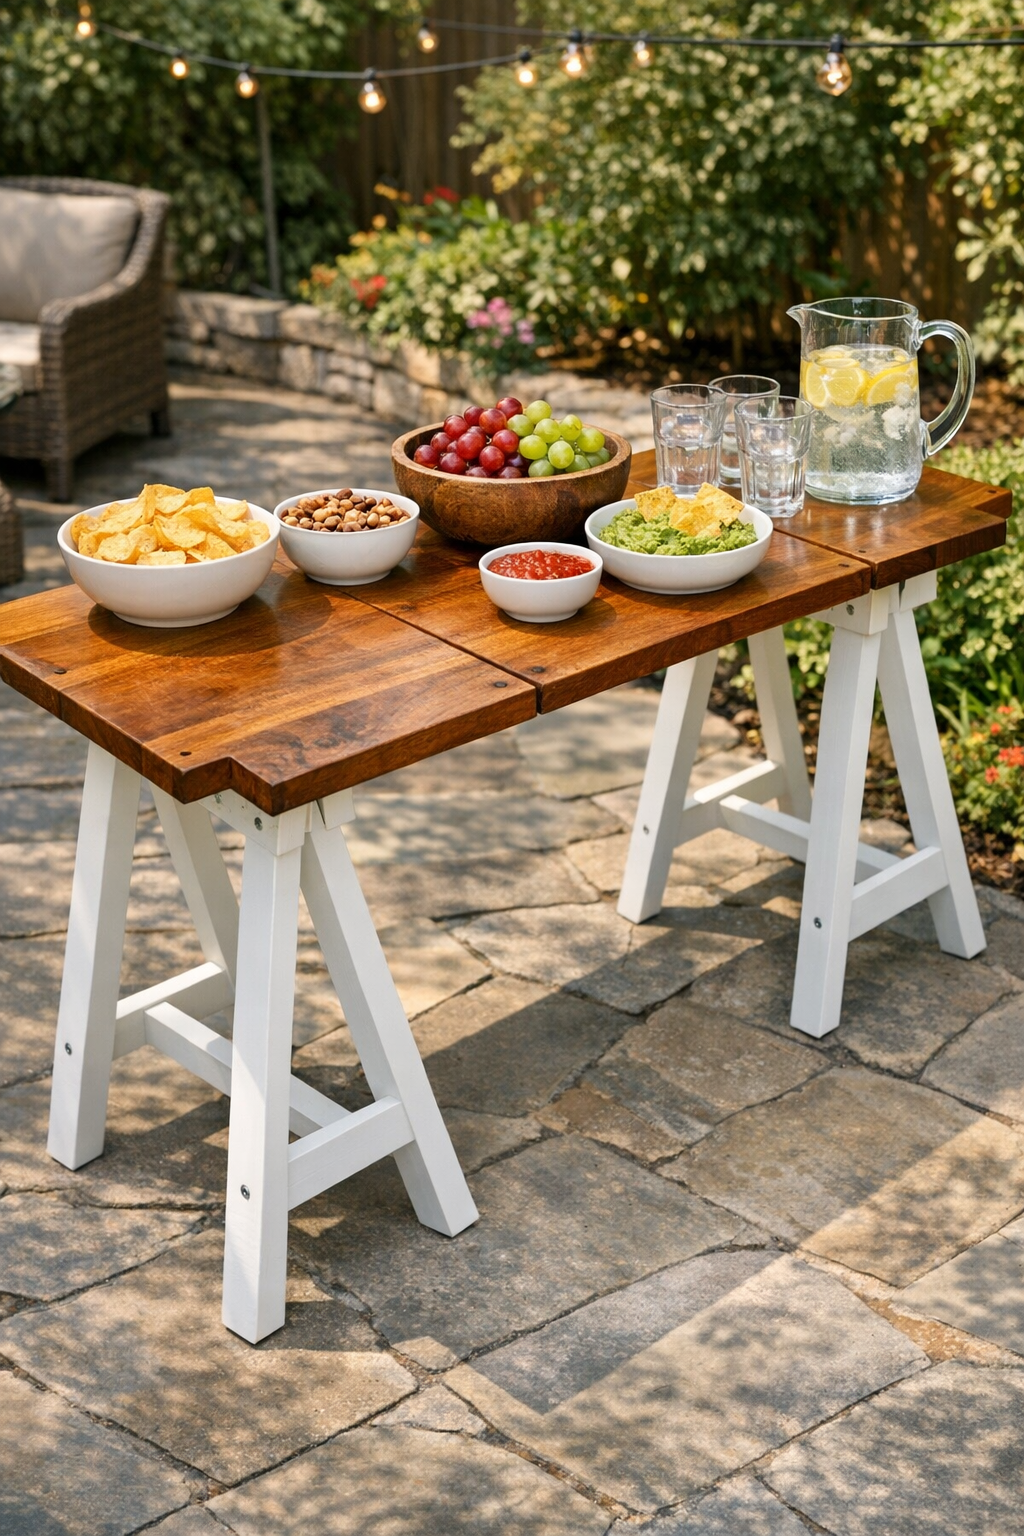
There’s something mighty satisfying about making a simple backyard piece that solves a real problem. This outdoor snack bar is built by hinging wooden cutting boards onto painted sawhorse legs, and the result is a folding serving station that looks charming, works hard, and stores away without much fuss. I love projects like this because they feel a little old-fashioned in the best way: practical, sturdy, and ready for a pitcher of lemonade, a bowl of chips, or a plate of burgers hot off the grill.
To me, this is the sort of project that fits right into easy summer entertaining. If you’re handy with a drill and measuring tape but don’t want a complicated woodworking build, this is a good one to tackle. The cutting boards create a warm wood top, the painted sawhorses give it height and support, and the whole thing can be dressed up or down depending on your patio style.
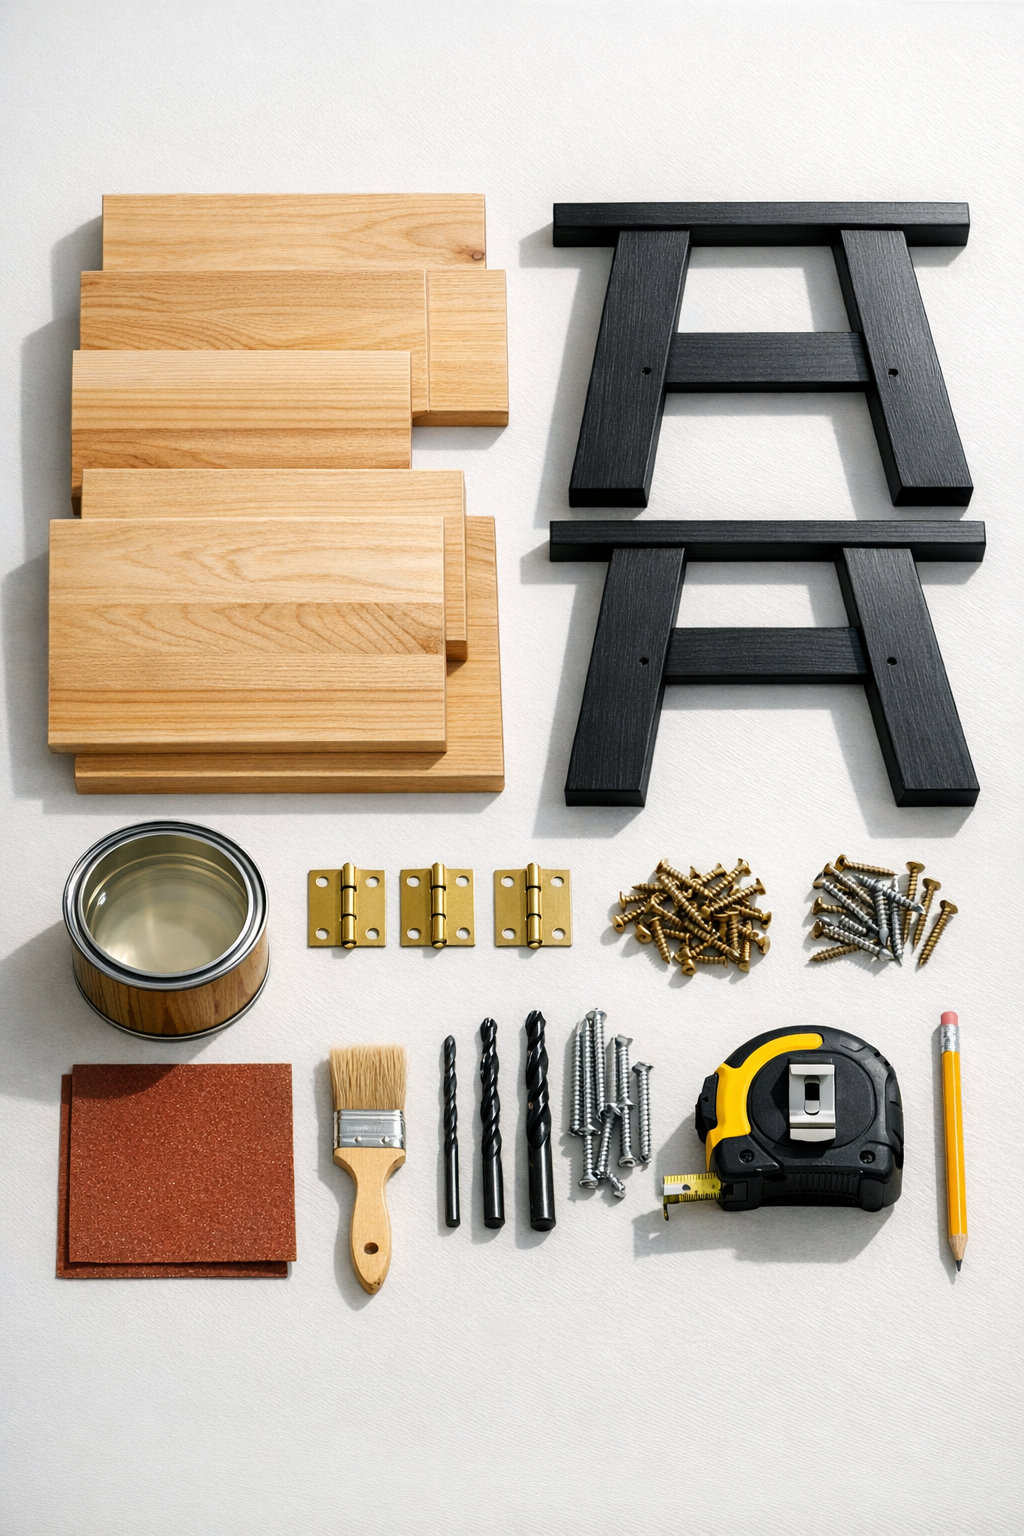
Materials
Instructions
1. Set your sawhorses up on a flat surface and measure the width across the top supports so you know exactly how wide your cutting board top needs to span.
2. Lay the four cutting boards face down in a row with their long sides touching, and arrange them until the edges are square and the total length looks even.
3. Sand the boards lightly with 120-grit paper, then smooth them with 220-grit, paying special attention to corners and cut edges so the finished bar is comfortable to use.
4. Wipe away all dust with a clean rag, then brush on a coat of exterior wood sealer and let it dry fully according to the product directions.
5. With the boards still face down, mark three hinge positions across the seams: one about 3 inches from each end and one centered in the middle seam area.
6. Predrill small pilot holes for each hinge screw so the boards do not split, then screw the hinges in place to connect the boards into one folding top.
7. Turn the hinged top right side up and test the fold to make sure the boards move neatly and sit flat when open; trim or resand any edge that catches.
8. Position the two sawhorses parallel to each other, spacing them so the cutting board top overhangs evenly on both ends by about 2 to 3 inches.
9. Center the cutting board top over the sawhorses and mark where the top rails touch the underside of the outer boards.
10. If you want extra hold, add a thin bead of exterior wood glue along the sawhorse contact points, then set the top back in place.
11. Predrill through the underside of the outer cutting boards into the sawhorse top rails, then drive in the 3/4-inch screws to secure the top without piercing through the finished surface.
12. Stand the snack bar upright, check for wobble, and tighten any hardware as needed before setting out drinks, bowls, and serving trays.
Variations & Tips
For a longer bar: Use six narrower cutting boards instead of four and add an extra sawhorse in the center for support. That works especially well if you serve buffet-style for family cookouts.
For a painted finish: Leave the cutting boards natural and paint only the sawhorse legs in a cheerful outdoor color like sage green, navy, or barn red. I’ve always thought a little painted wood brings a backyard to life.
For easier storage: Choose folding sawhorses and hinges that allow the top to collapse neatly. That way you can tuck the whole piece into a shed or garage when the weather turns.
For better weather resistance: Apply two to three coats of exterior sealer to the cutting boards, especially on the edges and underside. In my experience, those hidden surfaces are where moisture likes to linger.
For safer screw placement: Measure the thickness of your cutting boards before drilling, and always use screws shorter than the board thickness. It’s a small step, but it saves you from an ugly surprise on the top side.
For serving convenience: Add small baskets, galvanized tubs, or a tray underneath nearby for napkins and utensils. A snack bar like this shines when everything guests need is within easy reach.