
I’m always looking for practical ways to use up awkward household leftovers, especially the kind that seem too bulky to store and too annoying to throw away. Broken foam coolers definitely fall into that category, and this project turns them into a thick, brushable sealant that can be used for small exterior foundation touch-ups where a water-resistant coating helps protect the surface.
If you like straightforward weekend projects that feel a little bit like kitchen science, this one is genuinely satisfying to make. The foam collapses almost instantly in the liquid, and what you’re left with is a sticky, dense material that can be spread onto clean masonry in thin coats. I like this project for handy homeowners who want a budget-friendly patch coating for minor non-structural areas, but I’d still avoid using it as a substitute for professional waterproofing on major foundation problems.
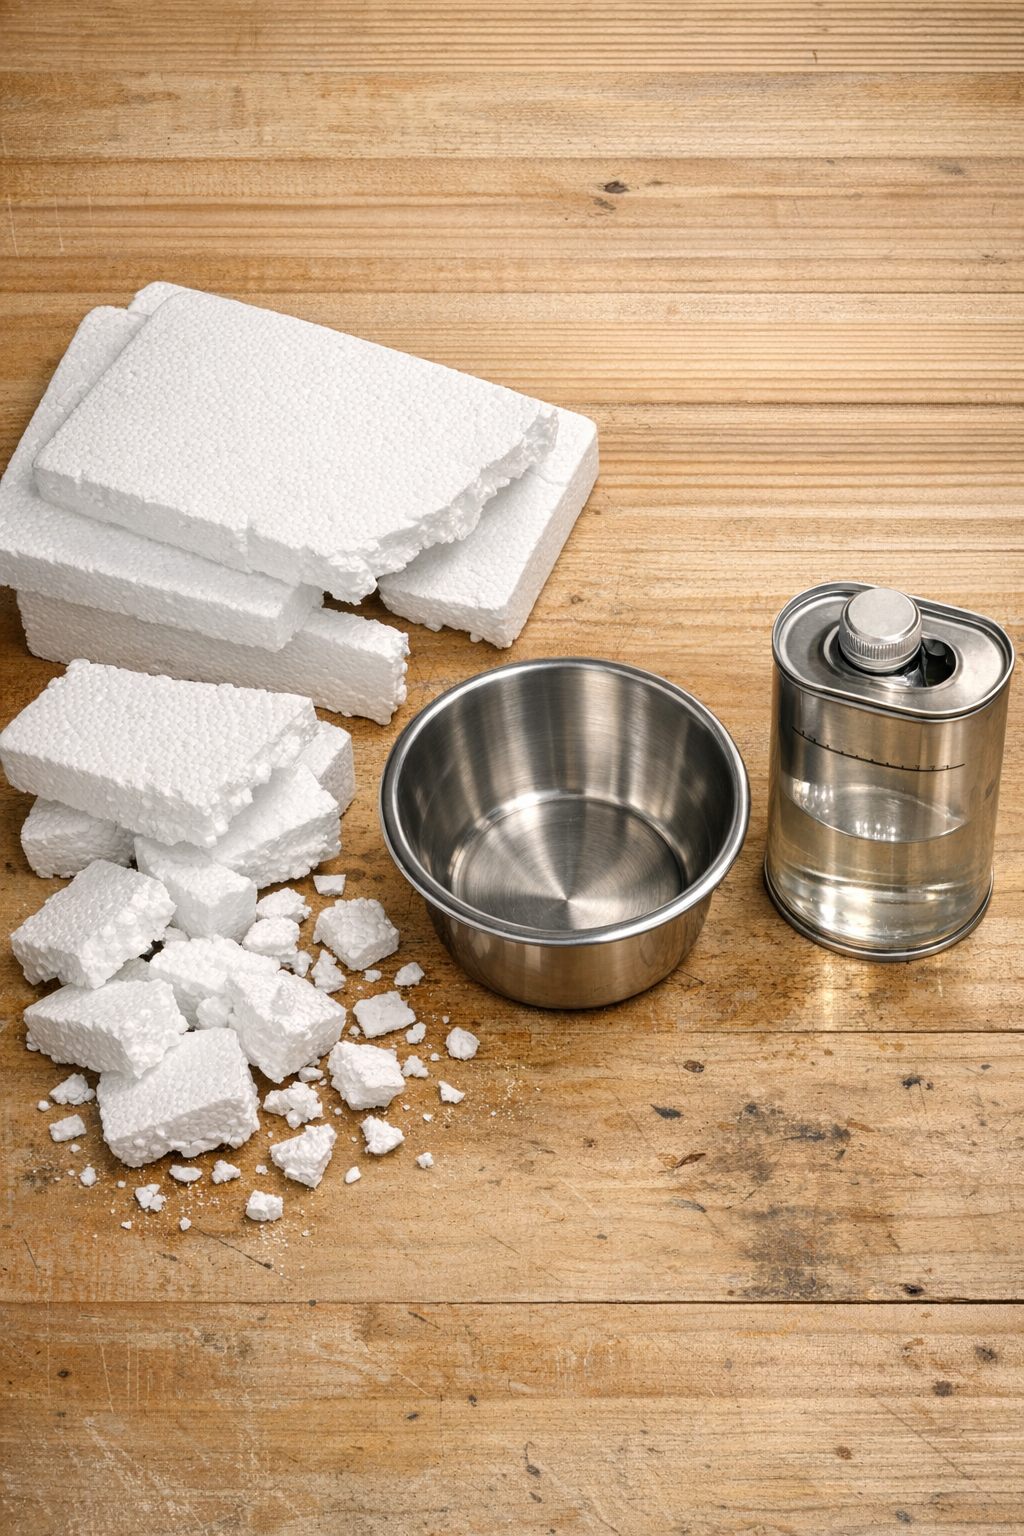
Materials
Broken styrofoam cooler pieces — 1 large cooler, broken into roughly 3- to 6-inch pieces
Instructions
1. Set up outdoors or in a very well-ventilated area, then put on gloves, eye protection, and a respirator before opening the acetone.
2. Cover your work surface with a drop cloth or cardboard and place the metal or glass container in the center so any drips are easy to control.
3. Clean the foundation area you plan to coat by removing loose dirt, dust, flaking paint, and crumbly material with a wire brush and a dry rag.
4. Pour about 2 cups of acetone into the container to start; it’s easier to make a small batch first because the foam reduces dramatically in volume.
5. Add a handful of styrofoam pieces to the acetone and let them collapse, then stir slowly with a wooden stick until the mixture starts looking like thick glue.
6. Continue adding small amounts of styrofoam and stirring after each addition until you reach a syrupy, spreadable paste that holds on the stir stick without dripping fast.
7. If the mixture gets too stiff, add acetone 1 tablespoon at a time; if it gets too thin, add more styrofoam until the consistency feels like heavy roofing tar or thick caulk.
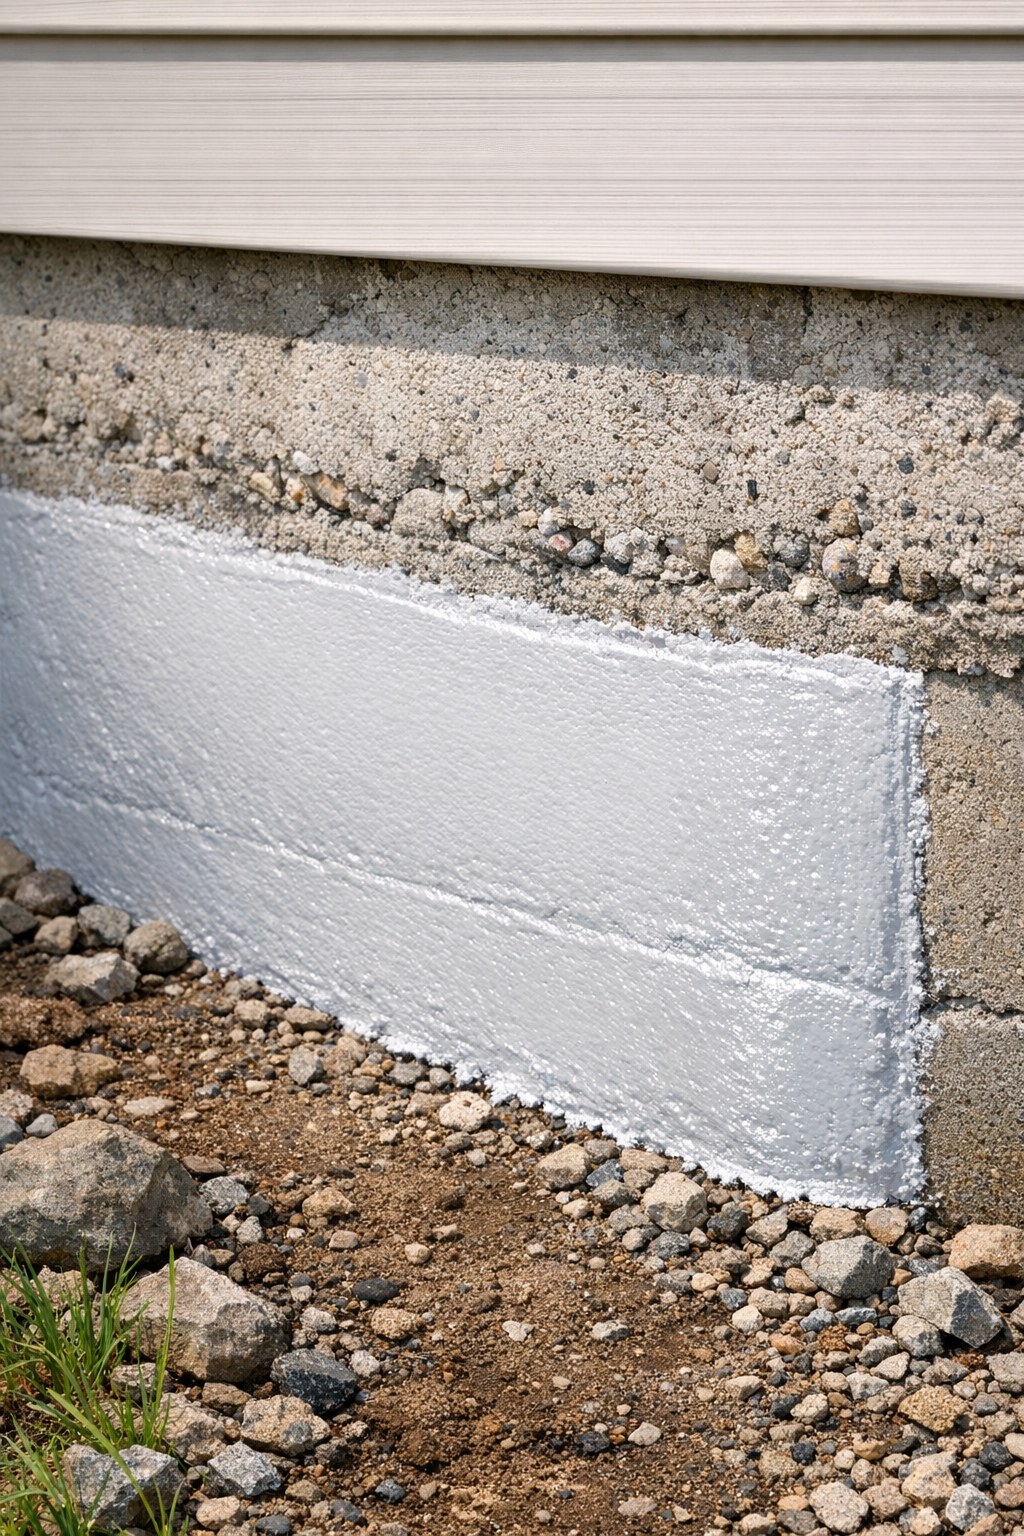
8. Use the brush to apply a thin first coat over the cleaned foundation area, pressing it into pores, hairline surface cracks, and small pits.
9. Let the first coat dry until it is tack-free, usually about 20 to 40 minutes depending on temperature, airflow, and how thickly you applied it.
10. Brush on a second thin coat for better coverage and water resistance, feathering the edges so the patch blends into the surrounding surface.
11. Allow the coating to cure fully for 24 hours before exposing it to rain or splashback, and keep any leftover mixture tightly covered only briefly since it thickens quickly.
12. Dispose of used brushes, stir sticks, and scraps according to local hazardous-waste rules, then inspect the finished patch to make sure there are no missed pinholes or bare spots.
Variations & Tips
For small batches: I prefer mixing only what I can use in 10 to 15 minutes because the paste changes texture fast, especially on warm days.
For better surface prep: This coating sticks best to dry, dust-free masonry, so if the foundation is damp from recent rain, wait another day before applying it.
For crack limits: Use this only for hairline cracks and shallow surface flaws; wider cracks, shifting walls, or active leaks need a proper masonry repair and drainage fix.
For application thickness: Two thin coats work better than one thick coat in my experience, because thick layers trap solvent and stay gummy longer.
For cleanup planning: Once the mixture starts setting, cleanup gets messy in a hurry, so I keep all tools, cardboard, and waste in one area before I even start mixing.
For safety: Acetone is very flammable and the fumes are strong, so keep this project away from sparks, pilot lights, cigarettes, and enclosed spaces at all times.