
If you’ve ever opened a crawlspace door, checked a basement corner, or peeked into a utility area and caught that damp, stale smell, this is the kind of simple weekend project that feels surprisingly satisfying. These DIY moisture-absorbing bricks use crushed leftover charcoal briquettes plus two easy-to-find pantry and household items to make compact, porous blocks that can help pull some humidity from small enclosed spaces.
I love projects like this because they use up something I’d otherwise toss, and they don’t require fancy supplies or a huge time commitment. As someone who’s always trying to keep the house running smoothly around a busy work schedule, I appreciate anything practical, low-cost, and easy to batch-make. These are best for people who want a simple supplemental moisture-control option for crawlspaces, mudrooms, storage corners, or other non-living utility spaces.
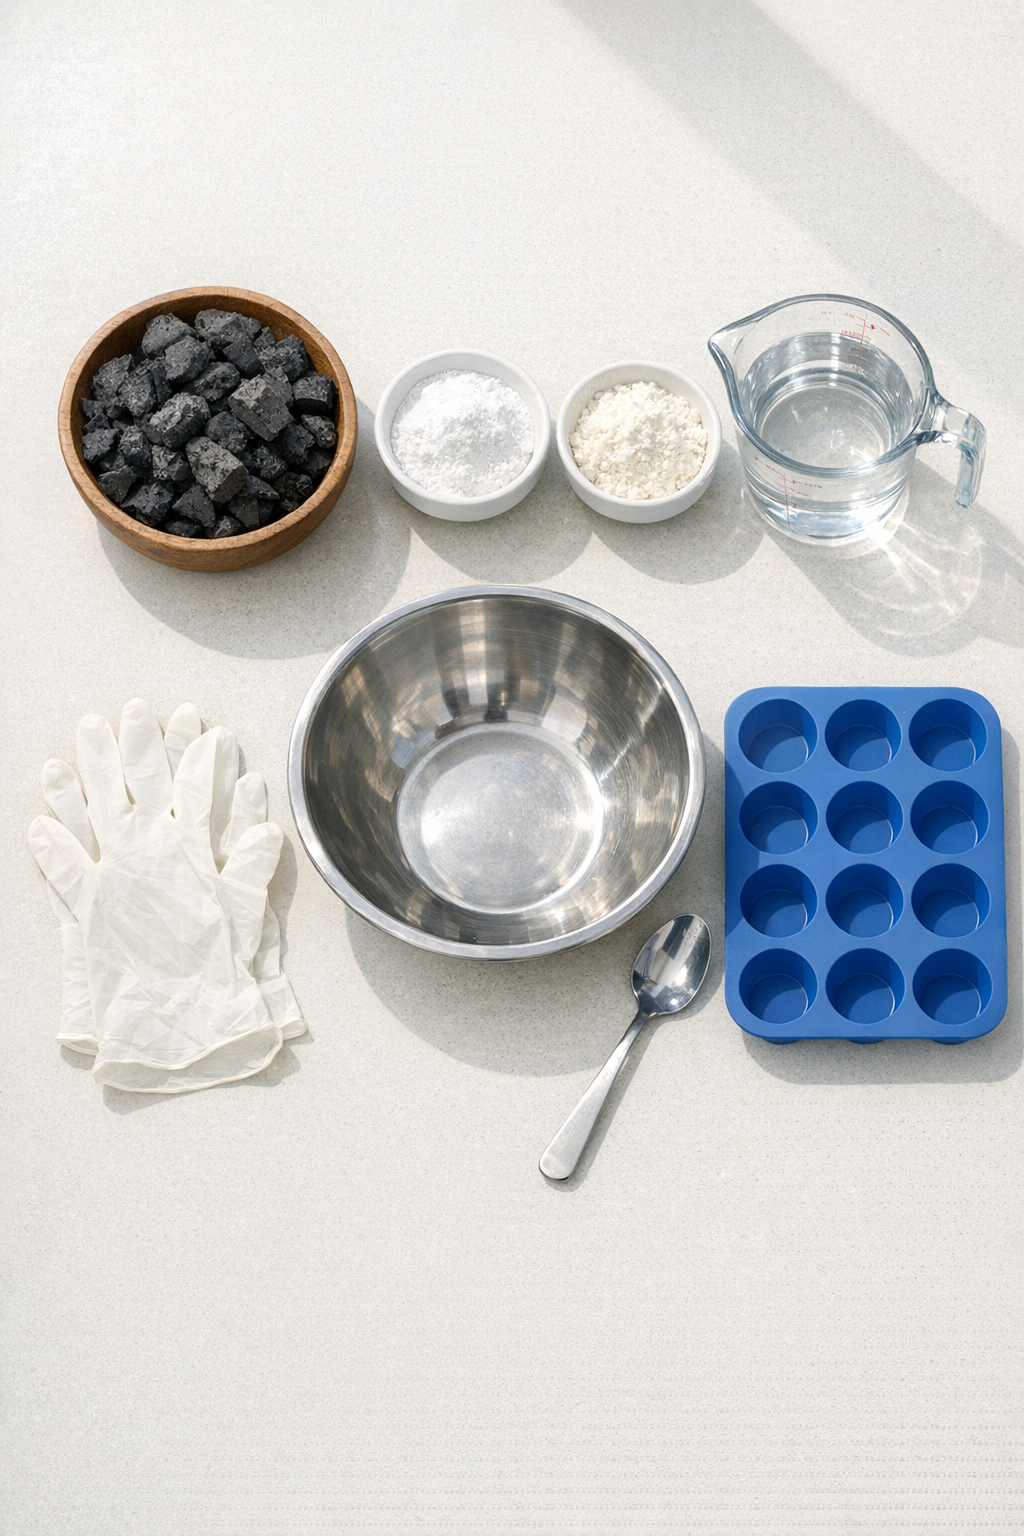
Materials
Instructions
1. Put the leftover charcoal briquettes in a zip-top bag and crush them into coarse crumbs, aiming for pieces about the size of gravel or smaller.
2. Pour the crushed charcoal into a mixing bowl and add the baking soda and cornstarch, then stir until the dry ingredients are evenly combined.
3. Add the water a little at a time, stirring after each addition, until the mixture looks like thick wet sand and holds together when squeezed in your gloved hand.
4. Press the mixture firmly into the silicone mold cavities, packing each one tightly so the bricks hold their shape after drying.
5. Set the filled mold on a tray and let the bricks air-dry for 24 to 48 hours, or until they feel firm enough to remove without crumbling.
6. Gently pop the bricks out of the mold and place them on a parchment-lined tray so the bottoms can continue drying for another 24 hours.
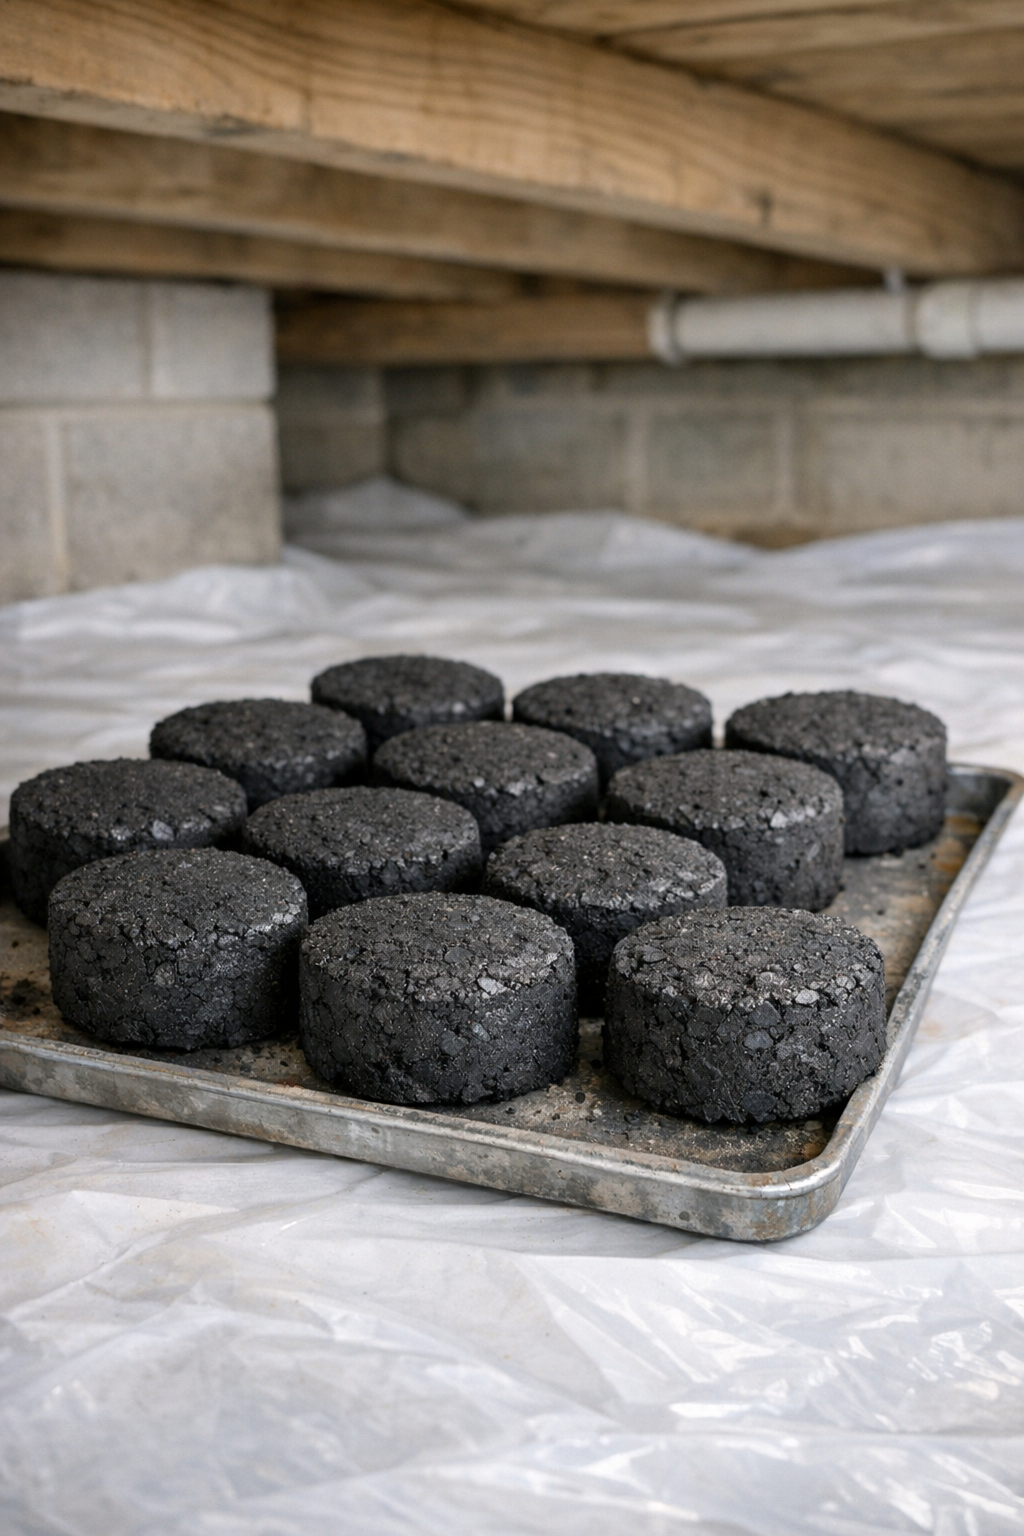
7. Transfer the fully dry bricks to your crawlspace or another damp utility area, spacing them a few inches apart in shallow trays or on scrap boards to keep them off bare ground.
8. Check the bricks every few weeks and replace them if they soften, break down, or develop a persistent musty odor.
Variations & Tips
Use plain charcoal only: Make sure your leftover briquettes are plain charcoal and not instant-light or pretreated with lighter fluid, since those should not be used for this project.
Adjust the texture: If the mixture feels too crumbly, add water 1 tablespoon at a time; if it feels too wet, mix in a little more cornstarch until it packs cleanly.
Make smaller pucks: For tighter spaces, use a silicone cupcake mold or even a soap mold to create smaller moisture-absorbing pieces that are easier to tuck into corners.
Drying time matters: I’ve learned the hard way that rushing unmolding usually leads to cracked bricks, so if they still feel cool or soft in the center, give them another day.
Best placement: These work best in enclosed utility spaces with light airflow, but they are not a replacement for fixing standing water, leaks, or major humidity problems.
Easy replacement routine: If you’re balancing a busy week like I usually am, make a batch of extras and store the fully dried bricks in a sealed bin so you can swap them out quickly later.