
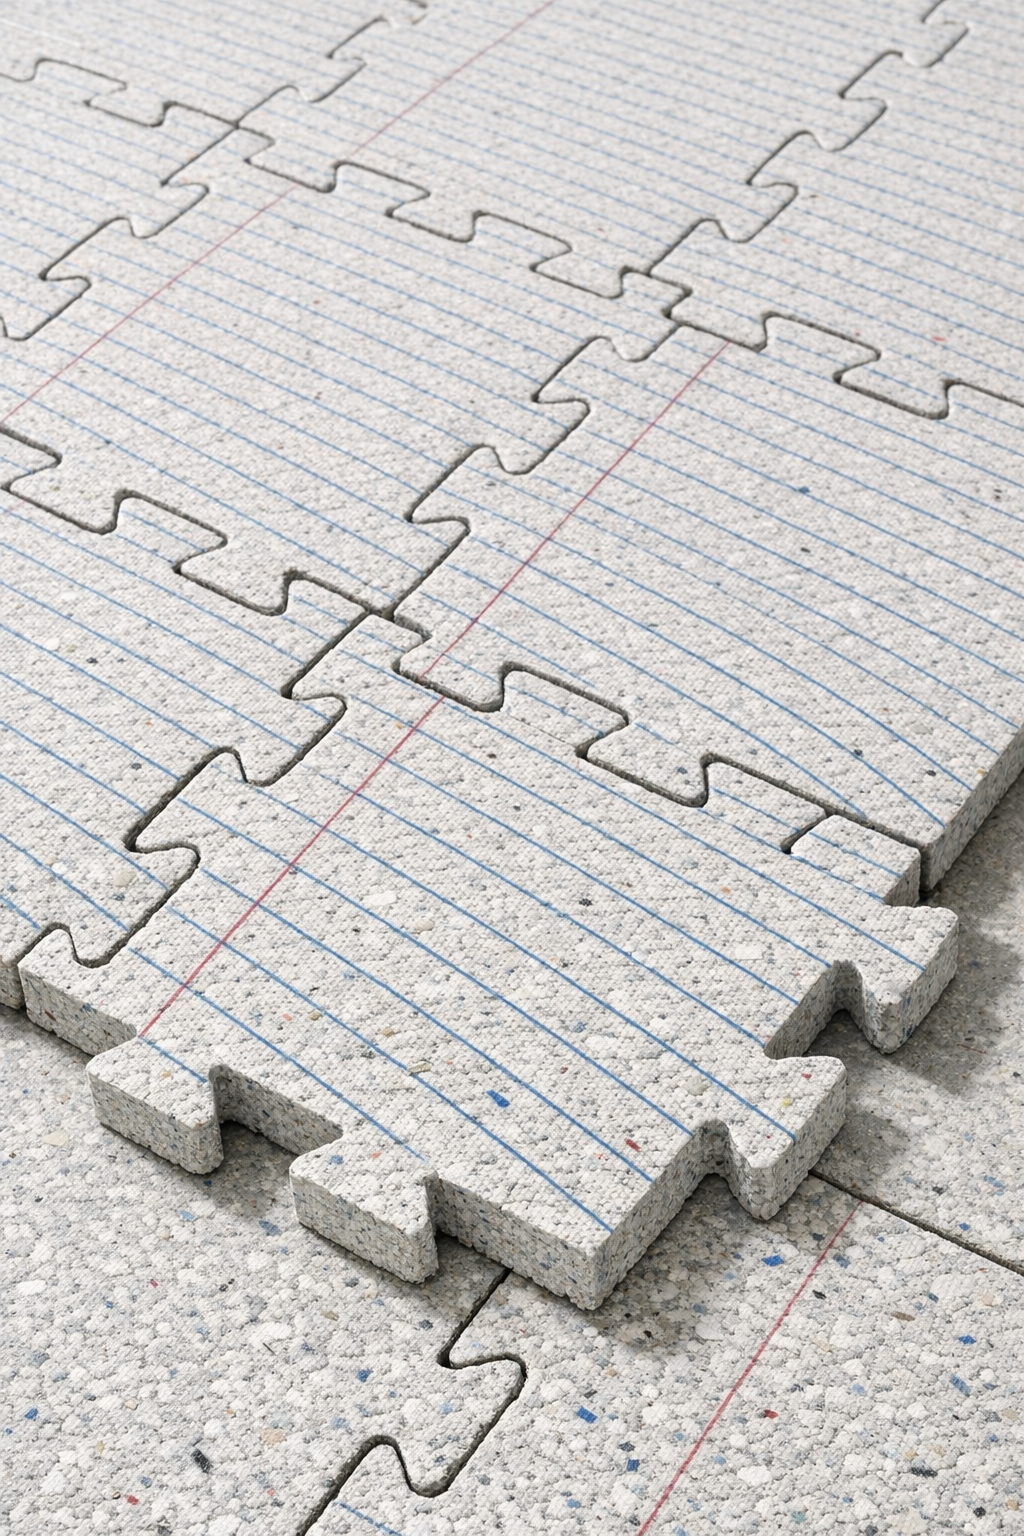
I love a project that turns everyday clutter into something I can actually use, and this one does exactly that. These DIY interlocking floor tiles are made from shredded lined homework paper plus two simple liquids, then pressed into sturdy, shatter-resistant tiles that are great for a playroom corner, a small craft area, or even a mudroom-style drop zone where you want a little cushion underfoot.
As someone who is always trying to keep my house functional without spending a fortune, I’m especially fond of projects like this because they use up what would normally head straight to the recycling bin. If you have a pile of old school papers, a free afternoon, and a little patience for drying time, this is a surprisingly satisfying make.
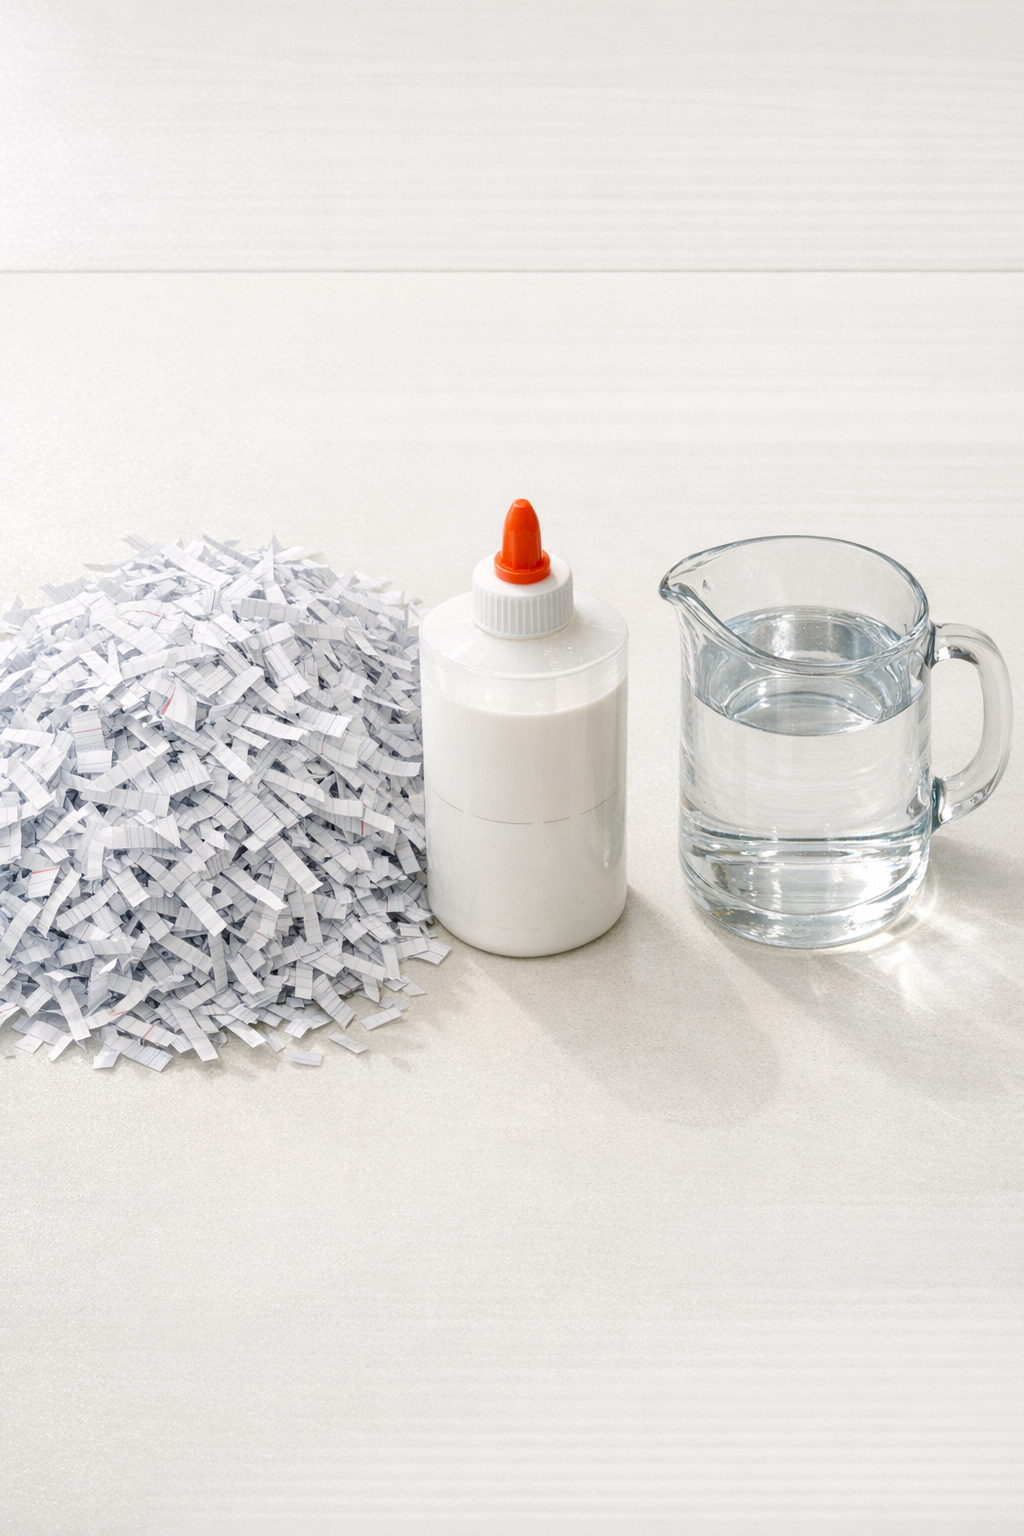
Materials
Shredded lined homework paper - 12 cups, loosely packed
Instructions
1. Put the shredded homework paper in a large bowl or bucket and pour in the warm water. Let it soak for 8 to 12 hours so the fibers soften completely.
2. Mash the soaked paper by hand until it turns into a thick, even pulp with no large dry strips left. Keep squeezing and breaking it up until the texture feels like soft oatmeal.
3. Add the white glue to the pulp and mix thoroughly until the glue is fully distributed. The mixture should hold together when squeezed without dripping excessively.
4. Scoop out a portion of pulp and press it firmly into a flat square or rectangle about 1/2 inch thick, shaping simple interlocking tabs and notches along the edges by hand. Make each tile the same size so they fit together cleanly.
5. Compress each tile as hard as you can with your palms to push out extra moisture and tighten the fibers. Smooth the top and edges so the tabs and notches stay defined.
6. Leave the tiles to dry completely, turning them once halfway through if needed so both sides dry evenly. Depending on airflow and humidity, this can take 24 to 48 hours.
7. Test the fit by locking the dry tiles together on the floor and pressing the seams snug. If any edge is uneven, dampen it lightly with a little water and reshape it before letting it dry again.
Variations & Tips
Make-ahead tip: I like to soak the paper overnight after dinner so the pulp is ready to work with the next day. It breaks up much faster when I don’t try to rush that first step.
Thickness tip: Keep the tiles close to 1/2 inch thick for the best balance of strength and drying time. If they’re much thicker, the centers can stay damp longer than you expect.
Sizing tip: Before shaping all your tiles, make one sample tile first and let it dry. That gives you a chance to adjust the size or interlocking tabs before committing to a whole batch.
Surface tip: These work best in low-moisture indoor spots. I’d avoid placing them anywhere that gets regular puddles or heavy shoe traffic unless you plan to add a separate protective finish later.
Texture variation: If you like a more rustic look, leave the surface slightly pebbled from the paper fibers. For a cleaner finish, spend an extra minute smoothing the tops and edges while the pulp is still damp.
Batch consistency: Try to use the same paper-to-glue ratio for every batch so the tiles dry with a similar feel and fit together evenly. When I’m making multiples, that little bit of consistency saves a lot of frustration at the end.