
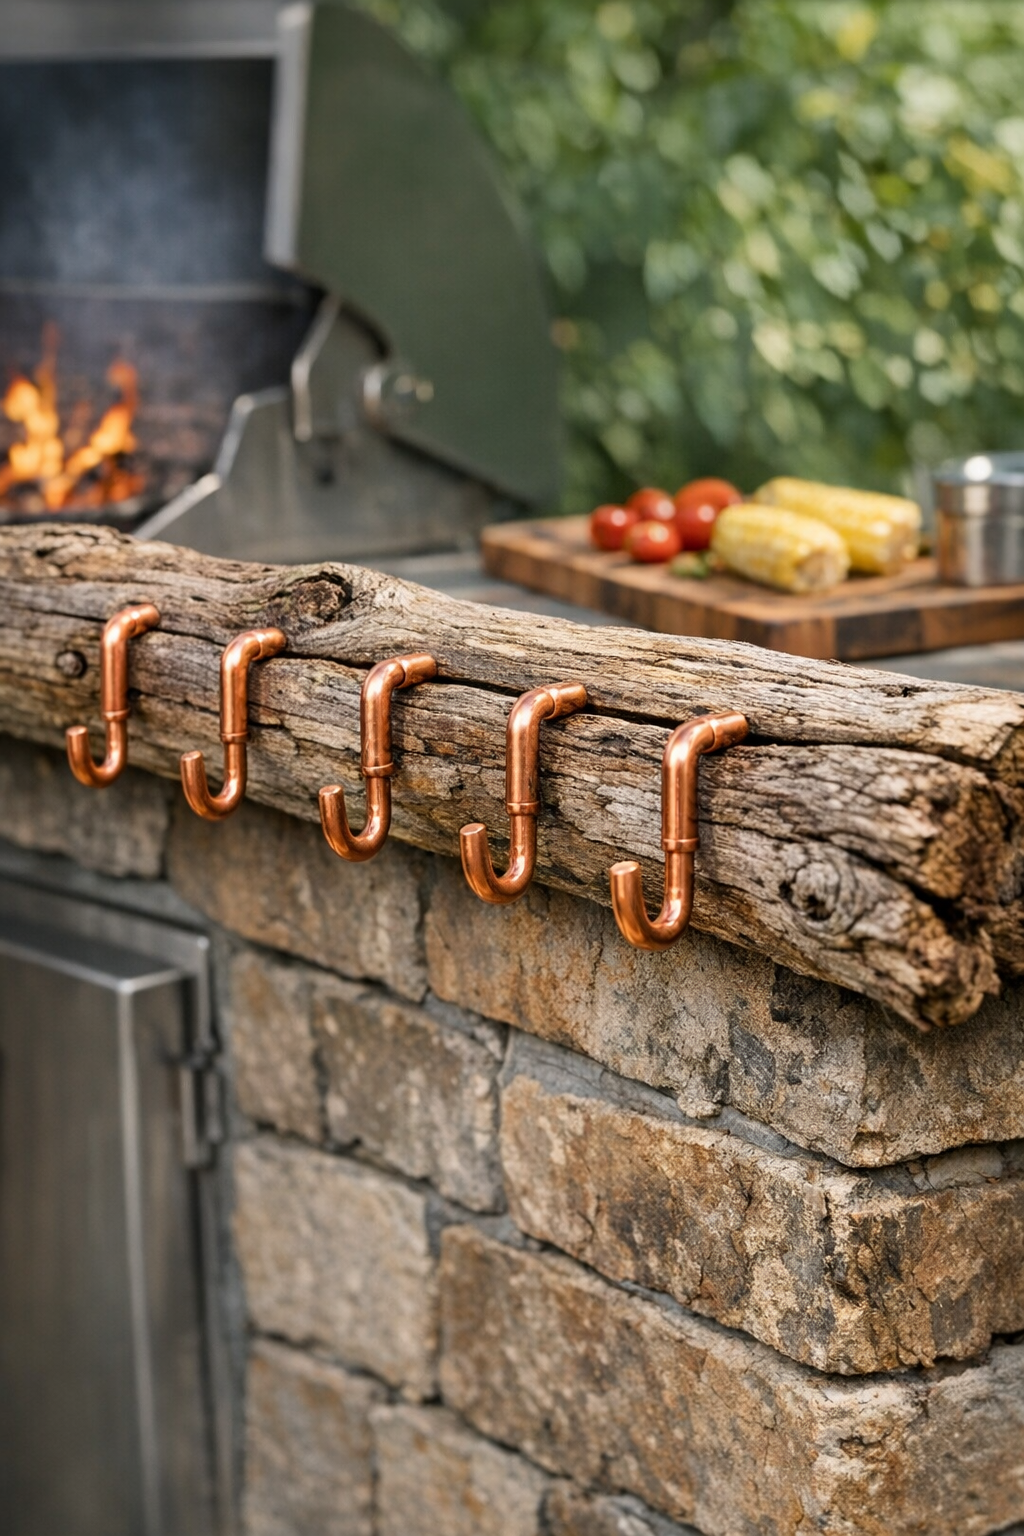
If you love grilling as much as I love feeding a backyard full of family and friends, this little project is one of those satisfying builds that looks charming and actually solves a problem. A driftwood branch paired with hand-bent copper pipe hooks makes a rustic outdoor utensil rack that keeps tongs, grill brushes, and spatulas easy to grab instead of scattered across a side table.
I especially like this project because it doesn’t require fancy woodworking skills, and the finished piece has that warm, collected look that makes an outdoor cooking space feel welcoming. If you can measure, drill a few pilot holes, and bend copper carefully, you can make this in an afternoon.
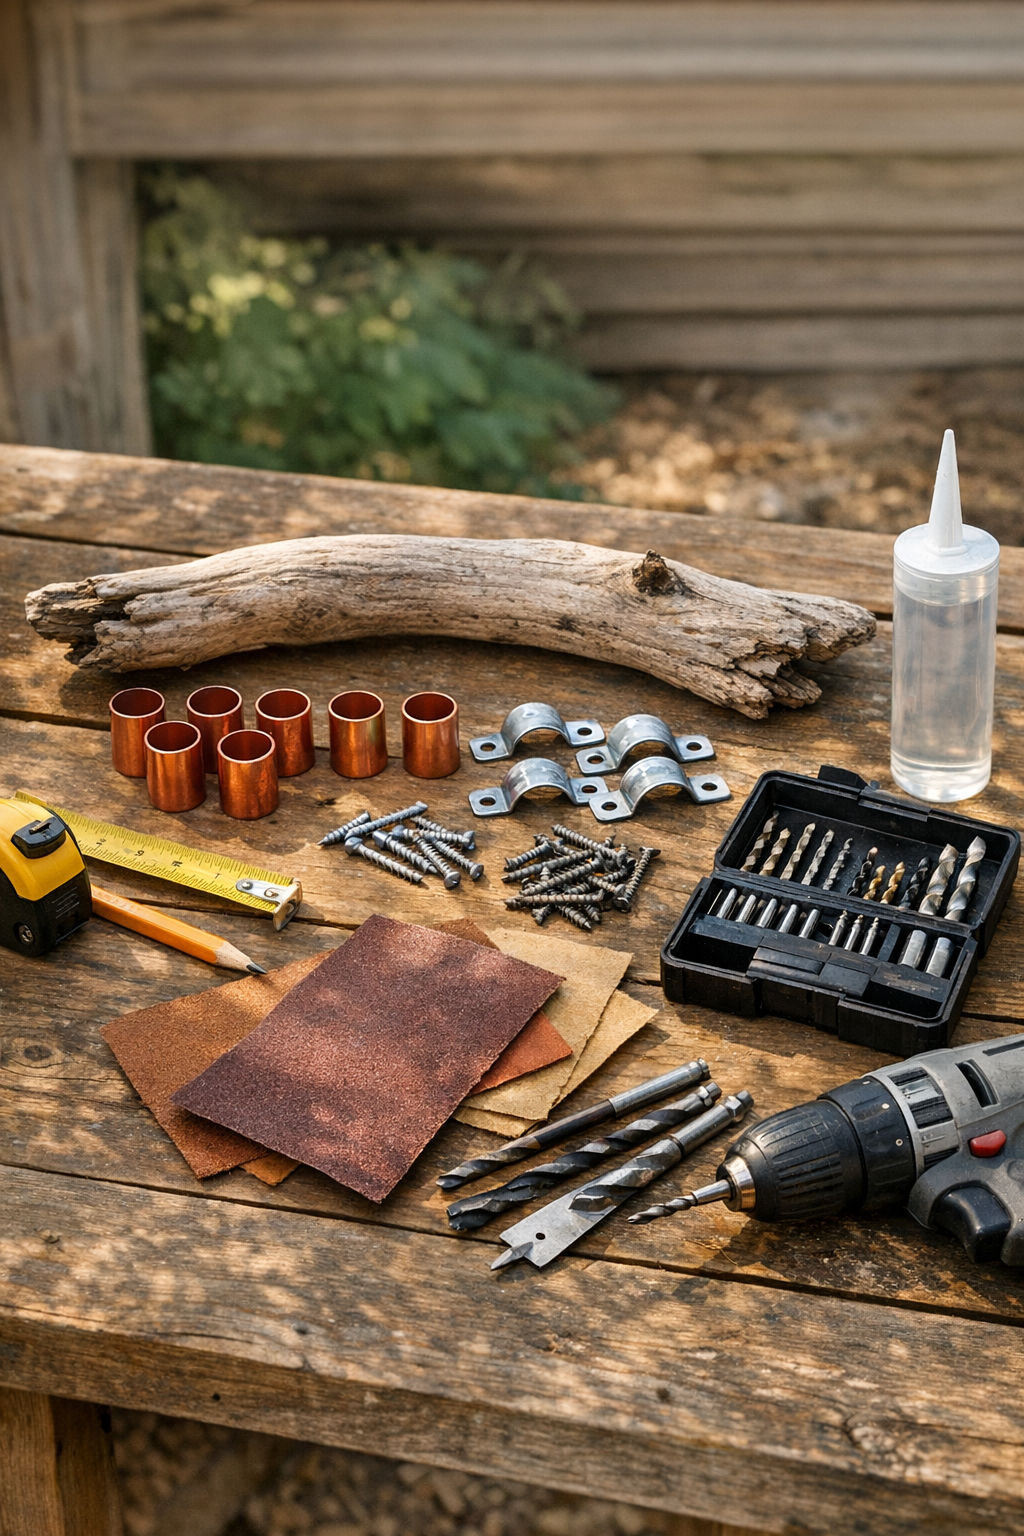
Materials
1 weathered driftwood branch, 30 to 36 inches long and 3 to 4 inches thick
Instructions
1. Brush off the driftwood branch and check that it is dry, solid, and free of soft spots; then lightly sand the whole surface with 120-grit followed by 220-grit paper to smooth splinters without removing its character.
2. Wipe away dust with a clean rag and apply a thin coat of clear outdoor matte sealant to the driftwood; let it dry fully according to the product directions before assembling.
3. Mark a straight line along the front of the branch with pencil, using painter’s tape as a visual guide, and space 5 hook positions about 5 to 6 inches apart so grilling tools will hang without bumping into each other.
4. Bend each 8-inch piece of 1/2-inch copper pipe into a hook shape by curving one end into a rounded upward hook and leaving about 1 1/2 inches of straight pipe at the other end for mounting.
5. Hold each copper hook in place on its mark and set a copper pipe strap over the straight mounting end, making sure the hook opening faces upward and slightly outward for easy grabbing.
6. Drill pilot holes for each pipe strap screw, then fasten the straps with #8 x 1-inch stainless screws until snug; do not overtighten, since driftwood can crack if forced.
7. Turn the branch over and attach the 2 D-ring hangers near each end on the back side, keeping them level so the rack will hang evenly.
8. Rub a light coat of clear metal wax or outdoor metal protectant onto the copper hooks, then let everything cure before hanging the rack on a fence, grill station wall, or sturdy post.
Variations & Tips
For bigger grill tools: Use 10-inch lengths of copper pipe instead of 8-inch pieces so you can form deeper hooks for heavy tongs or extra-long spatulas.
If your branch is uneven: Shim the D-ring hangers slightly on the back or adjust their placement before tightening so the rack hangs straight even on a twisty piece of driftwood.
For a more polished look: Buff the copper until shiny before mounting it, or leave it untouched if you like the natural patina that develops outdoors over time.
For picky organizers in the family: I like to dedicate one hook to each tool type so everyone knows where the tongs go when we’re cleaning up after dinner; it makes outdoor cooking feel a little less hectic.
Weather tip: If your rack will sit in direct rain and sun year-round, add a second coat of outdoor sealant to the driftwood and refresh the metal protectant every season.
No driftwood available: A sturdy fallen branch with interesting shape works beautifully too; just make sure it is fully dry, hard, and cleaned well before you build.