
If you’ve ever had a patio umbrella wobble around every time the wind picks up, this is the kind of practical little project that feels like a lifesaver once it’s done. I love a backyard fix that looks nice enough to leave out all season, and this DIY umbrella weight turns a decorative ceramic planter into something sturdy, useful, and much prettier than most store-bought bases.
This project is a great fit if you want a heavy-duty umbrella stand for a porch, deck, or patio and you don’t mind a little concrete work. I’m always looking for ways to make outdoor spaces feel more welcoming for family cookouts and casual weekend dinners, and this is one of those simple builds that makes the whole setup work better.
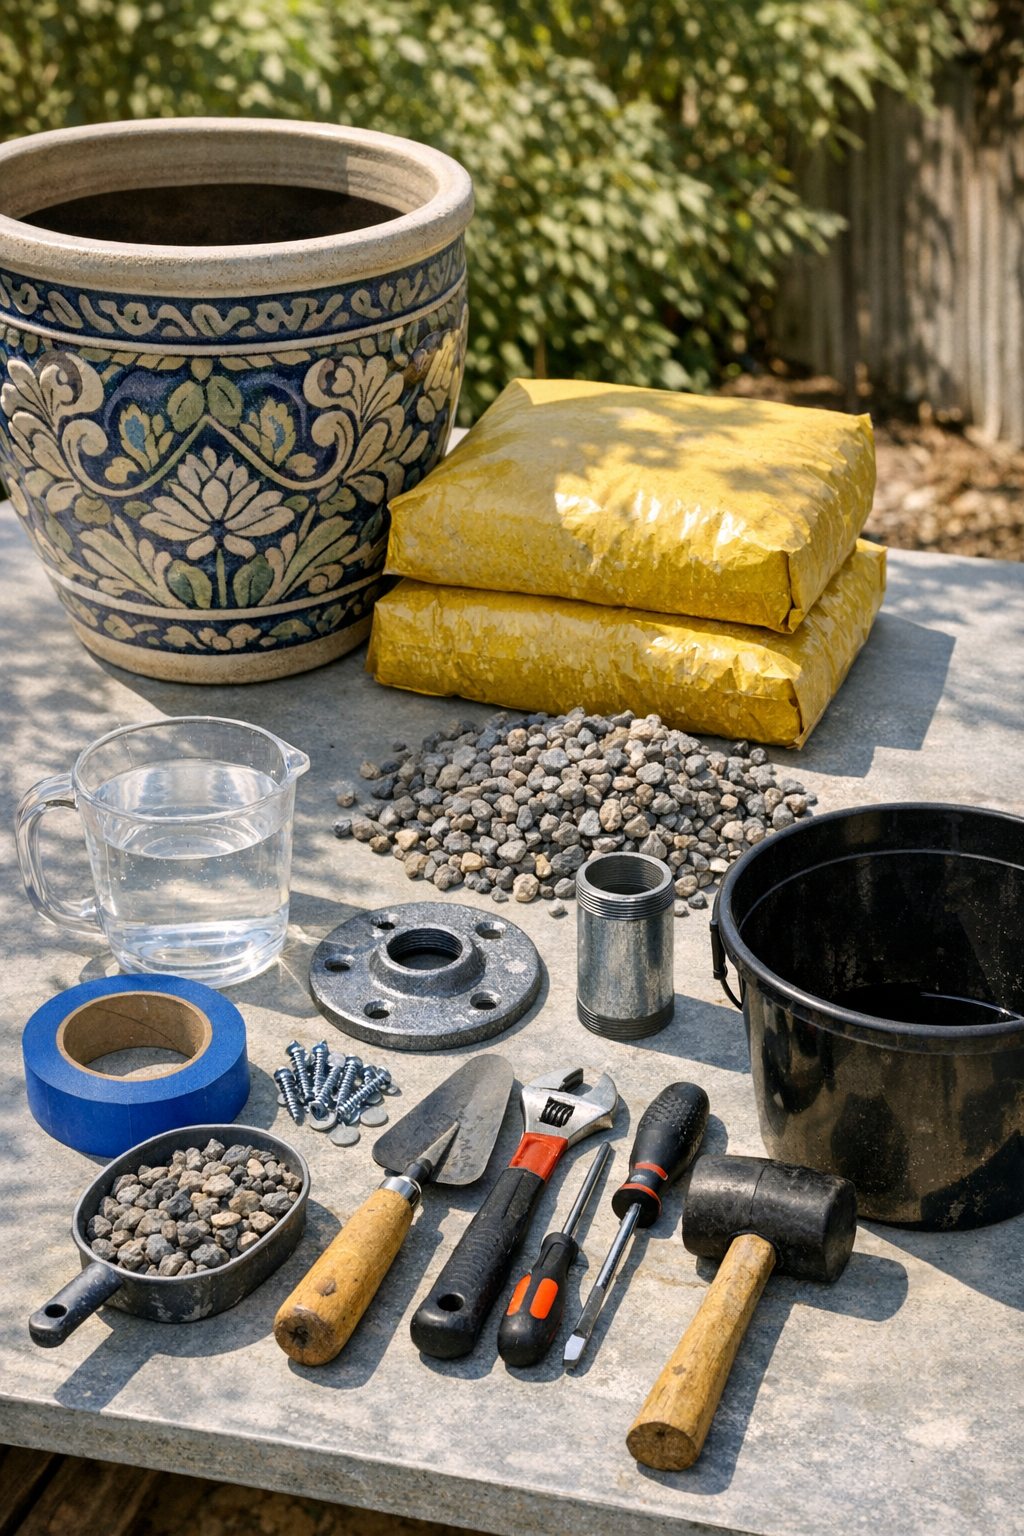
Materials
1 large ceramic planter, 14 to 18 inches wide and at least 14 inches tall
Instructions
1. Set the ceramic planter on a flat, protected work surface outdoors and make sure it is clean and dry inside. If the planter has a drain hole and it seems oversized, seal it from the inside with silicone and let it cure according to the package directions.
2. Pour 2 to 3 inches of pea gravel into the bottom of the planter to add drainage support and help stabilize the pot. Level the gravel so the base sits evenly before you add concrete.
3. Thread the galvanized pipe into the floor flange until it is snug, then wrap painter’s tape around the top opening of the pipe to keep wet concrete out. Set this assembled piece aside for a moment.
4. In a bucket or wheelbarrow, mix the concrete with water a little at a time until it reaches a thick, scoopable consistency similar to stiff oatmeal. Stir thoroughly so there are no dry pockets hiding in the mix.
5. Fill the planter with the wet concrete, stopping about 2 inches below the rim. Tap the sides of the planter gently a few times to help release trapped air and settle the mixture.
6. Press the flange end of the pipe assembly down into the center of the wet concrete until the flange is fully embedded and the pipe stands upright. Use a small level or step back and eyeball it from two directions so the pipe is as straight as possible.
7. Lay a scrap of cardboard loosely around the pipe and over the planter opening if you need to help hold the pipe centered while the concrete begins to set. Recheck the pipe after 5 to 10 minutes and adjust it before the mix hardens.
8. Let the concrete cure fully according to the bag directions, usually at least 24 to 48 hours, without moving the planter. Once cured, remove the painter’s tape from the pipe and brush away any loose concrete dust.
9. Slide your patio umbrella pole into the pipe opening and test the fit before placing the stand in its final spot. If needed, add a rubber sleeve or thin shim inside the pipe for a snugger hold on a smaller umbrella pole.
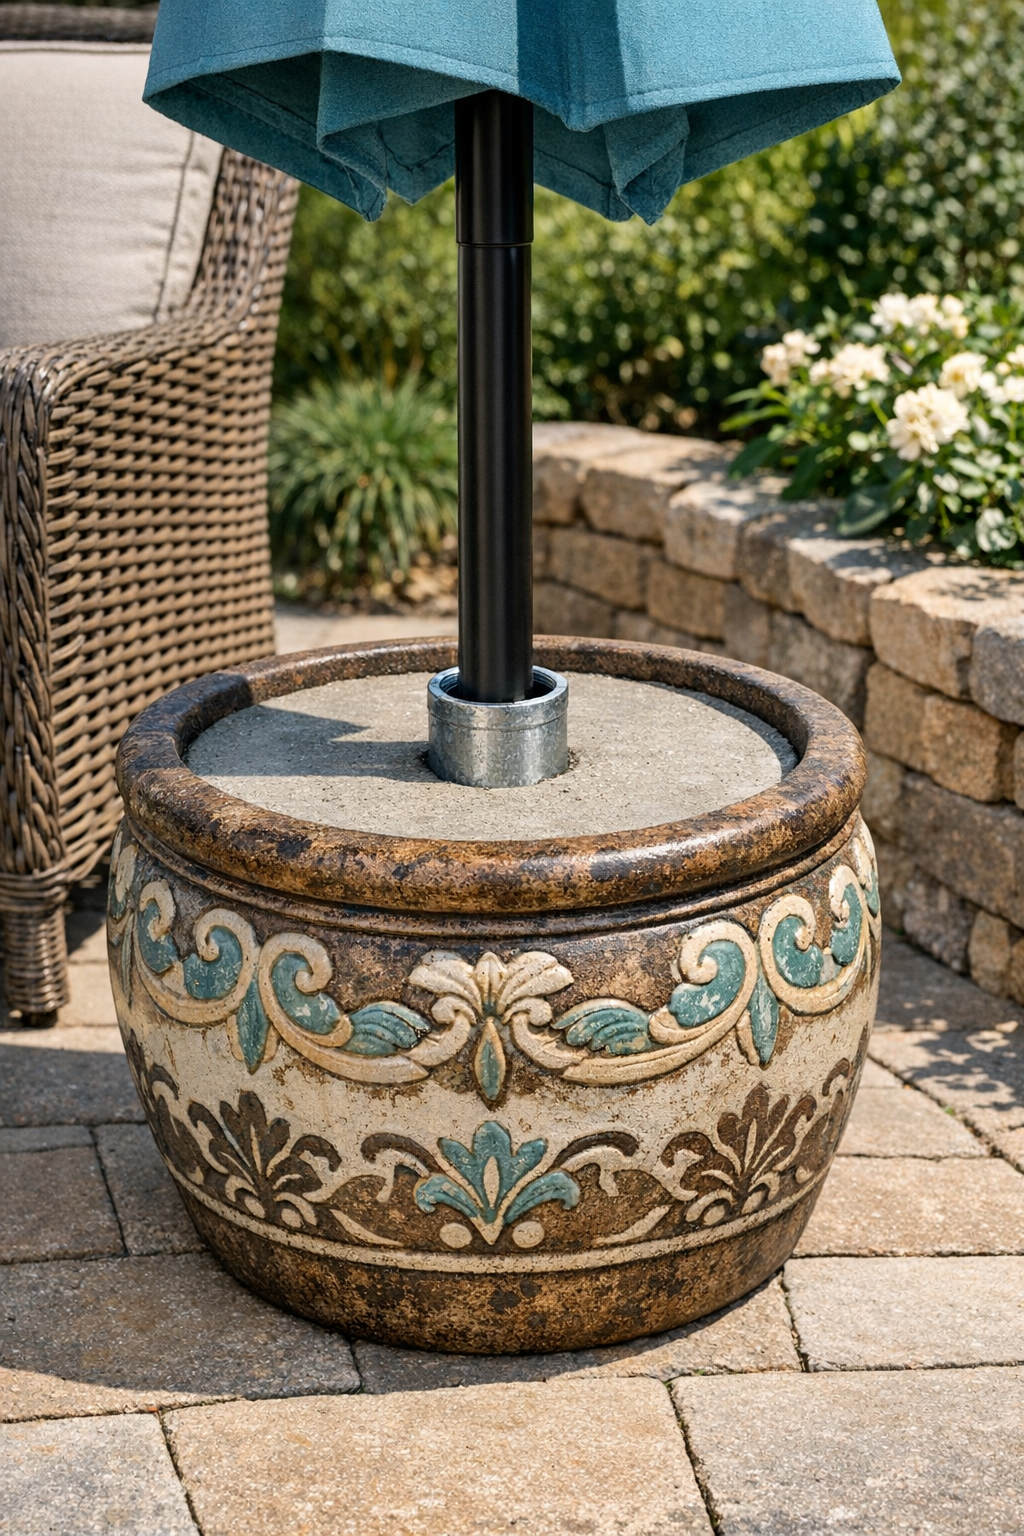
Variations & Tips
For smaller umbrellas: If your umbrella pole is narrow, use a pipe size that matches it more closely or add a rubber coupler inside the pipe so the pole doesn’t rattle around.
For extra weight: Choose a larger ceramic planter and increase the concrete amount to 60 or 80 pounds total. This is especially helpful if your patio umbrella is wide or your yard gets frequent gusts.
For a prettier finish: You can leave a little room at the top and press decorative pebbles into the surface before the concrete fully sets. I like this option when I want the base to look a little more polished near our outdoor table.
For easy moving: Build the planter in the exact spot where you plan to use it, because once that concrete cures, it gets heavy fast. I’ve learned the hard way that “I’ll move it later” is not always the best plan with backyard projects.
For picky decorators: If you like your outdoor spaces to feel coordinated, pick a planter color that matches your cushions, table, or front porch pots. It’s such a simple touch, but it makes the whole setup feel intentional.
Safety tip: Wear gloves and avoid breathing in concrete dust while mixing. Keep kids and pets away from the work area until everything is fully cured and stable.