
There are some fixes around an old house that look almost too simple to matter, and then they surprise you every single day. This heavy-duty weather stripping made from worn-out neoprene mousepads and one inexpensive hardware staple is one of those projects. I like it because it turns something headed for the trash into a tough little seal for a drafty door, shed, workshop cabinet, or basement hatch, and it does the kind of hardworking job folks usually assume needs a fancy store-bought product.
Out here, we learn not to waste a sturdy material if it still has life in it. Neoprene has a nice spring to it, and when it is cut into strips and glued into a thicker gasket, it stands up beautifully to repeated closing and opening. If you have a door or panel with an uneven gap and ordinary foam tape keeps giving up, this is a practical fix that is well worth an afternoon.
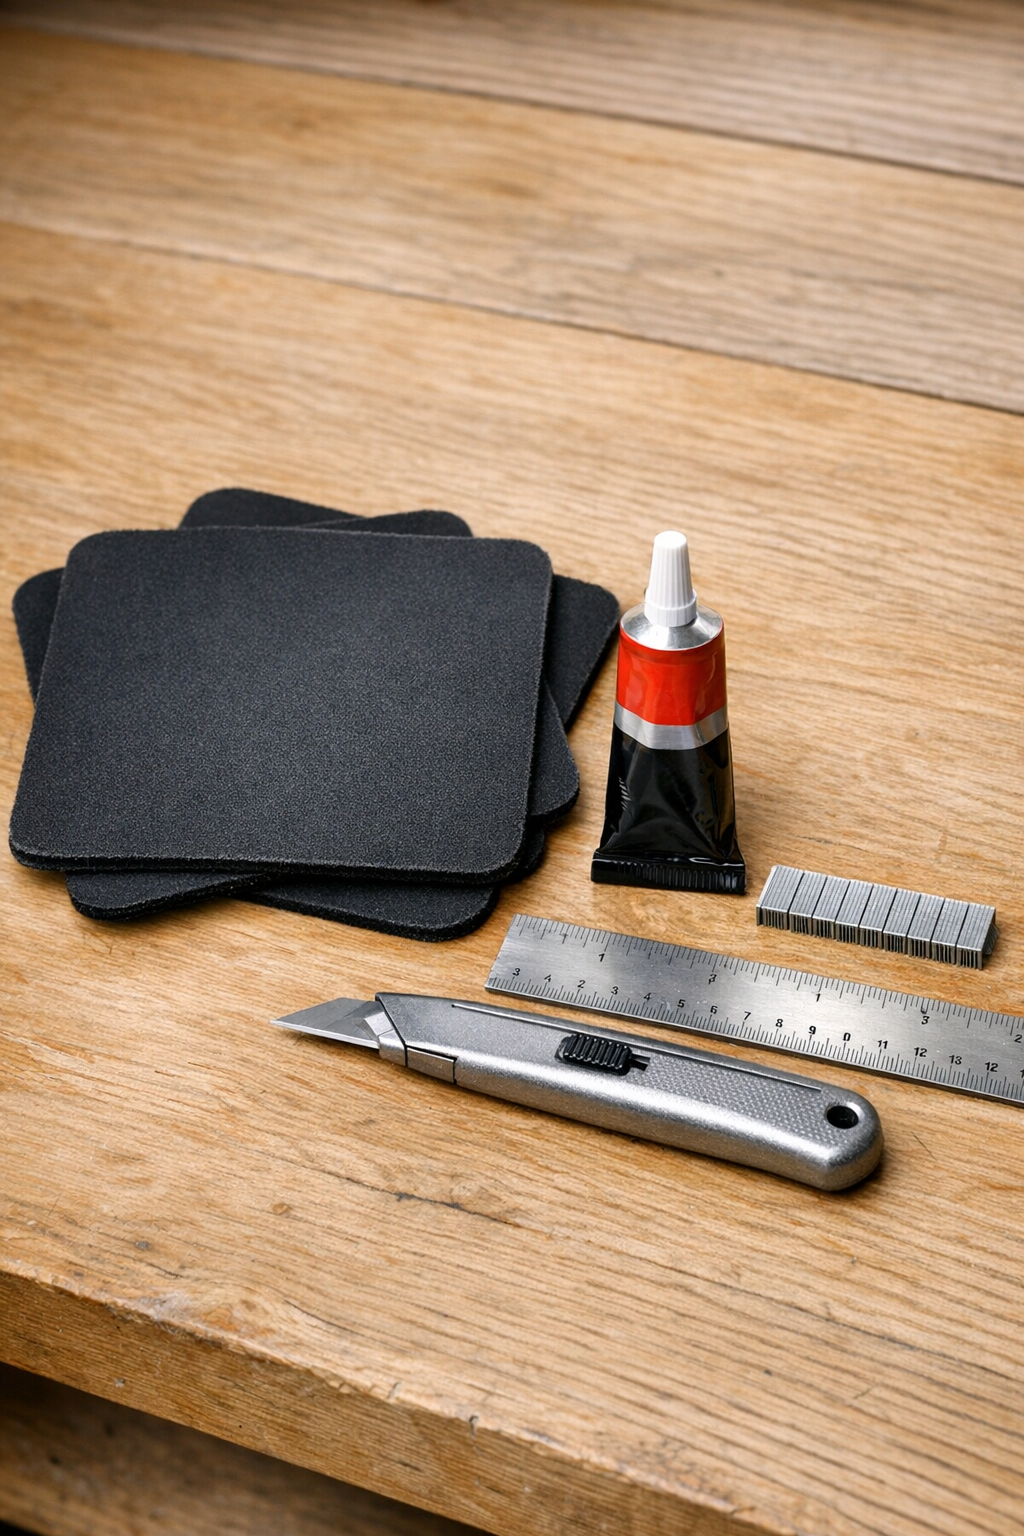
Materials
Instructions
1. Measure the drafty edge you want to seal and note both the total length and the size of the gap when the door or panel is closed. For most jobs, a finished strip 3/4 to 1 inch wide and 1/4 to 3/8 inch thick works well.
2. Clean the mousepads and peel away any fabric edges or loose backing so you are working with solid neoprene. Wipe off dust and let the surfaces dry fully before cutting.
3. Use a ruler and utility knife to cut the mousepads into straight strips the full length you need, making enough layers to build the desired thickness. I usually cut strips 1 inch wide because that gives a good balance of flexibility and sealing power.
4. Dry-fit the strips by stacking them and pressing the stack into the gap to check the compression. Add or remove a layer until the stack compresses snugly without forcing the door or panel badly out of alignment.
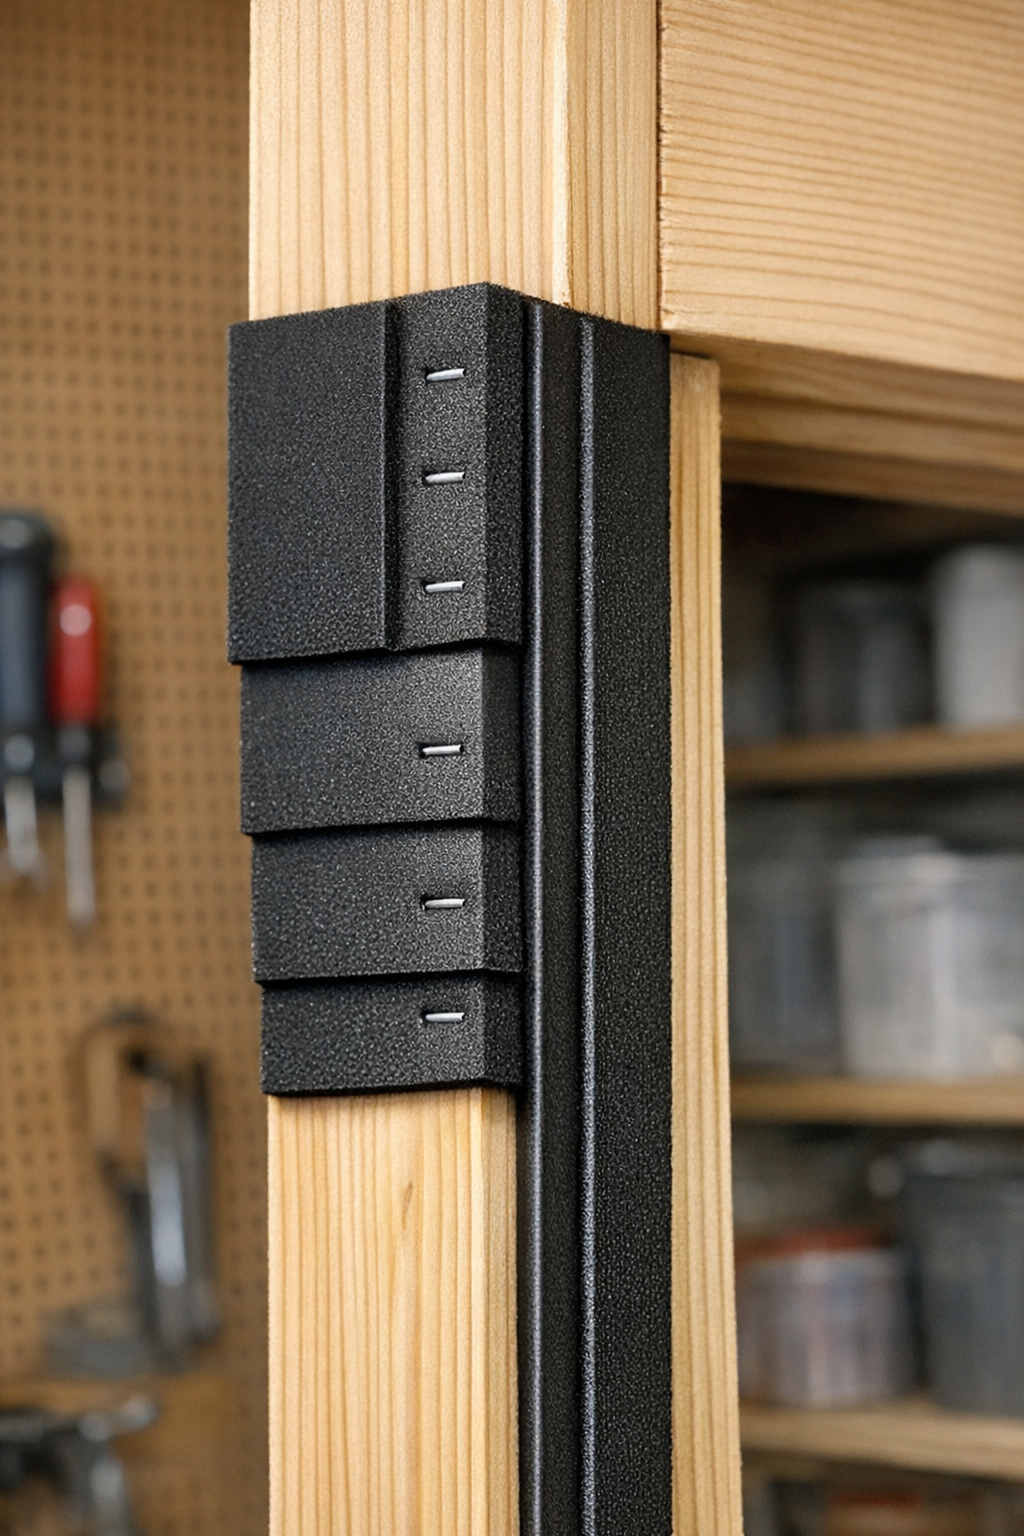
5. Spread a thin, even coat of adhesive between each neoprene layer and press the strips together into one laminated piece. Keep the edges aligned as closely as you can so trimming later is minimal.
6. Lay the glued strip between sheets of wax paper and weight it with a flat board or a couple of books until the adhesive sets. Let it cure according to the glue directions so the strip stays flexible but does not slide apart.
7. Trim the cured strip square on the ends and shave any uneven edges so the weather stripping is neat and uniform. A clean edge gives a better seal and a tidier final fit.
8. Hold the strip against the fixed frame or stop where the door or panel closes, with the strip positioned so it will compress gently when shut. Use a little painter’s tape to keep it in place while you check the fit one last time.
9. Fasten the strip along one edge with heavy-duty staples spaced about every 2 inches, driving them through the neoprene into the wood frame or backing surface. Keep the staples near the mounting edge so the free side of the strip can flex and seal.
10. Close the door or panel slowly and watch where the neoprene compresses too much or too little, then trim or reposition as needed. If one spot has a wider gap, glue on a small patch of neoprene there and staple the mounting edge again once cured.
11. Test the seal with your hand on a breezy day or with a flashlight from the opposite side to check for light leaks. Add short extra sections at corners or latch areas if those spots still let air through.
Variations & Tips
For wider gaps: Laminate three or four layers instead of two, then test compression before stapling permanently. Old outbuilding doors and cellar doors often need a thicker strip than indoor doors.
For metal or vinyl surfaces: If staples are not an option on the mounting surface, use adhesive alone and clamp or tape the strip firmly in place during cure time. A flexible contact adhesive usually holds better than a brittle glue.
For extra durability: Mount the strip on the frame rather than the moving door whenever possible. That keeps the neoprene from catching on things and makes the seal last longer.
For a cleaner edge: Dust the cut edges lightly and make one long, steady knife pass instead of several short sawing cuts. Neoprene behaves better when the blade is sharp, and I have learned that the hard way more than once.
For corners and uneven spots: Cut separate short pieces instead of trying to force one strip around a tight turn. Little custom pieces in troublesome spots often make the whole job look and perform better.
Best use: This works especially well on workshop doors, utility room doors, shed doors, hatch covers, and cabinet doors that get regular use and need a tougher seal than soft foam tape can provide.