
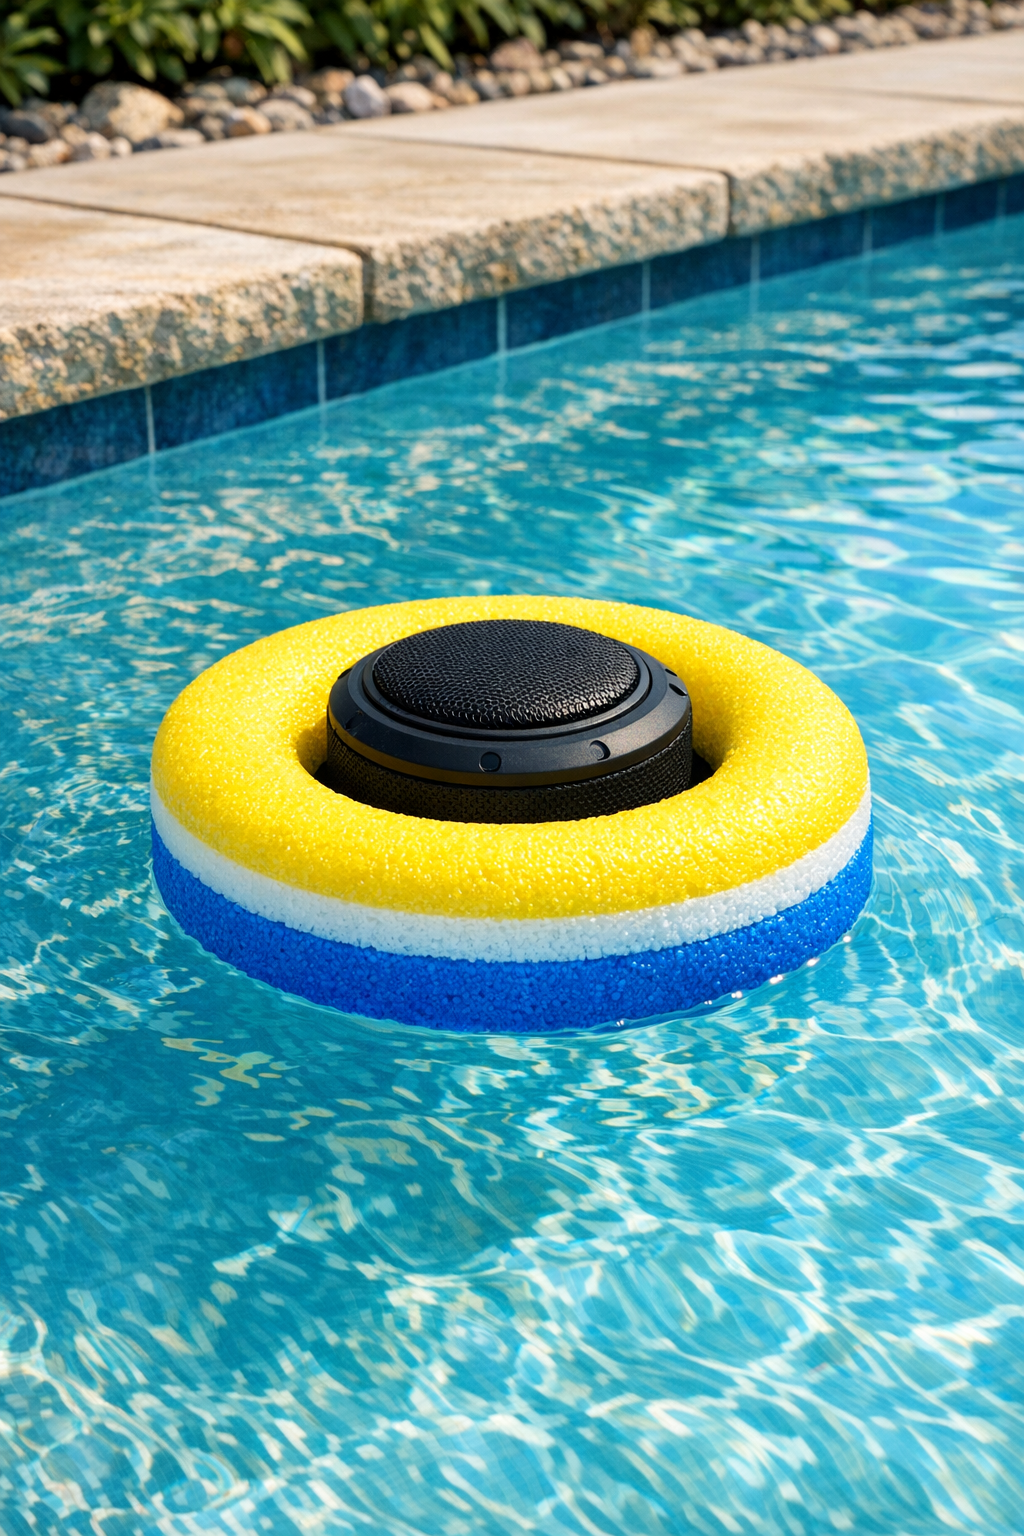
When summer hits and we start living outside, I’m always looking for those tiny upgrades that make the pool area feel a little more fun without turning into a big, expensive project. This floating pool speaker holder is one of my favorite quick wins: you carve a foam pool noodle into a neat ring, tuck in a waterproof Bluetooth speaker, and end up with a float that keeps your music right where you want it instead of getting bumped around the deck.
I love this project because it’s simple, inexpensive, and genuinely useful, especially if you want background music while swimming or hanging out with family. It’s a great beginner DIY since there’s no fancy building involved, just careful measuring and a few clean cuts.
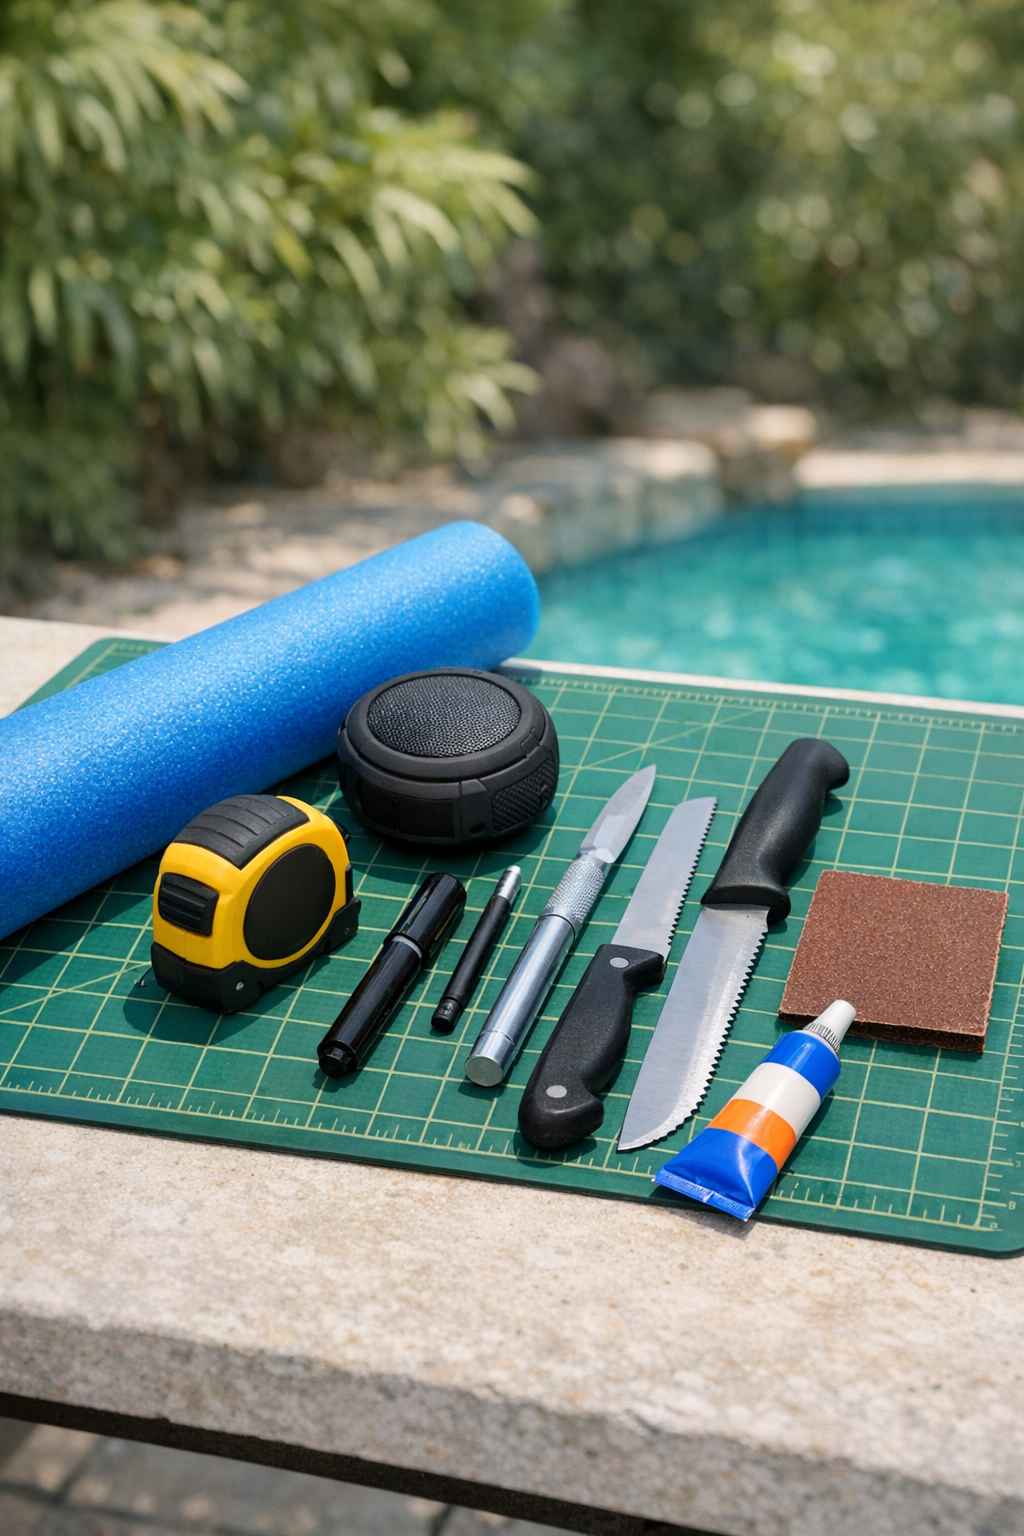
Materials
1 standard foam pool noodle, 2.5 to 3 inches in diameter and about 52 to 55 inches long
Instructions
1. Set your pool noodle on a flat work surface and place the speaker beside it so you can compare sizes before cutting. Measure the speaker diameter at its widest point and write that measurement down.
2. Mark a section of noodle about 10 to 12 inches long; this will become your ring. I usually start a little longer than I think I need because trimming down is much easier than wishing the float were bigger.
3. Use the serrated knife to cut the marked section cleanly from the rest of the noodle. Keep the cut as straight as possible so the ring will sit evenly in the water.
4. On the cut noodle section, mark a centered inner circle on one face sized slightly smaller than the speaker body. This smaller opening helps the speaker fit snugly instead of slipping through.
5. Carefully carve out the inner opening with the craft knife, removing small amounts of foam at a time. Test-fit the speaker often and stop when it slides in firmly about halfway to two-thirds of its depth.
6. Round and smooth the inner cut edges with sandpaper so the foam doesn’t snag or tear. Wipe away loose foam bits with the towel before checking the fit again.
7. If you want a more polished ring shape, trim the outer corners of the noodle section slightly to make it look more evenly rounded. This step is mostly cosmetic, but I think it makes the finished float look much more intentional.
8. Apply a thin bead of foam-safe waterproof adhesive only if the cut seam or foam surface needs reinforcement; do not glue over speaker controls, charging ports, or sound openings. Let any adhesive cure fully according to the package directions before using the holder near water.
9. Insert the waterproof Bluetooth speaker into the carved center opening and make sure it sits level. The speaker should feel snug enough to stay in place while still being removable for charging.
10. Test the float in shallow water first and adjust the opening if needed by trimming tiny amounts of foam. Once it floats evenly and keeps the speaker upright, it’s ready for pool days.
Variations & Tips
Use the right speaker size: Choose a compact waterproof speaker rather than a large heavy one. A smaller unit is easier to float evenly and puts less stress on the foam.
Make a double-float version: If your speaker is heavier, glue two equal noodle rings side by side with the speaker opening centered between them for extra buoyancy. This is a smart option if your family tends to leave the music going all afternoon.
Keep controls accessible: When you insert the speaker, position the buttons and charging flap where you can still reach them easily. I learned this the annoying way once and had to pop the speaker back out with wet hands.
Skip harsh adhesives: Some glues can melt foam, so always use a foam-safe waterproof adhesive if you need one. If the fit is snug, you may not need adhesive at all.
Try color-coding: Bright noodle colors make the speaker holder easy to spot in the pool. If you already have a whole basket of pool toys like we do by mid-July, this helps keep it from disappearing into the chaos.
Store it dry: Remove the speaker after use and let both pieces dry fully before storing. That simple habit helps the speaker last longer and keeps the foam from getting musty.