
I’ve always had a soft spot for projects that turn humble household scraps into something sturdy and useful, and this one does exactly that. These simple patio retaining wall blocks are made from wet shredded newspaper plus two everyday ingredients, pressed into shape and dried into solid little building units that are surprisingly practical for edging flower beds, outlining a small patio, or building up a low decorative border.
Out here in the Midwest, we’ve long believed in using what we have before buying something new, and this project fits that old habit beautifully. If you like upcycling, garden tinkering, or low-cost outdoor projects, this is a satisfying make that doesn’t ask for fancy supplies or a workshop full of tools.
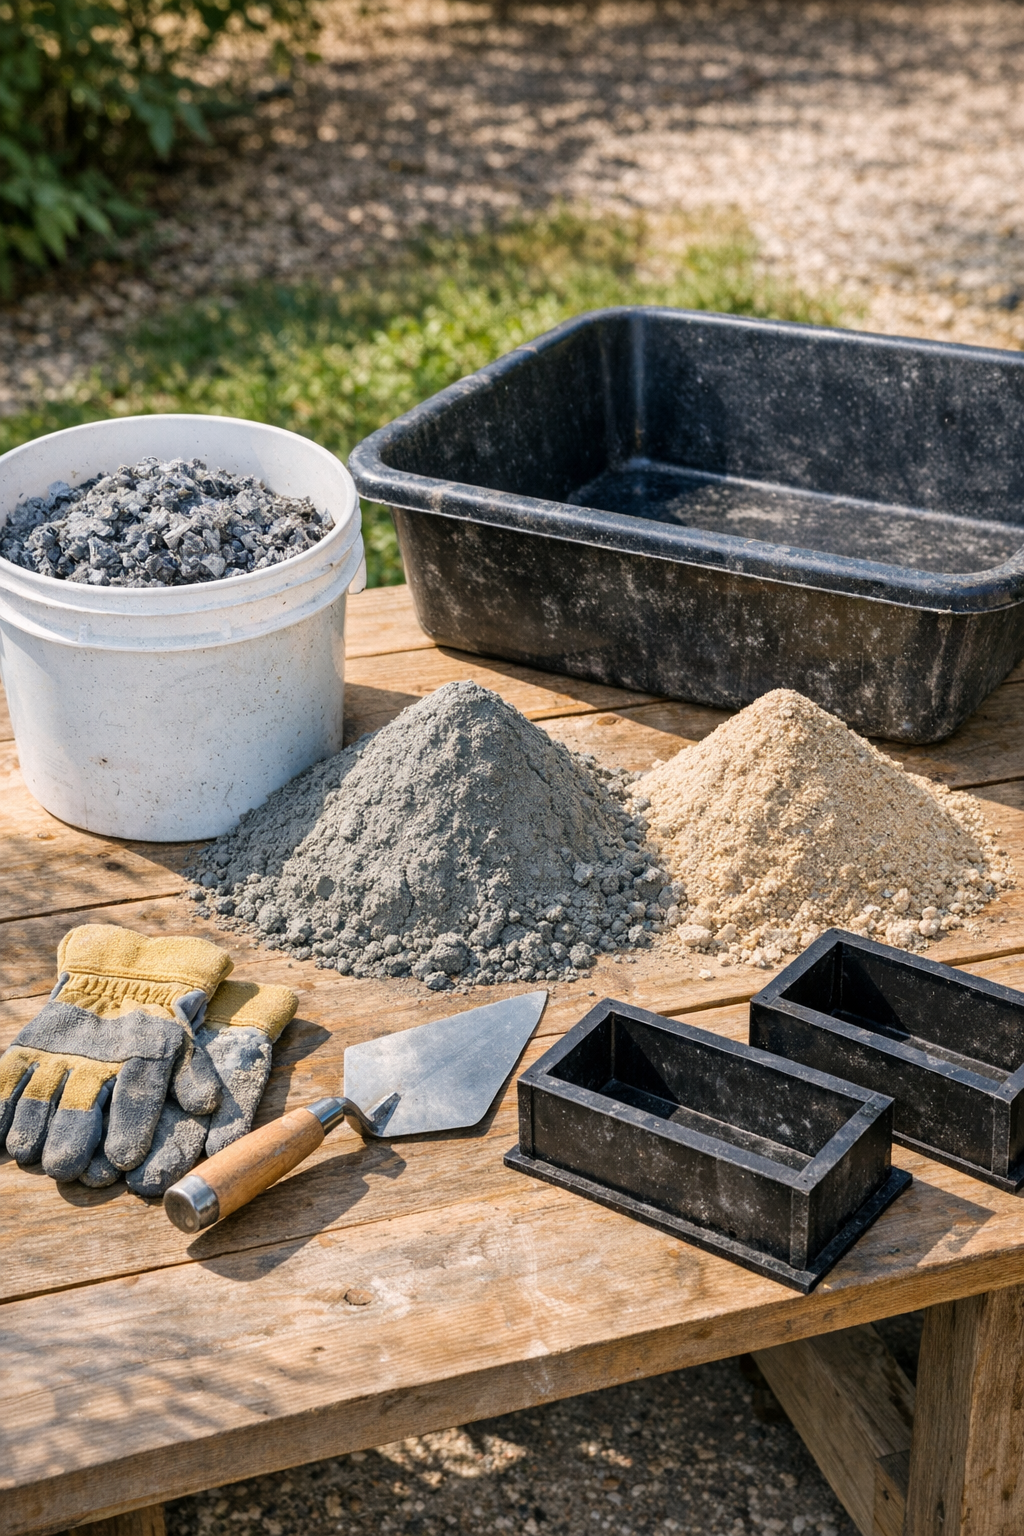
Materials
Instructions
1. Tear or shred the newspaper into small pieces, place it in a bucket, and cover it fully with water; let it soak for at least 12 hours so the fibers soften well.
2. Squeeze the soaked paper by handfuls until it is wet but not dripping, then fluff it back up so it separates instead of clumping into heavy lumps.
3. In a mixing tub, combine the wet newspaper, Portland cement, and sand, using your hands or a trowel to work everything together until the paper fibers are evenly coated.
4. Add water a little at a time and mix until the batch feels like thick oatmeal or stiff mashed potatoes; it should hold its shape when squeezed without slumping.
5. Lightly coat the inside of each mold with vegetable oil or mold release so the blocks come out cleanly after they firm up.
6. Pack the mixture firmly into the molds in layers, pressing hard with your hands or a trowel to remove air pockets and make each block dense and even.
7. Level the tops with a trowel or straight scrap of wood, then tap the sides of the molds a few times to help settle the mixture.
8. Leave the filled molds in a shaded, dry spot for 24 to 48 hours, until the blocks are firm enough to lift without bending or crumbling.
9. Carefully unmold the blocks and place them on a wire rack or plywood sheet, leaving a little space between them so air can move around all sides.
10. Let the blocks cure for 7 to 14 days, turning them once every day or two so they dry evenly and gain strength before outdoor use.
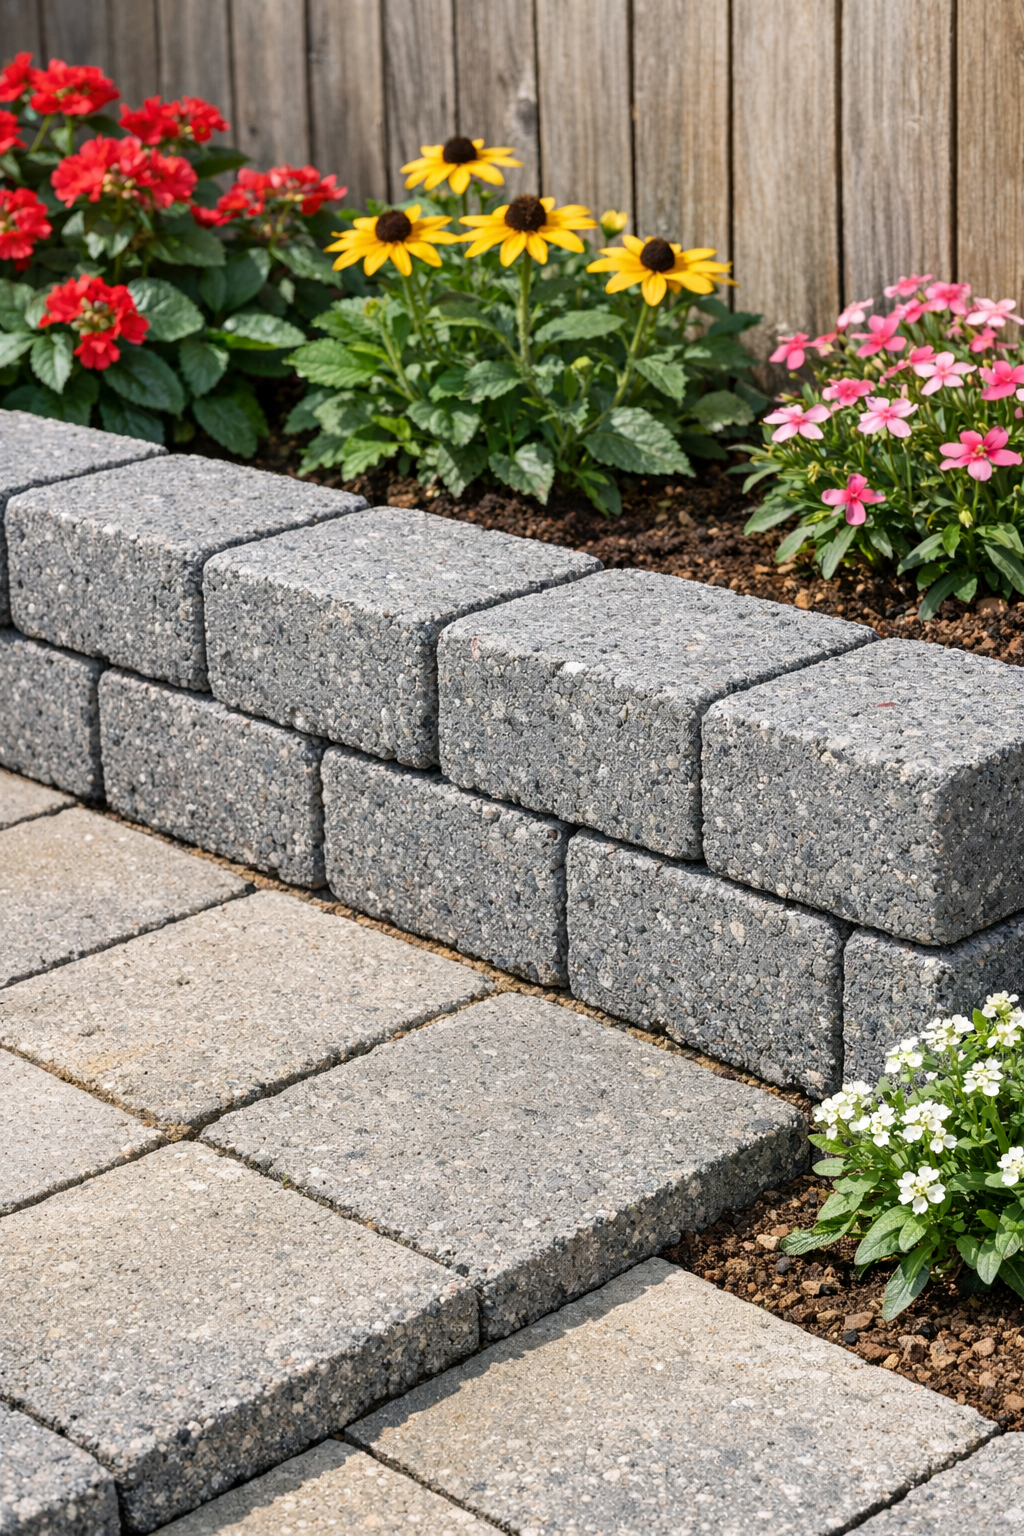
11. Set the finished blocks in a low, non-load-bearing garden border or patio edge, placing them over firm, level ground for the best fit and longest life.
Variations & Tips
For a smoother finish: Sift the sand before mixing and press the tops extra firmly with a trowel; that gives the blocks a cleaner, more uniform face.
For rustic garden edging: Use slightly irregular molds or round the corners by hand after unmolding for a softer, old-fashioned look that reminds me of well-worn garden borders behind country homes.
For better strength: Keep the blocks on the smaller side and make sure they cure fully before setting them outside; patience here makes a real difference.
For easier unmolding: Plastic containers with straight sides work better than tapered ones, and a light oiling saves a lot of fuss later.
Weather tip: Don’t make these on a rainy or very humid stretch if you can help it, because slow drying can leave the blocks weak or crumbly.
Best use: These are ideal for decorative, low retaining borders and patio edging, but I would not use them for structural walls or anything that needs to hold serious weight.
Color option: If you want them to blend into the garden a bit more, you can brush the cured blocks with watered-down exterior masonry stain in an earthy brown or mossy gray tone.