
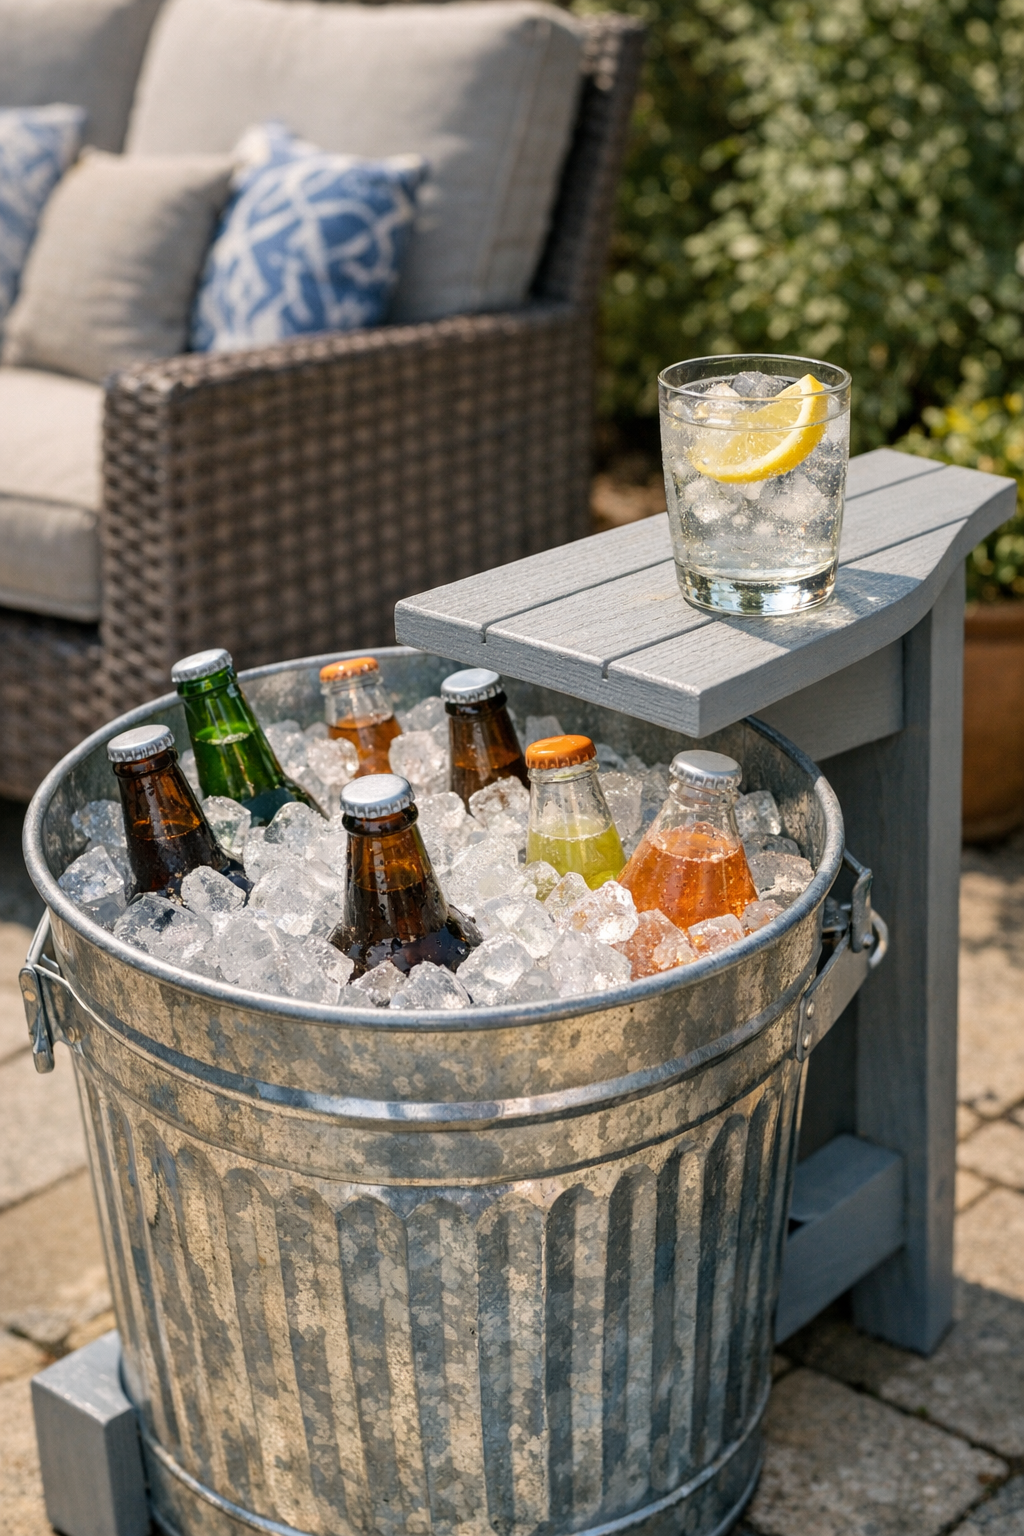
There are a few backyard projects that make people stop in their tracks and ask, “Now why didn’t I think of that?” This drink cooler stand is one of them. We’re taking the charm of a vintage metal trash can and pairing it with the wide, sturdy arm of a painted wooden Adirondack-style stand so you’ve got a handy place to set a drink, stash ice, and keep the patio looking cheerful all at once.
I’ve always believed the best outdoor pieces are the ones that feel useful and a little unexpected, like something dreamed up after a family cookout when nobody wanted to keep walking back inside for cold lemonade. If you’re comfortable with basic cutting, drilling, and painting, this is a very doable weekend build for a porch, patio, deck, or backyard sitting area.
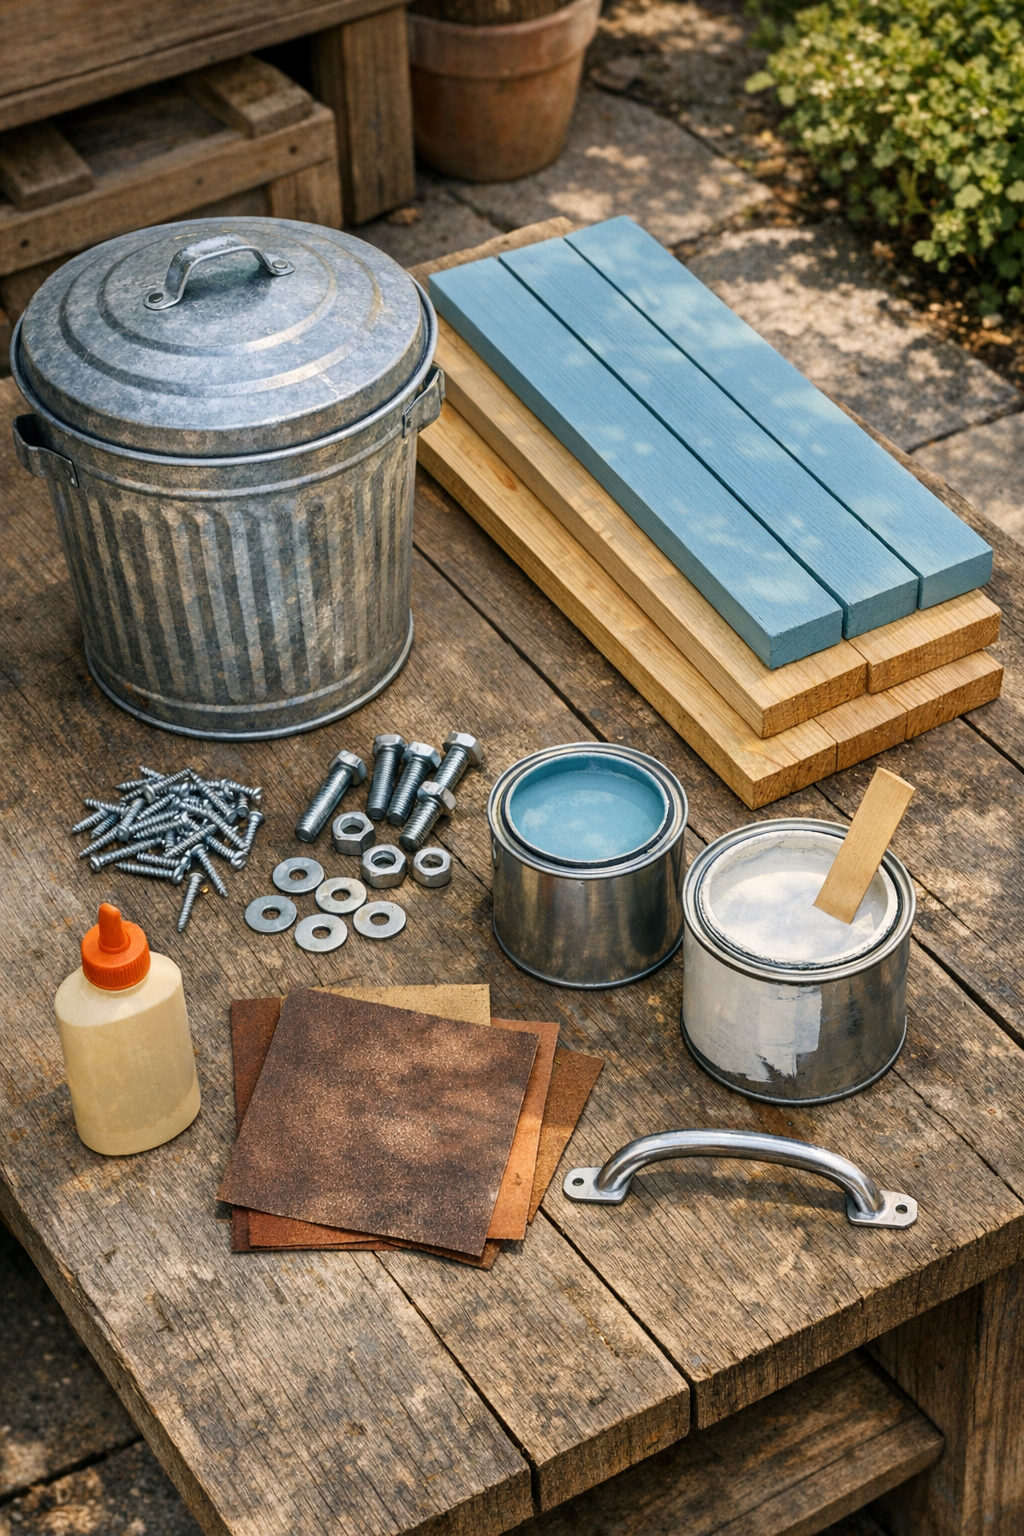
Materials
Instructions
1. Wash the metal trash can inside and out with warm soapy water, then let it dry completely so you’re not trapping dirt or moisture under paint or fasteners.
2. Mark your wood cuts to create a compact Adirondack-style stand: two side pieces at 30 inches, one back brace at 20 inches, one lower front brace at 20 inches, three slats at 20 inches, and one arm top at 24 inches.
3. Cut a gentle curve on the top rear of each side piece and a slight angle on the front so the stand has that familiar Adirondack shape without needing a full chair build.
4. Sand all wood edges with 80 grit first, then smooth everything with 220 grit, paying special attention to the arm top where hands and glasses will rest.
5. Build the side frame by joining the two side pieces with the lower front brace and back brace using 2 1/2 inch screws, keeping the stand square and stable.
6. Screw the three 1 x 4 slats across the back area and interior support points, spacing them evenly to stiffen the frame and give the cooler stand more rigidity.
7. Attach the 16 x 16 inch plywood base shelf inside the frame so the metal can has a strong, level place to sit without rocking.
8. Set the 1 x 8 arm board across the top and position it so it overhangs slightly on the front and outside edge, then fasten it securely with 1 5/8 inch screws from underneath.
9. Place the metal trash can below the arm and decide how high you want it to sit; the rim should be easy to reach while still leaving the arm top clear for setting down a drink.
10. Mark the can for the opening where it will tuck neatly under the arm, then carefully cut the needed notch or side opening with metal-cutting tools so the can fits snugly against the wooden frame.
11. File or sand the cut metal edge until it is smooth, then cover any especially sharp spots by folding the edge slightly inward with pliers for safety.
12. Drill mounting holes through the can and the wood support points, then bolt the can in place with carriage bolts, washers, and nuts so it won’t shift when filled with ice and drinks.
13. Add the pull handle to the wooden arm or front brace if you’d like an extra decorative touch or a handy place to hang a bottle opener or towel.
14. Prime the wood and metal, let the primer dry fully, then paint the stand and can in your chosen colors; I like a classic white, deep red, or lake blue for that old-fashioned porch look.
15. Stick rubber pads on the bottom corners, let all finishes cure completely, then fill the can with ice and drinks and set the stand beside a patio chair.
Variations & Tips
Color choice: If you want this piece to look right at home on an older porch, use cream, barn red, sage green, or weathered blue. Those colors always remind me of lakeside summers and painted porch floors.
Wood option: Cedar is a lovely choice if you want a lighter stand that naturally handles outdoor weather well. Pressure-treated lumber works too, but let it dry well before priming and painting.
Can size: A smaller metal trash can is easier to fit and keeps the stand from feeling bulky. If your can is deeper than expected, raise the interior shelf with extra bracing so the drinks sit closer to arm level.
Safety tip: Any time you cut old metal, inspect it carefully for rusted weak spots and wear gloves and eye protection. I never rush that part, because one sharp edge can spoil an otherwise satisfying afternoon project.
Drainage idea: Drill one small hole near the bottom of the can if you want melted ice to drain more easily after a gathering. Set a shallow tray beneath it or move the stand to the lawn when emptying.
Entertaining upgrade: Mount a bottle opener on the side of the wood frame and keep a small bucket nearby for caps. It’s the sort of little addition that makes guests think you planned everything.