
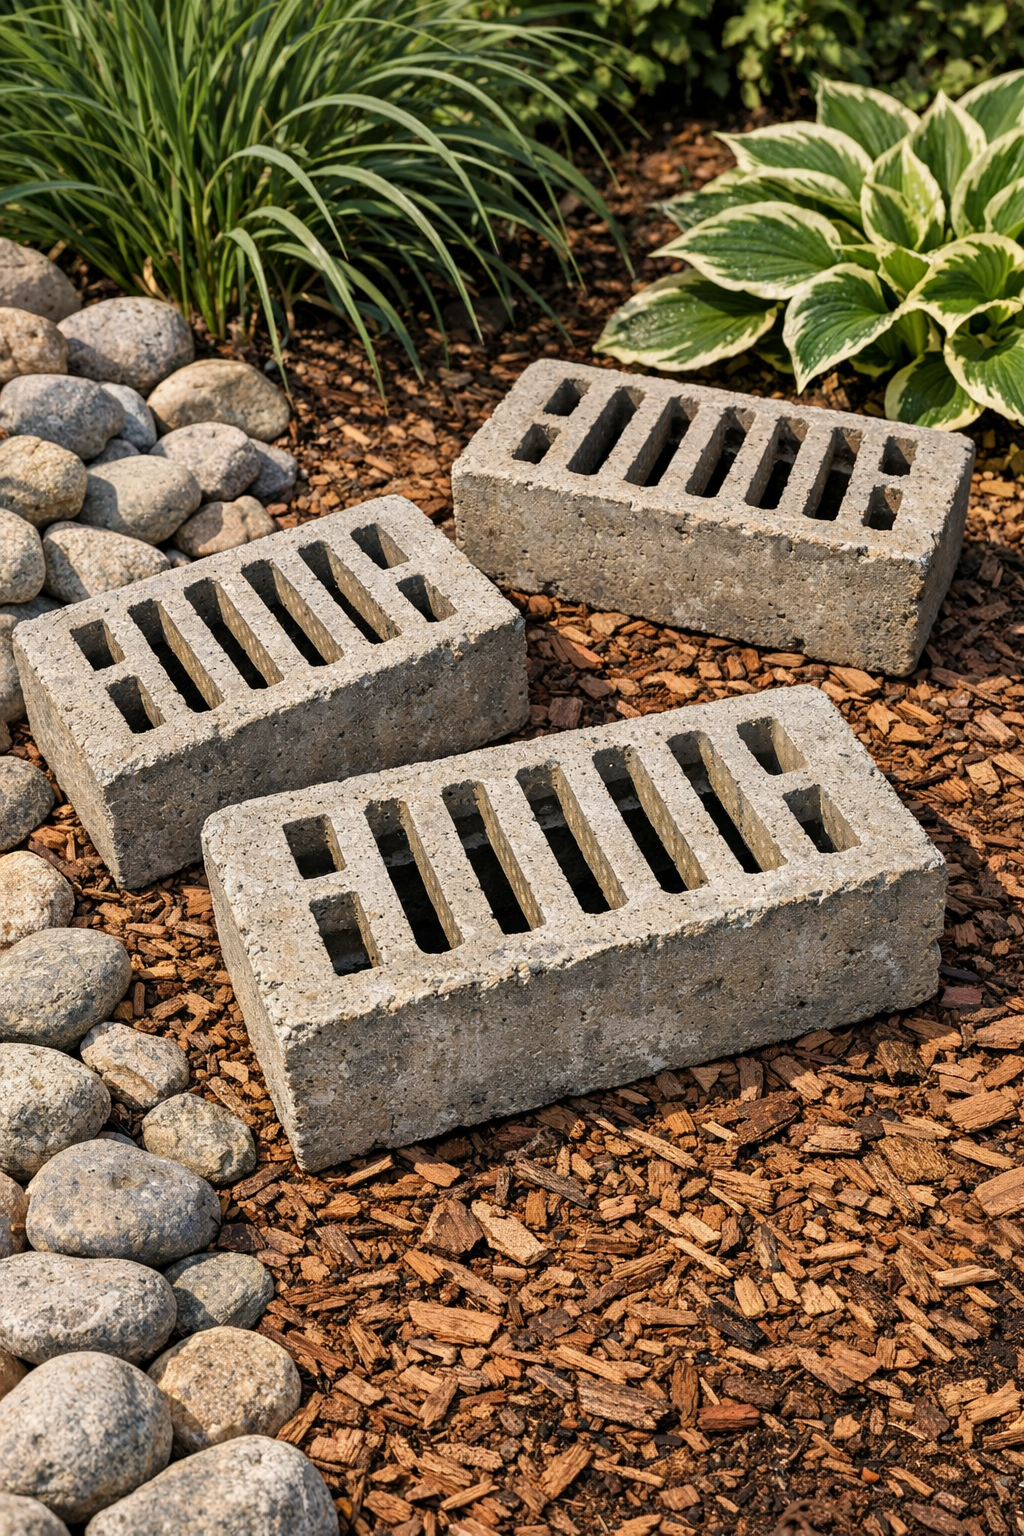
There is something mighty satisfying about turning a few humble household items into something that looks like it came from an old garden shop off a country road. This project makes heavy slotted yard blocks using inexpensive plastic dish racks and cement, and the finished pieces can be used as rustic garden accents, plant stands, pathway edging, or simply as conversation pieces tucked among flowers and shrubs. They have that sturdy, weathered look I’ve always loved in Midwestern gardens, where usefulness and beauty tend to go hand in hand.
I’m especially fond of projects like this because they don’t ask for fancy supplies, just a little patience and a willingness to get your hands messy. If you enjoy practical outdoor DIY with a creative twist, this one is easy to follow and very rewarding. Once you make one set, you may find yourself eyeing every corner of the yard for a place to tuck another.
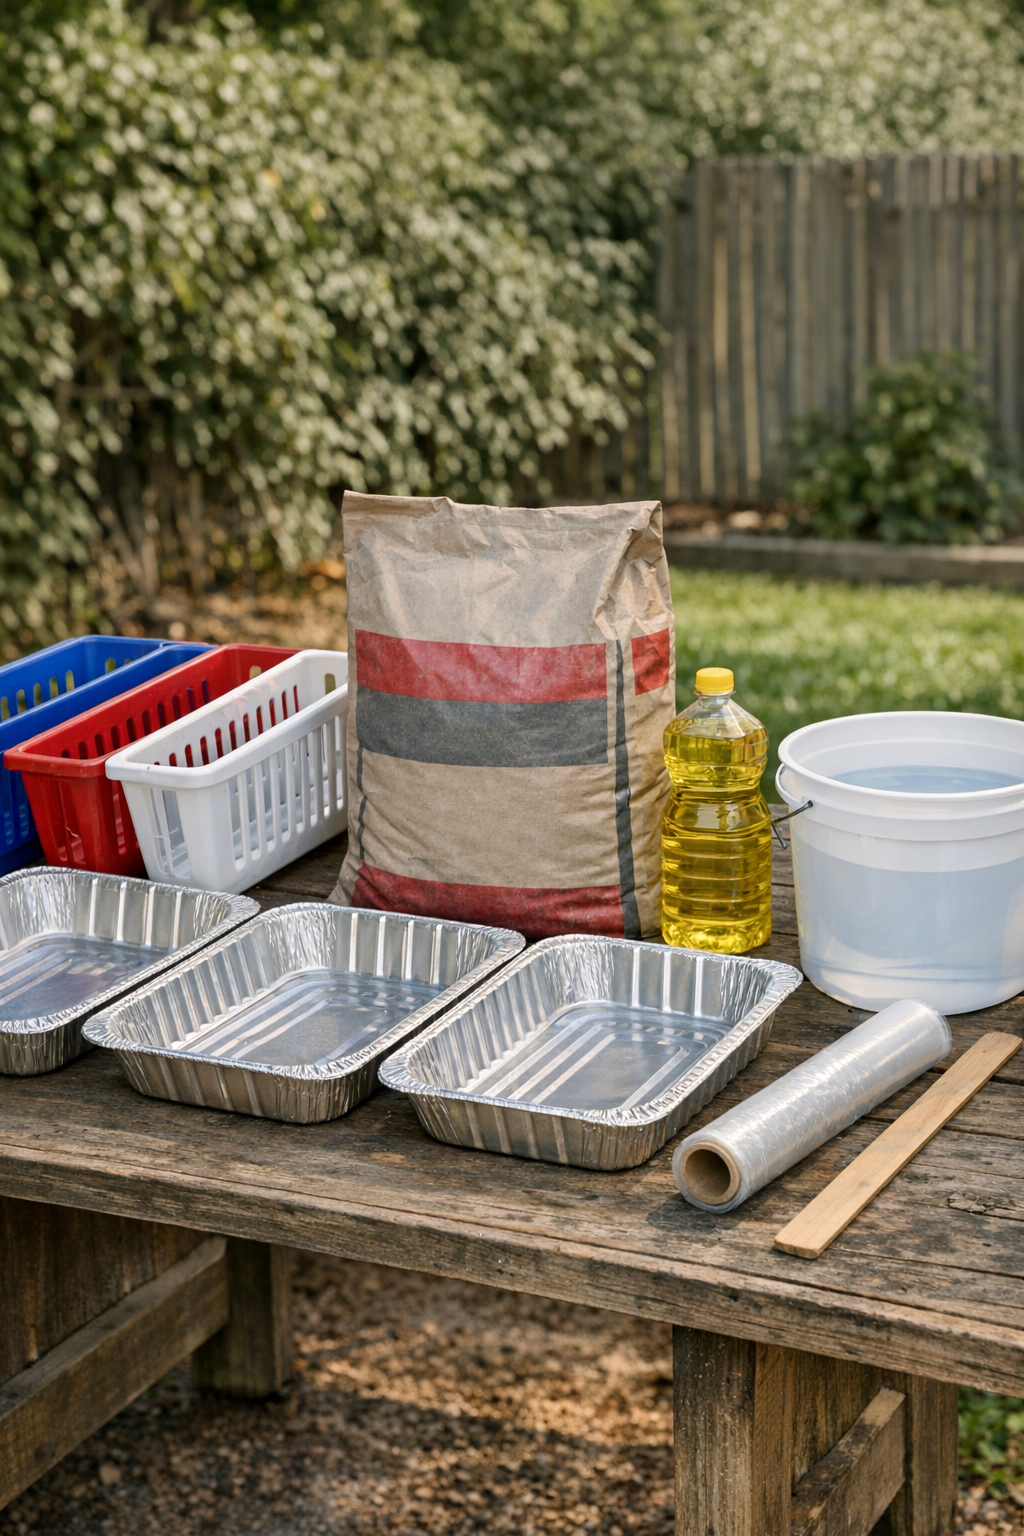
Materials
3 plastic dish racks, approximately 12 x 15 inches each
Instructions
1. Set up a flat outdoor work area and place the three aluminum pans on a level surface where they can sit undisturbed for at least 24 hours.
2. Lightly coat the inside of each aluminum pan and the plastic dish racks with cooking oil or nonstick spray so the concrete will release more easily later.
3. Press a sheet of plastic wrap into each pan, leaving enough overhang on the sides to help lift the cured block out without cracking it.
4. In a bucket or wheelbarrow, mix the concrete with water a little at a time until it reaches a thick pudding-like consistency that will hold shape but still settle into corners.
5. Spoon or pour concrete into each lined pan until it is about 2 inches deep, then tap the pans gently on the table to release trapped air bubbles.
6. Lay one plastic dish rack flat on top of the wet concrete in each pan and press it down evenly until the rack is partially embedded but still visible at the top.
7. Add a little more concrete over and around the rack where needed, keeping the slotted pattern open while building the total thickness to about 2 1/2 inches.
8. Smooth the top surface with the stir stick or a gloved hand, then tap the sides of the pan again to settle the mix and even out the shape.
9. Leave the blocks to cure for 24 to 48 hours, depending on temperature and humidity, until they feel hard and solid all the way through.
10. Peel back the plastic wrap, lift each block carefully from its pan, and turn it out onto a protected surface so the slotted face is fully exposed.
11. If any thin edges look rough, rub them gently with another piece of cured concrete or a masonry sanding block after the block has fully cured.
12. Let the blocks air-cure for another 3 to 5 days before placing them in the yard so they gain more strength and weather resistance.
Variations & Tips
For a more aged look: I like to leave the surface a little imperfect instead of over-smoothing it. Those tiny pits and marks give the blocks an old farm-garden character that feels right at home outdoors.
To change the shape: Try square cake pans, shallow storage bins, or other sturdy containers if you want different block sizes. Just make sure the dish rack fits inside with enough room for concrete around all sides.
For easier release: Don’t skip the oil and plastic wrap. In my experience, that little bit of preparation saves a lot of fuss and helps keep corners from breaking when you unmold the blocks.
To use them in the yard: These work nicely as risers for potted plants, decorative edging, or small stepping accents between flower beds. I’d avoid using them as true structural supports unless you reinforce and test them for weight.
For cleaner slots: Wipe away any concrete that fills the openings while the mix is still wet. A small stick, old spoon handle, or gloved finger works well for keeping the pattern open and crisp.
Weather tip: On very hot or windy days, cover the pans loosely with plastic while curing so the concrete doesn’t dry too fast and crack. Slow, steady curing usually gives the strongest result.