
When we want an easy family movie night outside, I’m always looking for a setup that feels special without turning into a full weekend construction project. This backyard projector shelf is one of those wonderfully simple ideas that looks clever, works beautifully, and comes together with just a cedar plank and a few stacked cinder blocks.
I love this project for anyone who wants a sturdy, low-cost stand for an outdoor projector, speaker, lantern, or snack basket without pouring concrete or building a permanent structure. If you can stack blocks and paint a board, you can make this, and it’s especially nice for summer nights when you want something practical that still looks tidy in the yard.
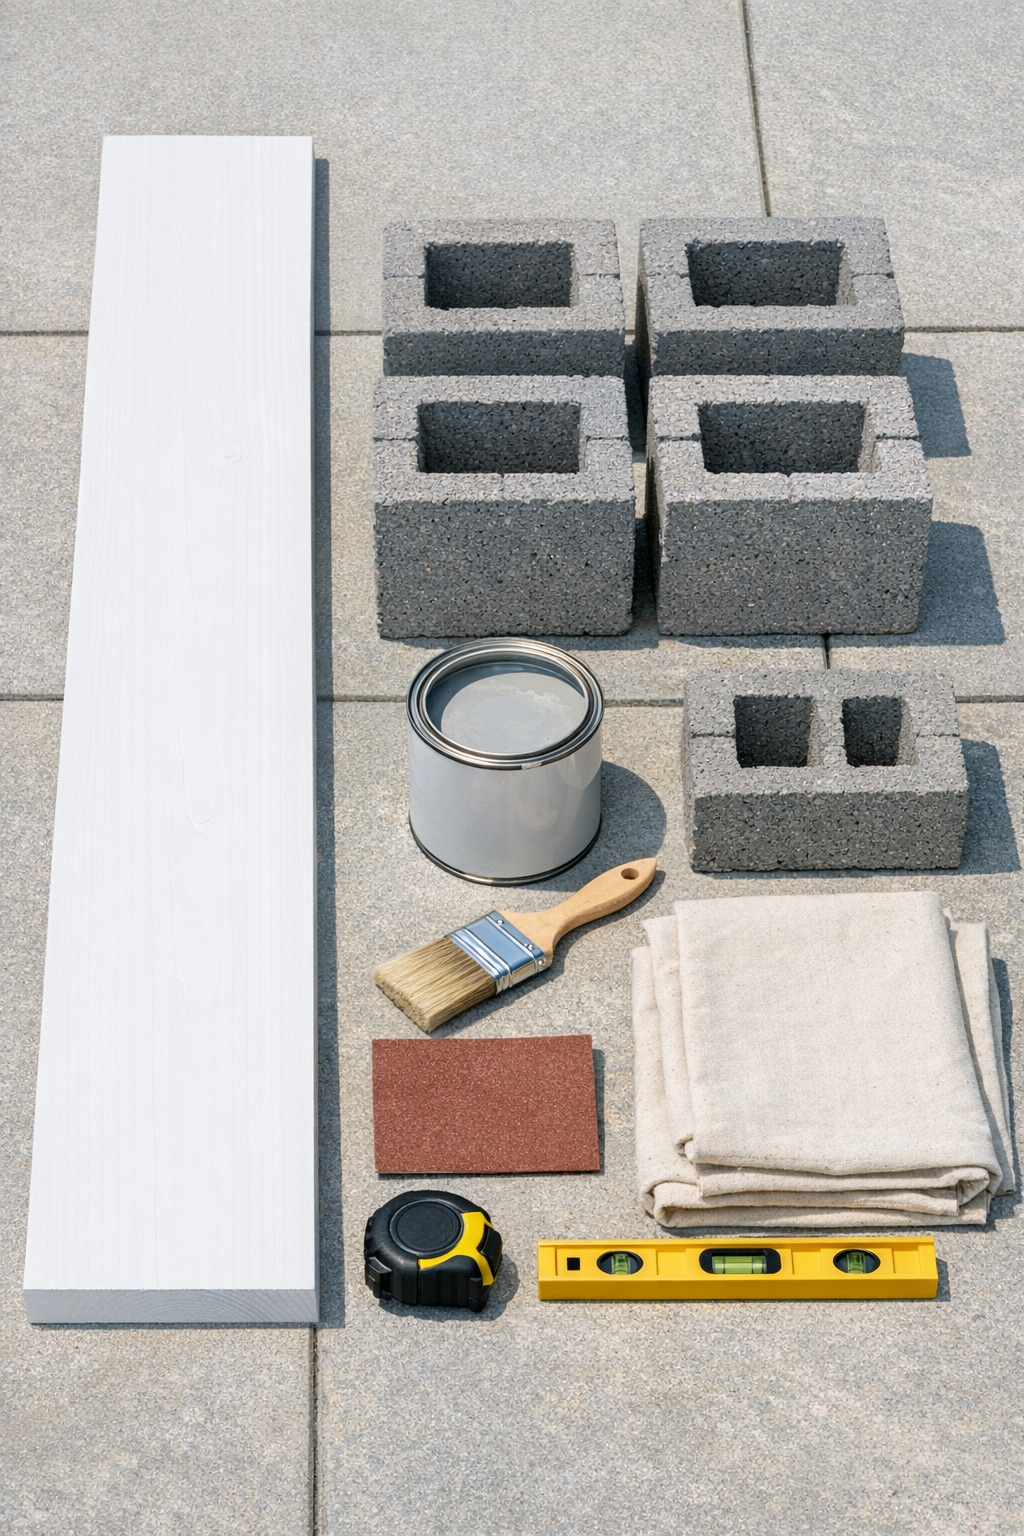
Materials
1 cedar plank, 2 in. x 8 in. x 48 in.
Instructions
1. Choose a flat spot in the yard or on the patio where your projector will face the screen or house wall straight on. Make sure the ground is firm and level enough that the blocks will not wobble.
2. Lightly sand the cedar plank with 120-grit sandpaper, then smooth it with 220-grit. Wipe away all dust with a tack cloth so the paint goes on evenly.
3. Paint or stain the plank on all sides, giving extra attention to the cut ends. Let it dry completely, then add a second coat if needed for even coverage.
4. If you want extra weather protection, brush on a light coat of exterior clear sealer once the paint is dry. Let the plank cure fully before assembling the shelf.
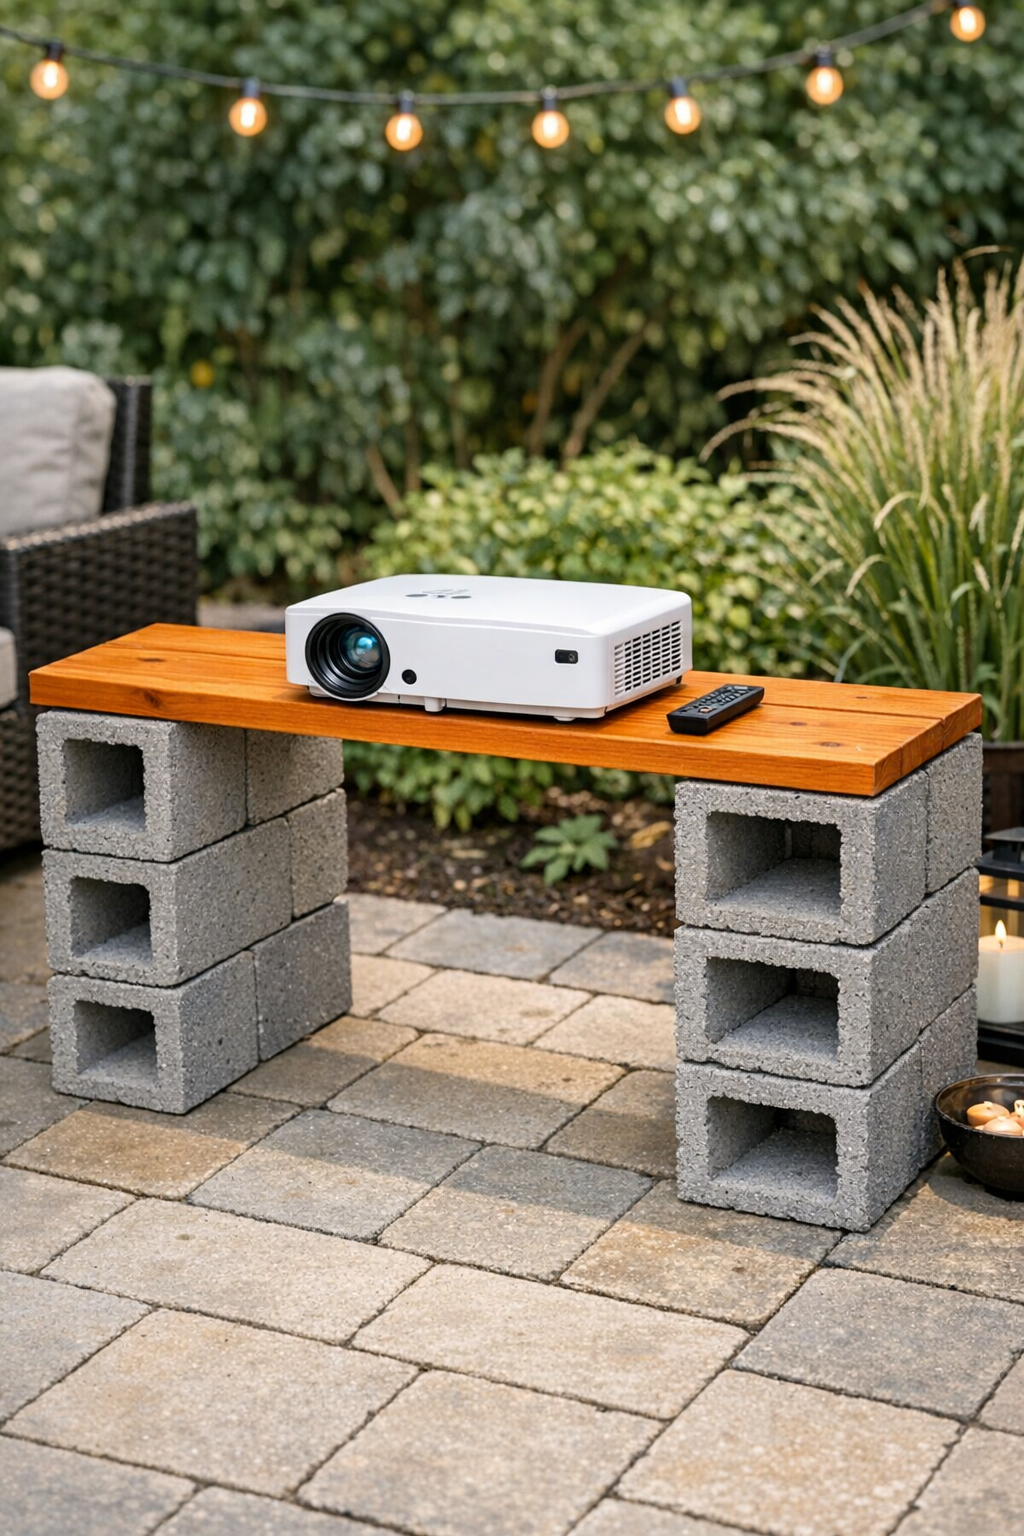
5. Stack two cinder blocks on one side and two on the other, placing the pairs about 36 inches apart. Turn the blocks so the open cores face sideways and the top surfaces are as even as possible.
6. Set the painted cedar plank flat between the stacked blocks, wedging each end securely into the top openings or snug resting points created by the block arrangement. Check that the board sits level and does not rock.
7. Add adhesive rubber pads anywhere the wood touches the concrete if you want a quieter fit and a little extra grip. This small step helps keep the shelf from shifting during setup.
8. Place your projector on the center of the shelf and test the height and angle before movie night. Adjust the spacing of the blocks slightly if you need a wider stance or a more centered image.
9. Run an outdoor-rated extension cord safely along the edge of the patio or yard and keep it out of walking paths. Once everything is plugged in, do a final shake test on the shelf before using it.
Variations & Tips
For picky placements: If your yard is a little uneven, set this up on a patio, pavers, or a large stepping stone first. I’ve learned that a perfectly simple project feels much more relaxing when you’re not fussing with a wobbly corner every ten minutes.
Color choice: Paint the cedar plank to match your outdoor furniture, screen frame, or deck trim. Soft black, warm white, and weathered gray all look nice with concrete blocks and help the setup feel intentional.
Kid-friendly movie nights: I like to keep the projector shelf just behind the seating area instead of right in the middle of traffic. That makes it easier for little ones to move around with popcorn and blankets without bumping the stand.
Extra storage: The cinder block openings are handy for holding a rolled extension cord, bug spray, or a small basket of remotes. It’s one of those little details that makes setup and cleanup easier at the end of the night.
Board size swap: If your projector is larger, use a 2 in. x 10 in. x 48 in. cedar plank for a deeper shelf. Just be sure the plank still fits securely with enough support on both ends.
Weather tip: Even with exterior paint, I recommend storing the plank in a garage or shed when it’s not in use. The blocks can stay outside, but bringing the wood in will help it look nicer for many summers to come.