
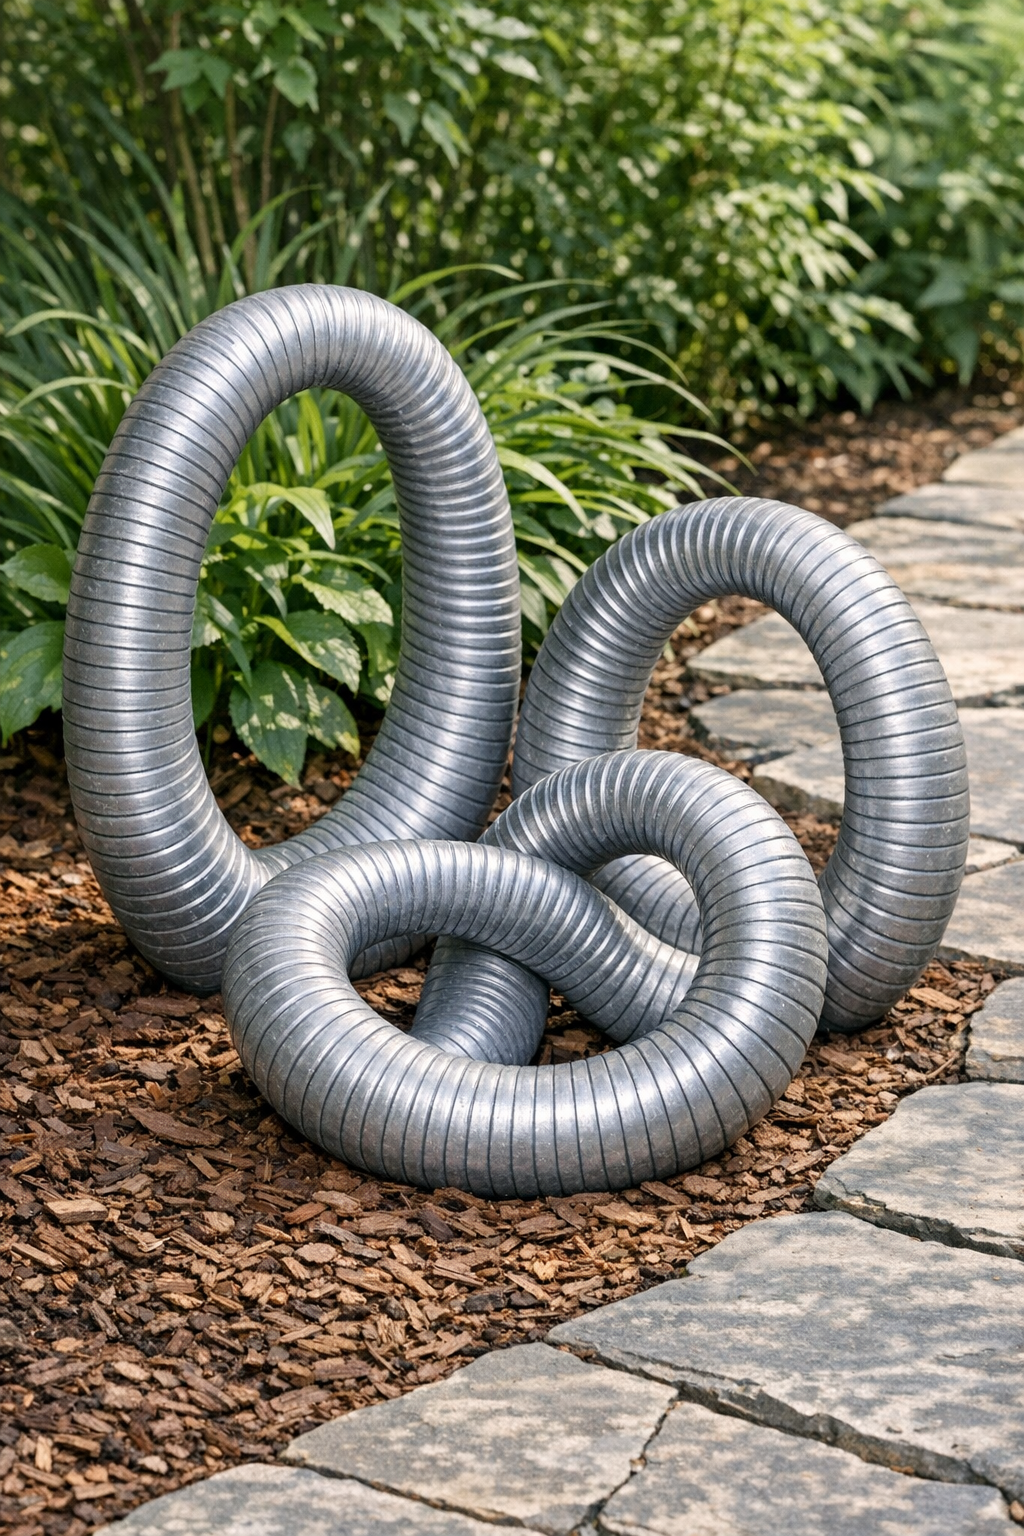
There’s something especially satisfying about making a garden feature from the plainest materials, the sort of thing you might already have tucked in the shed or waiting in the hardware aisle. This project turns flexible aluminum dryer vent hoses, cement, and one simple secret item into sculptural yard loops that look far fancier than their humble beginnings. Once finished, they can edge a flower bed, frame a path, or stand alone as a modern accent in the garden.
I’ve always loved the kind of outdoor projects that feel a little practical and a little whimsical at the same time. These loops are a good fit for beginners because the shapes are forgiving, the supply list is short, and you can make them rustic or neat depending on your style. Around here in the Midwest, I think pieces like this look right at home beside hostas, gravel walks, and old brick borders.
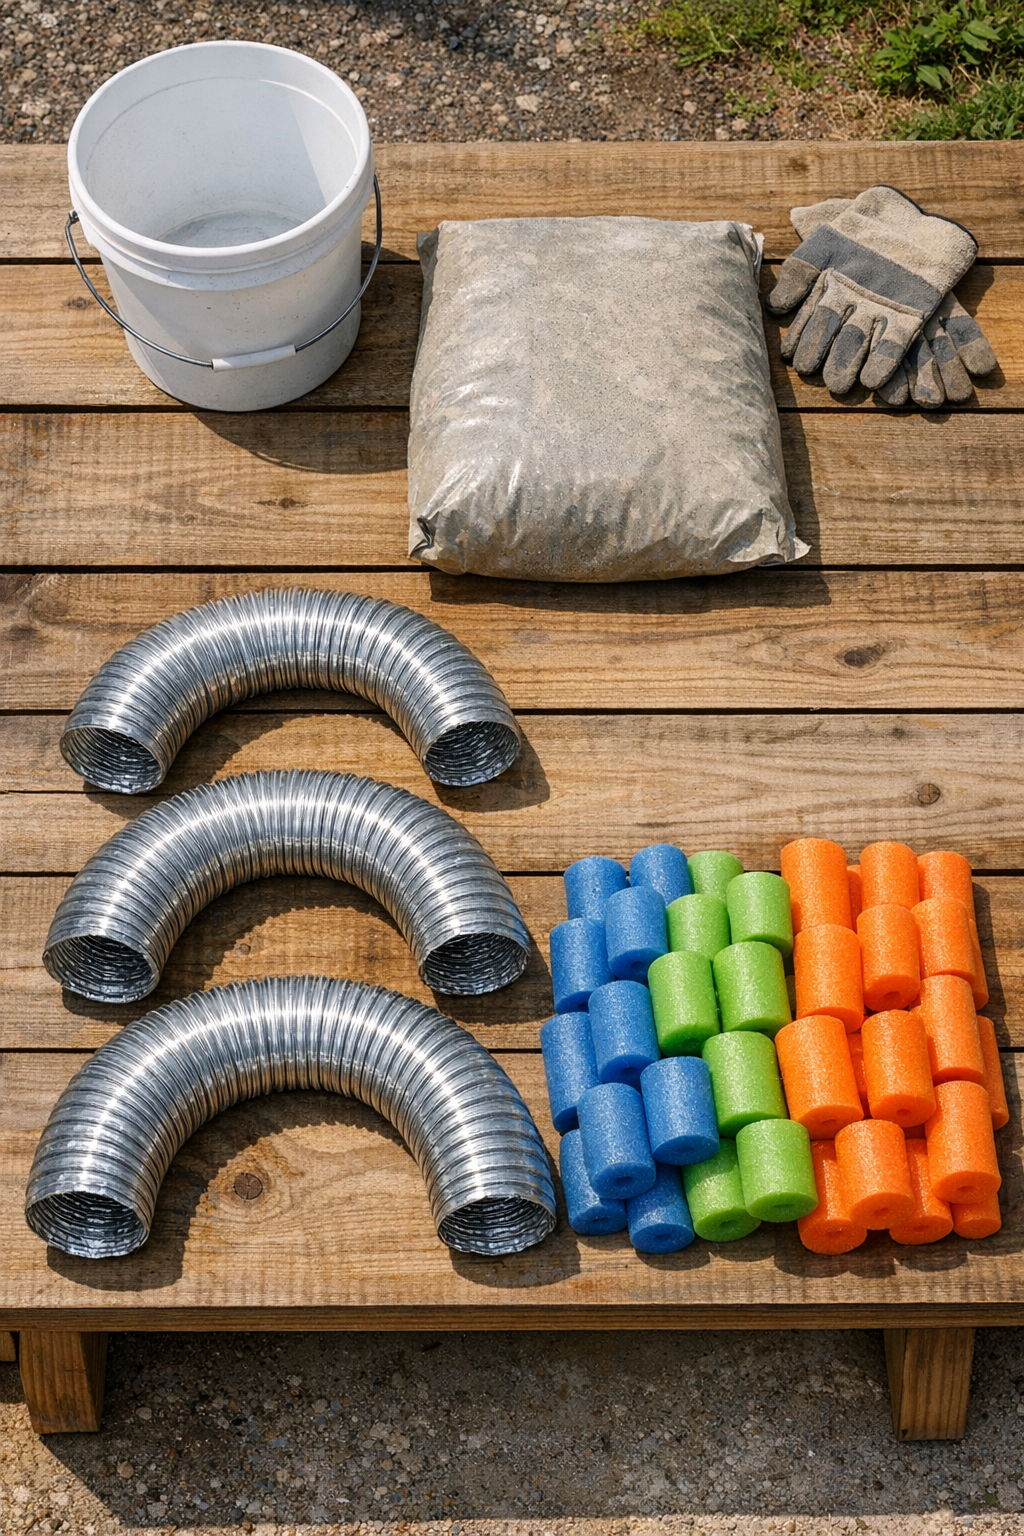
Materials
3 flexible aluminum dryer vent hoses, 4 inches diameter x 8 feet long each
Instructions
1. Spread a plastic drop cloth over a flat outdoor work area, then set out your dryer vent hoses, concrete mix, pool noodles, tape, and ties so everything is within easy reach.
2. Stretch each aluminum dryer vent hose out gently to open the ridges without tearing the metal, but do not pull them to their full maximum length.
3. Cut the pool noodles so each piece fits neatly inside a vent hose, end to end, leaving no more than 1 inch of empty space at either end.
4. Slide the pool noodle pieces into the hoses; this is the secret item that helps the loops keep a rounded shape, reduces the amount of cement needed, and makes the finished pieces easier to handle.
5. Tape one end of each hose closed securely with several tight wraps of duct tape so wet cement cannot leak out.
6. Mix the concrete in a bucket according to the package directions until it is thick but still pourable, about the texture of oatmeal or thick pancake batter.
7. Stand one hose upright with the taped end down, then spoon or pour the concrete into the open end a little at a time, pausing to tap the sides so the mix settles around the pool noodle.
8. Fill the hose until it feels evenly packed and substantial, leaving about 1 inch of space at the top so you can close the end cleanly.
9. Tape the open end shut, then gently bend the filled hose into a loop, teardrop, or oval shape while the concrete is still workable.
10. Secure the shape with twine or zip ties, then repeat the filling and shaping process for the remaining hoses so the loops can match or vary in size.
11. Let the loops cure flat and undisturbed for 24 to 48 hours, or according to your concrete mix directions, until they are firm and hold their shape well.
12. Remove the ties, check that the taped ends are secure, and place the finished loops in the garden by nestling them slightly into soil, gravel, or mulch so they sit steady.
Variations & Tips
For a weathered look: If you prefer a softer finish, let the aluminum dull naturally outdoors, or brush a little watered-down gray masonry stain over the surface once fully cured.
For larger statement pieces: Use longer vent hoses and make two oversized loops instead of three smaller ones, but be sure to support them well while they cure so the shape does not slump.
For planting-bed edging: Make matching oval shapes and set them in a repeating pattern along the front of a flower border. I think this looks especially nice around hostas or daylilies.
To prevent leaks: Keep your concrete mixture fairly thick and tape the ends generously. If a hose has tiny splits, add an extra wrap of duct tape over those spots before filling.
To make placement easier: Build the loops near the garden where you plan to use them. Once the concrete is inside, they can be awkward to carry far, and I’ve learned over the years that saving your back is every bit as important as finishing the project.
To personalize the shapes: Try circles, leaning ovals, or teardrops grouped in threes. A cluster with slightly different heights gives the whole piece that pleasing, found-in-the-garden look that always feels a little special.