
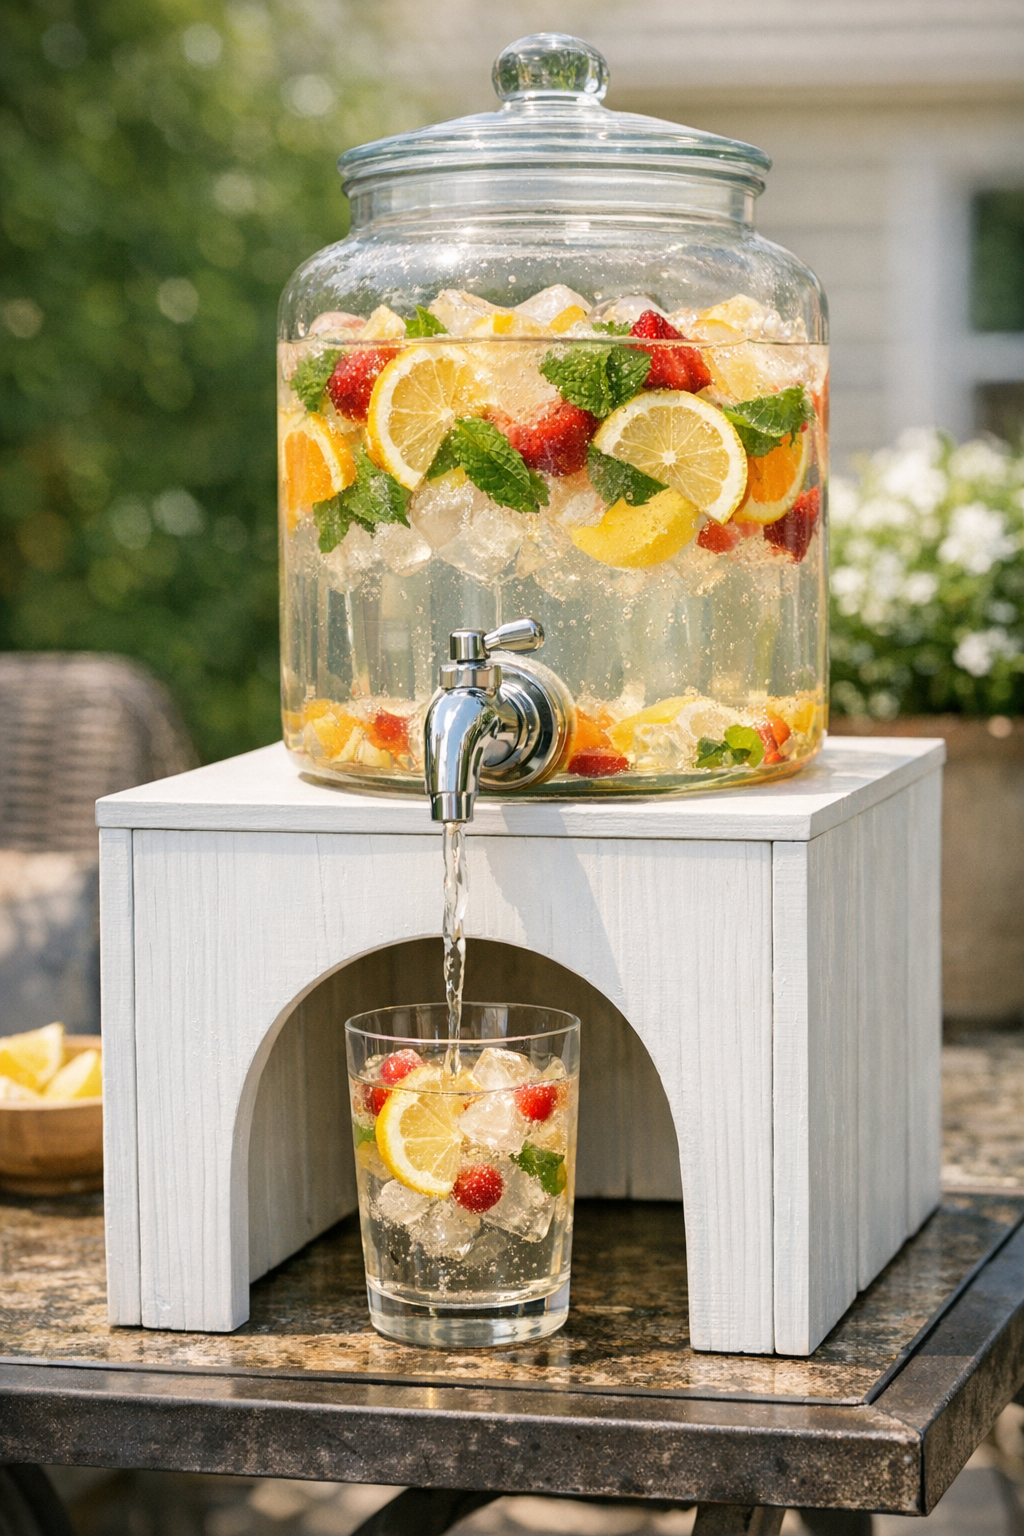
An old wooden wine crate is one of those pieces I hate to toss, because with a little paint and one smart cut, it can turn into something genuinely useful. In this project, I’m making an outdoor beverage dispenser stand by cutting an arched opening in the front of the crate, which creates space for a drink spout to hang over the edge while the box supports the weight of the dispenser above it.
I love this kind of summer-party fix because it looks charming on a patio table, keeps drinks easy to serve, and costs far less than buying a purpose-built stand. If you’re comfortable measuring, tracing a curve, and using a jigsaw, this is a very manageable afternoon project.
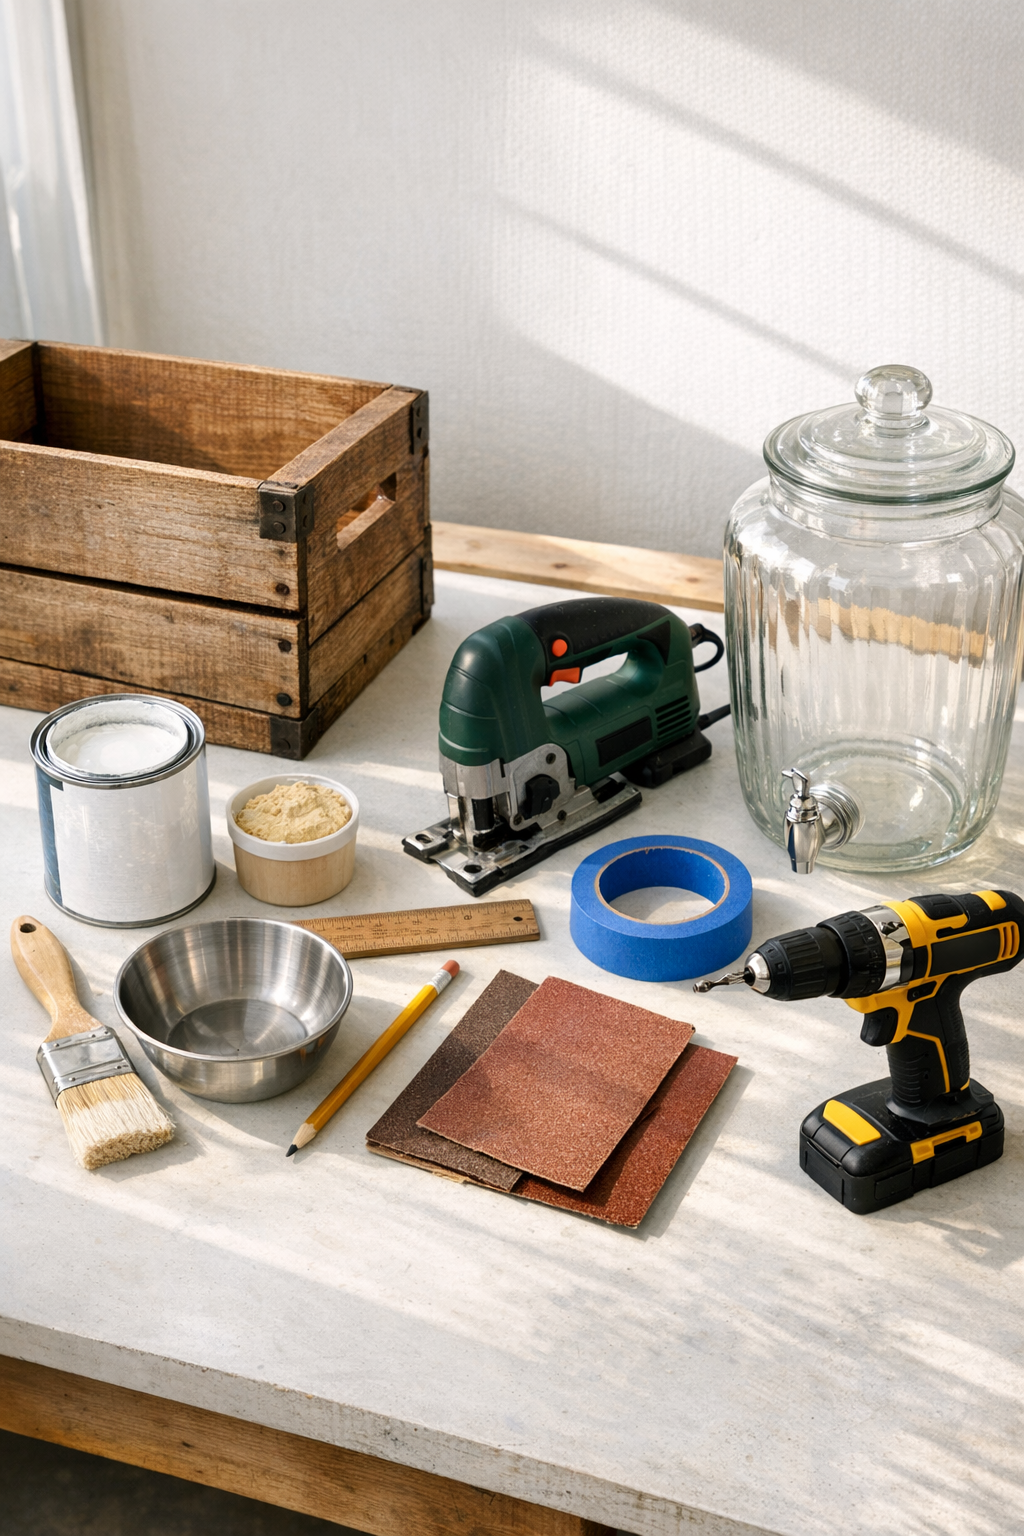
Materials
1 old wooden wine crate, approximately 18 inches wide x 12 inches deep x 10 inches tall
Instructions
1. Clean the crate thoroughly and check that all slats and joints are solid; tighten or reglue anything loose before you begin cutting.
2. Sand the entire crate with 120-grit sandpaper to remove splinters and rough spots, then wipe away the dust with a clean rag.
3. Fill any deep cracks, nail holes, or chipped corners with wood filler, let it dry completely, and sand those areas smooth with 220-grit sandpaper.
4. Paint the outside of the crate and, if desired, the inside top edges with a thin, even coat; let it dry, then add a second coat for better coverage.
5. On the front face of the crate, measure and mark the center point, then sketch an arched opening near the bottom using a bowl or plate as a guide; leave at least 2 inches of wood on both sides for strength.
6. Apply painter’s tape along the outline if you want a cleaner painted edge, then redraw the arch on top of the tape.
7. Drill a starter hole just inside the marked arch, then insert the jigsaw blade and carefully cut along the curved line from one side to the other.
8. Remove the cutout piece and sand the entire inside edge of the arch with 120-grit, then 220-grit sandpaper until it feels smooth to the touch.
9. Touch up the raw cut edge with paint and let it dry fully so the opening looks finished and protected.
10. Turn the crate over and attach one felt pad or rubber foot at each bottom corner to help stabilize it and protect the table surface outdoors.
11. Set the crate upright with the arched opening facing forward, place the beverage dispenser on top, and check that the spigot lines up comfortably over the opening with enough clearance for a glass underneath.
12. Test with a cup before your party by filling the dispenser with water first; if needed, rotate the dispenser slightly or shift its position until the pour is centered in the arch.
Variations & Tips
Color choice: I like a crisp white or soft sage for summer entertaining, but bold navy, black, or a weathered stain can make the crate feel more tailored to your patio style.
Size check: Before cutting, measure the height from your table to the dispenser spigot. This is the part I never skip, because even a pretty stand is useless if a glass won’t fit under the tap.
Wood strength: If your crate is lightweight or decorative rather than sturdy, reinforce the inside corners with small wood blocks and screws before setting a full dispenser on top.
Edge finish: For a cleaner look, wrap sandpaper around a small scrap of wood to smooth the inside of the arch evenly. It’s a simple trick, but it gives the cutout a much more polished shape.
Outdoor durability: If the stand will stay outside for more than a single event, add a clear outdoor sealer over the paint once everything is dry. In Midwestern summers, I’ve learned that humidity can be harder on wood than people expect.
Serving setup: Tuck a small tray under the spigot to catch drips and keep cups nearby. It turns the whole piece into a self-serve station, which always makes hosting easier.