
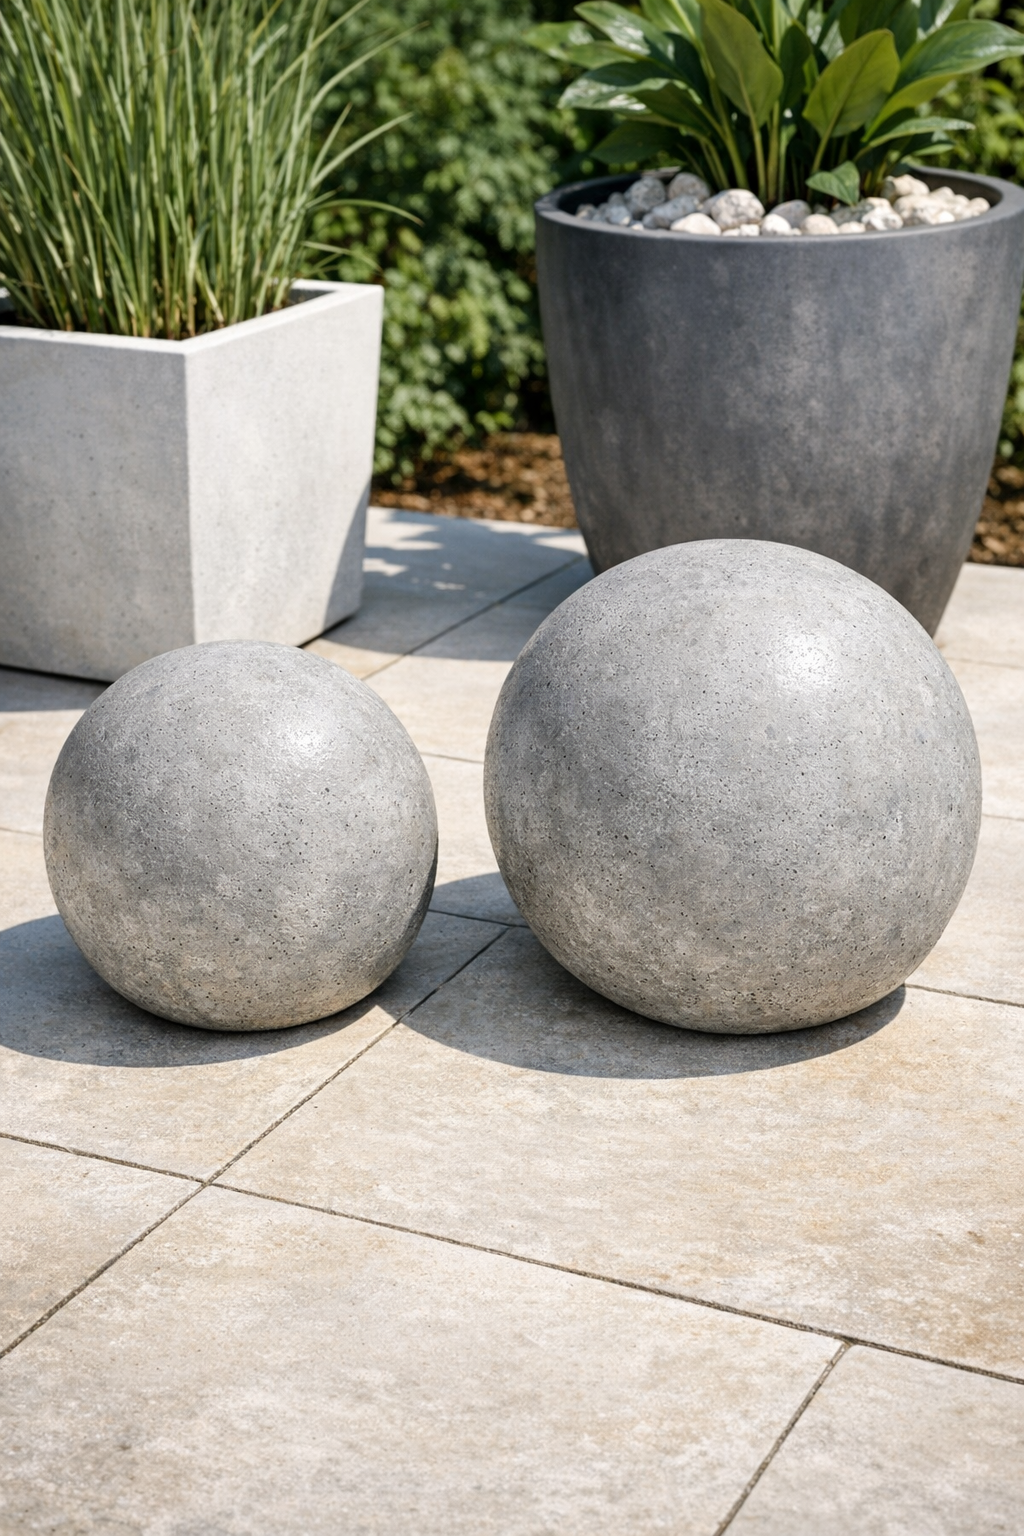
These heavy spherical patio weights are one of those satisfying projects that look far more expensive than they are. I’m using deflated vinyl beach balls as molds and filling them with wet cement, plus one common household item that makes the whole process easier and more reliable: a funnel. The result is a pair of sturdy, modern-looking concrete spheres that work beautifully as patio weights, umbrella-base accents, or simple garden décor.
I like projects like this because they rely on inexpensive materials and a little patience rather than specialized skill. If you’re comfortable mixing cement and don’t mind a bit of mess, you can make these in an afternoon and let time do the rest. They’re especially good for anyone who wants functional outdoor pieces that still look polished.
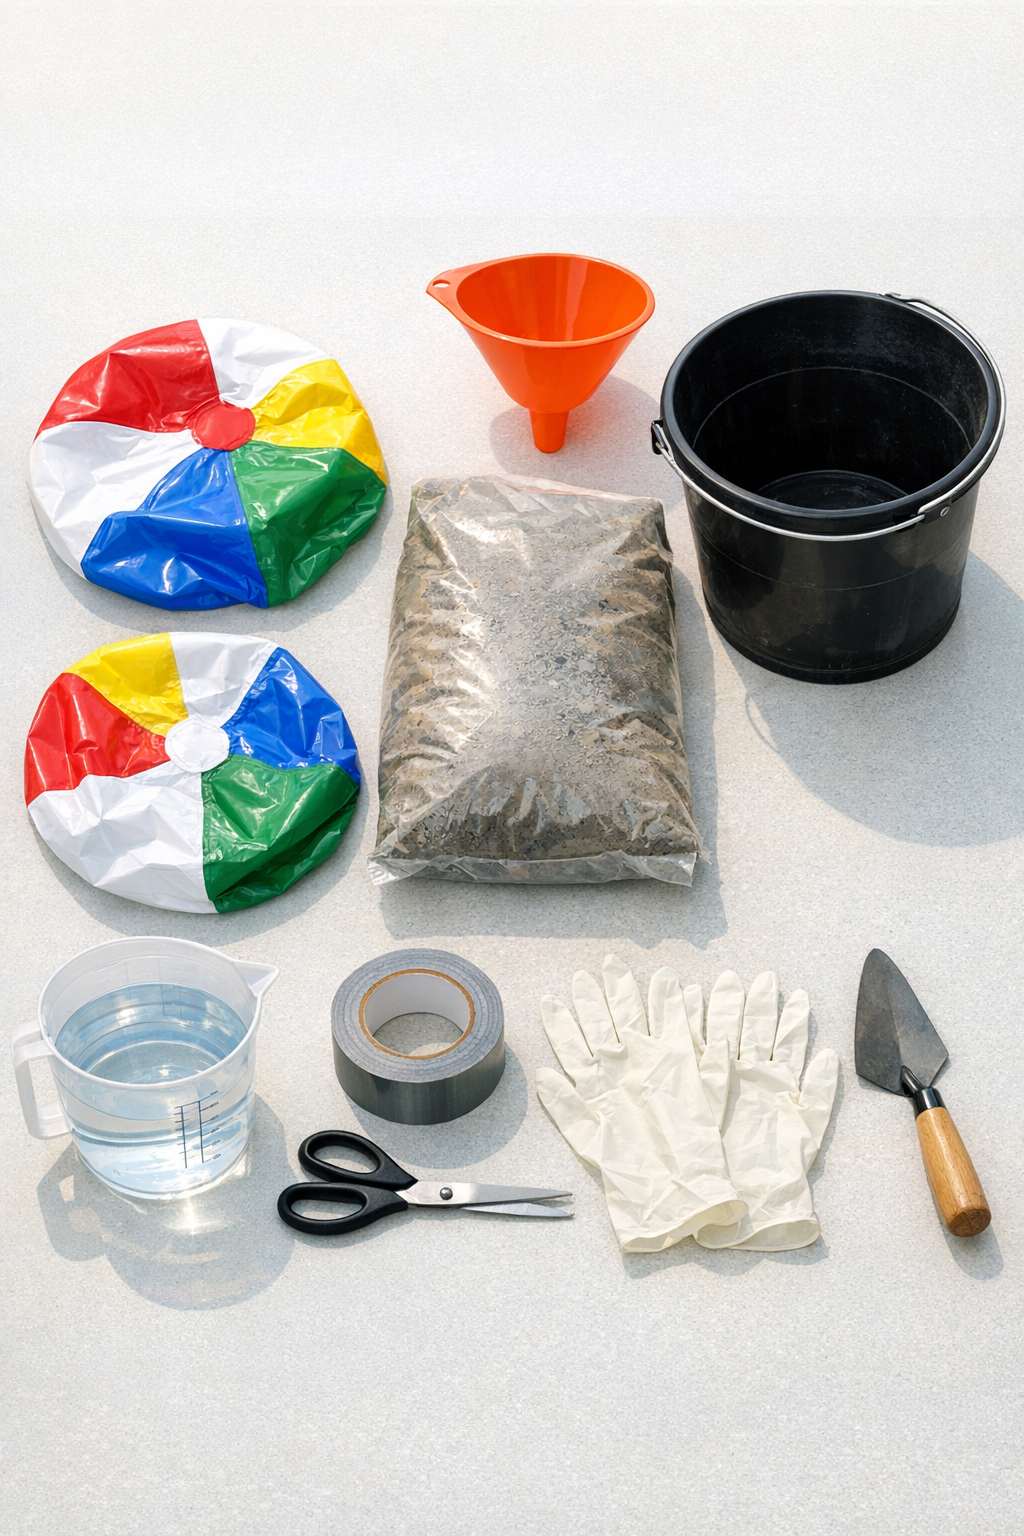
Materials
2 deflated vinyl beach balls, 16 to 20 inches diameter each
Instructions
1. Set up your work area outdoors or in a well-ventilated garage, and lay down cardboard or a drop cloth because cement splatter is inevitable.
2. Place the two deflated beach balls in the sun for 10 to 15 minutes if they’re stiff, which makes the vinyl easier to open and shape.
3. Cut a small opening at the inflation valve area on each beach ball, just large enough to fit the funnel snugly without tearing the vinyl farther.
4. Mix the cement in the bucket according to the package directions until it reaches a thick but pourable consistency, similar to a dense muffin batter.
5. Put the funnel into the first beach ball and spoon or pour in wet cement a little at a time, pausing often to shake and settle the mix toward the bottom.
6. Fill the first ball until it forms a heavy, rounded sphere shape and feels substantially weighted; for a 16- to 20-inch ball, this is usually about 20 to 25 pounds of wet mix.
7. Twist the opening closed and secure it tightly with duct tape so the cement stays contained while the ball cures.
8. Set the filled ball on a folded towel or in a shallow bowl to keep it from rolling, then repeat the filling and sealing process with the second beach ball.
9. Let both balls cure for 24 to 48 hours, rotating them once or twice during the first few hours if needed to help maintain a more even spherical shape.
10. After the concrete has hardened fully, cut away and peel off the vinyl from each sphere carefully, working in strips so you don’t gouge the surface.
11. Let the exposed concrete spheres dry another 24 hours if they still feel damp or cool to the touch before placing them on your patio.
12. Position the finished weights where you want them, either as freestanding patio accents or as heavy anchors beside lightweight outdoor furniture or décor.
Variations & Tips
Smoother finish: If you want a cleaner surface, mix the cement a touch looser and tap the filled ball gently as you work to release trapped air bubbles.
More rustic look: Leave minor surface pits and seams alone. I actually like that weathered concrete look outdoors; it feels intentional and architectural.
Size adjustment: Use smaller beach balls for lighter weights or larger ones for a bolder statement, but be prepared to increase the amount of concrete quite a bit as size goes up.
Easier filling: The funnel really is the secret here. In my kitchen life I’m always talking about controlling flow, whether it’s stock, batter, or sauce, and the same principle helps with cement in this project.
Crack prevention: Don’t move the balls too much during the first day of curing. Cement likes to set in peace, and shifting them early can create weak spots.
Outdoor longevity: Once fully cured, you can seal the spheres with a clear masonry sealer if you want extra protection from stains and freeze-thaw weather.