
I’m always looking for ways to make practical fixes around the house without buying one more specialty item, especially for those annoying little problems that somehow affect the whole day. If you’ve ever had a washer, shop tool, portable generator, or air compressor rattle across the floor or send vibrations through the room, these heavy-duty DIY vibration pads are a simple project that can make a surprisingly big difference.
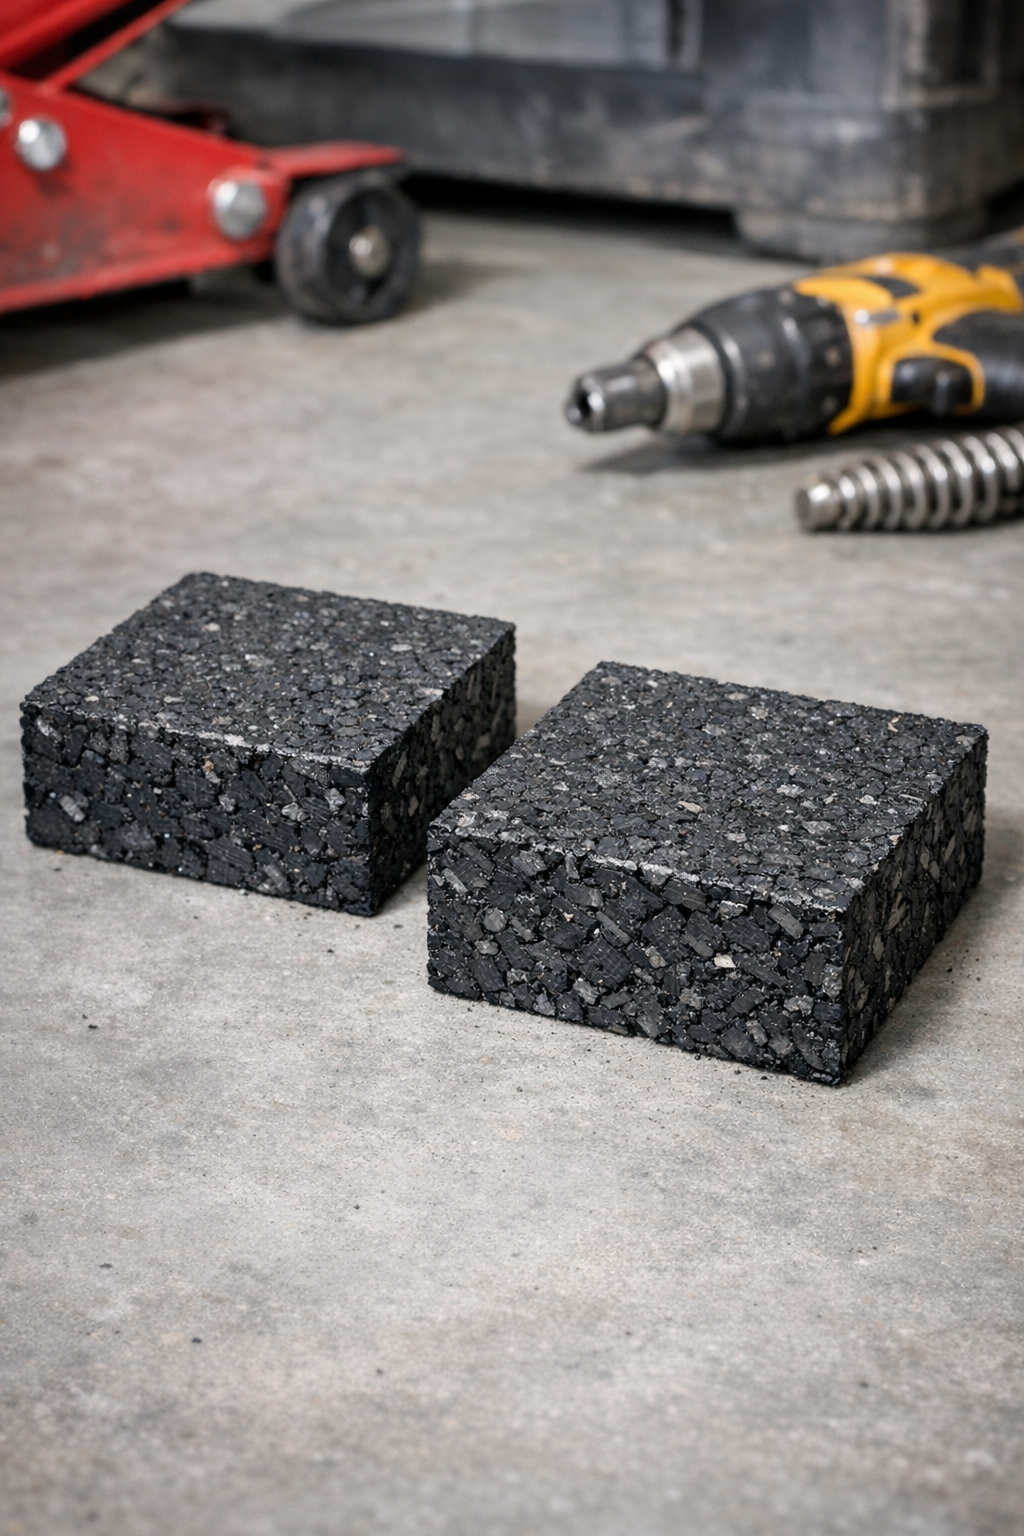
This version uses chopped rubber garden hose pieces bonded into sturdy pads with a single liquid binder, then pressed and cured into two dense, grippy blocks. I like this kind of project because it turns worn-out hose into something useful, and it’s very doable even on a busy weekend. If you’re comfortable measuring, cutting, heating, and pressing materials carefully, you can make a pair of durable pads for heavy equipment feet.
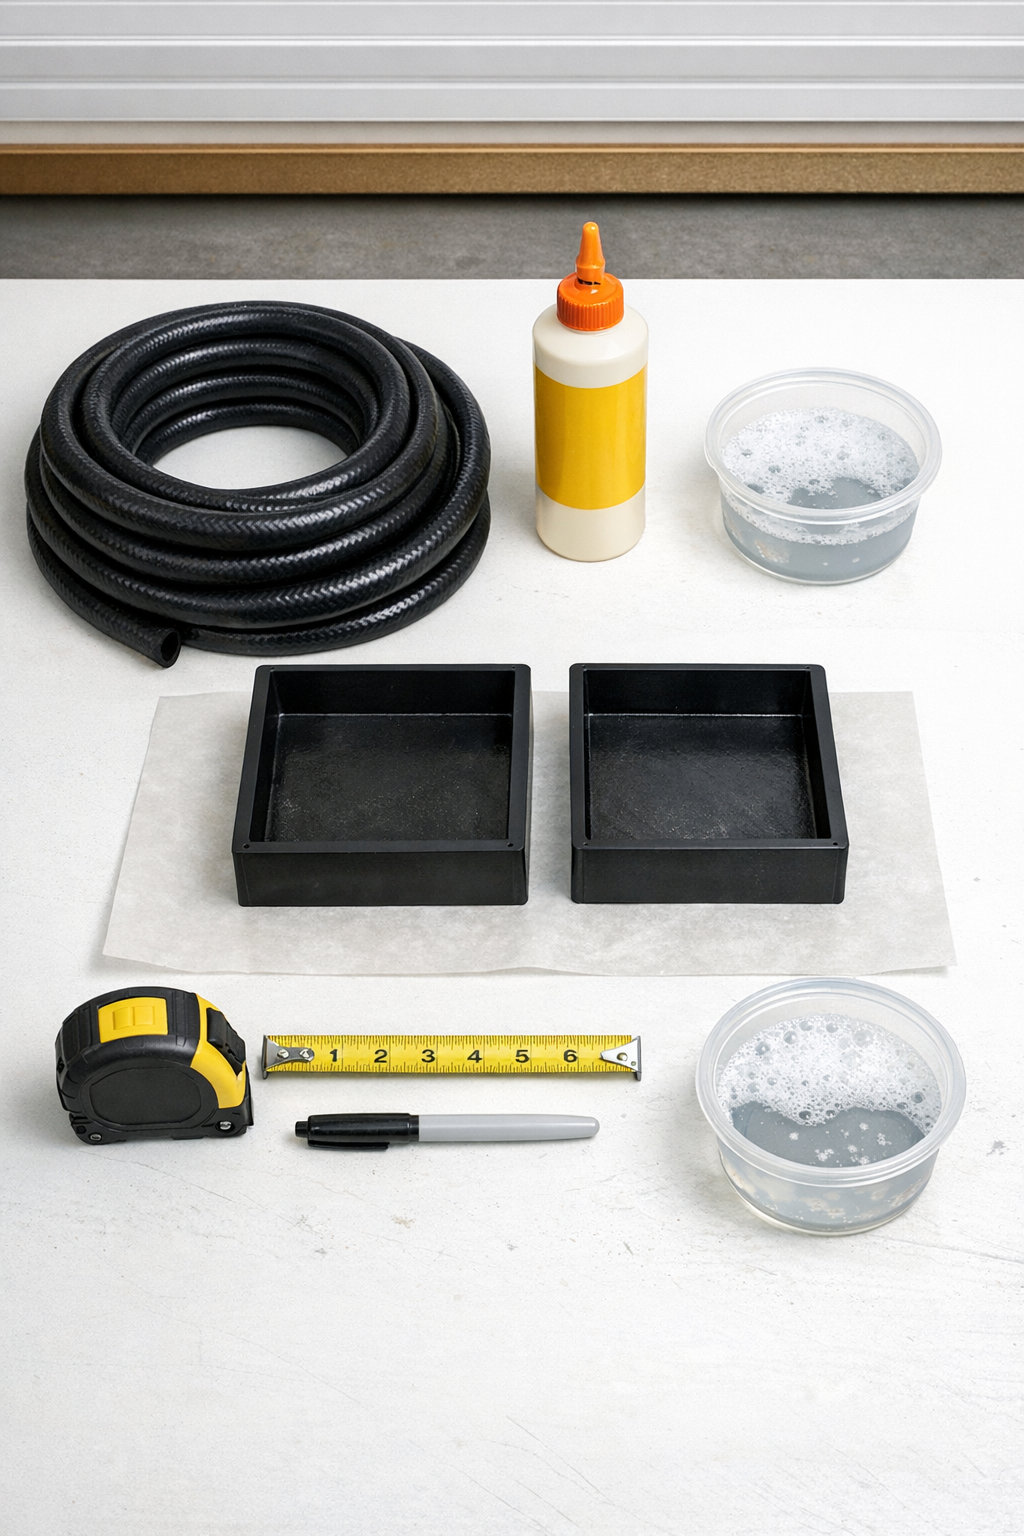
Materials
Instructions
1. Wash the garden hose thoroughly and let it dry, then cut away any metal end fittings. I usually do this first thing so I’m not fighting dirt or grit later when it’s time to bond everything together.
2. Cut the hose into small pieces about 1/4 inch to 1/2 inch long. Try to keep the pieces fairly even so the pads compress and cure more uniformly.
3. Bring a pot of water to a gentle boil and place the chopped hose pieces in the hot water for 10 to 15 minutes to soften them. Drain them carefully and let them cool just enough to handle safely while they stay flexible.
4. Line the two molds with parchment paper, including the bottom and sides if possible. This makes release much easier and keeps the adhesive from bonding permanently to the mold.
5. Lightly mist or sprinkle the inside of each mold with a small amount of the soapy water mixture. The moisture helps polyurethane adhesive cure, and you only need a light coating, not puddles.
6. In a mixing container, combine the warm chopped hose pieces with enough polyurethane adhesive to coat them evenly, using about 4 fluid ounces per pad. Stir until every piece looks lightly covered and sticky.
7. Divide the mixture evenly between the two molds and press it down firmly with your hands or a flat block covered in parchment. Pack the corners well so the finished pads don’t have weak edges.
8. Place a sheet of parchment on top of each filled mold, then set the pressing boards on top. Clamp each mold tightly from opposite sides so the mixture compresses into dense, even pads.
9. Let the pads cure undisturbed for 24 hours, then remove the clamps and check firmness. If they still feel soft in the center, leave them in the molds for another 12 to 24 hours.
10. Unmold the pads and peel away the parchment paper. Trim any uneven edges with a utility knife so both pads sit flat and match in height.
11. Set one pad under each side of the equipment base or place one under each pair of feet, depending on the machine’s footprint. Test for wobble before powering anything on, and reposition as needed for full contact.
Variations & Tips
For heavier machines: Make the molds 8 inches by 8 inches and keep the pad thickness around 1 1/2 to 2 inches for more load distribution. This works well for equipment with wider bases.
For smaller appliances: Divide the mixture into four smaller molds instead of two large ones. I like this option for laundry machines or compact shop tools with individual feet.
Adhesive choice: Use a moisture-curing polyurethane adhesive rather than brittle glues. You want the finished pad to stay slightly flexible so it absorbs vibration instead of cracking.
Cutting tip: If the hose is stubborn, warm it in hot water before chopping. It makes the cutting process much easier, which honestly matters when you’re squeezing in a project after work.
Compression matters: The tighter and more evenly you clamp, the denser the pad will be. If one side is looser than the other, the finished piece can cure unevenly and rock on the floor.
Surface safety: Always place the finished pads on a clean, level floor. Even the best homemade vibration pad won’t help much if it’s sitting on dust, debris, or an uneven surface.