
Out here, I’ve learned that if a thing can be covered, protected, patched, or saved from a hard rain, it probably ought to be. This project turns simple vinyl tablecloths into sturdy waterproof tarps that are handy for covering firewood, garden tools, feed bins, lawn equipment, or anything else you don’t want the weather getting into. It’s a plainspoken kind of make-do project, the sort of thing folks around the Midwest have always understood well: use what’s affordable, use it carefully, and make it last.
What I like most about these homemade tarps is that they don’t require a sewing machine or fancy hardware to get started. By folding and bonding the vinyl with heat, then reinforcing the corners and tie points with two everyday supplies, you can make a surprisingly tough cover in an afternoon. If you’ve got a good iron, a steady hand, and a little patience, this is a practical project that pays for itself the first time a storm rolls in.
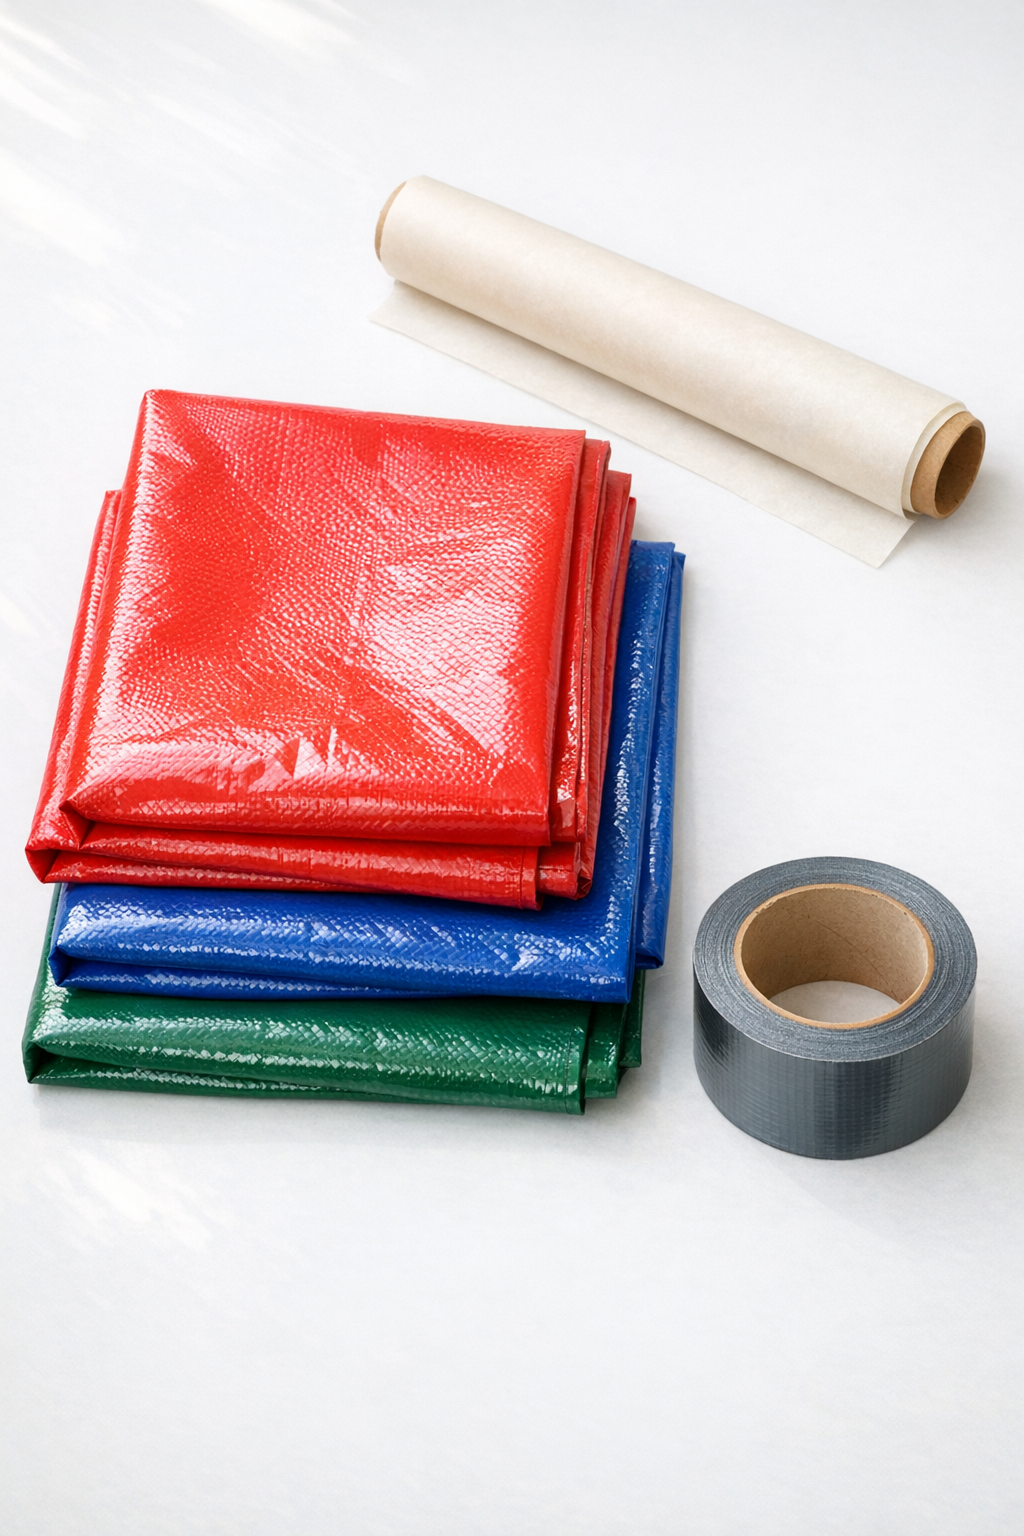
Materials
Instructions
1. Spread one vinyl tablecloth flat on a large heat-safe surface with the vinyl side down and the flannel side up, then smooth out every wrinkle with your hands.
2. Lay the second tablecloth on top if you want a thicker tarp, or fold the first tablecloth in half lengthwise if you want a smaller double-layer tarp with extra strength.
3. Fold all four outer edges inward by 1 1/2 inches to create a thicker hem, making the corners as square and even as you can.
4. Place parchment paper over one folded edge, then press with a dry iron on low to medium heat for 8 to 12 seconds at a time, lifting and checking often so the vinyl softens and bonds without scorching.
5. Repeat the ironing process around the entire perimeter, always keeping parchment paper between the iron and vinyl and working in short sections until every hem is bonded flat.
6. Let the edges cool for 2 minutes, then run strips of heavy-duty duct tape over each hem on both sides to reinforce the perimeter and help the tarp resist tearing under strain.
7. To make simple tie points, tear four 8-inch strips of duct tape and place one at each corner so half the strip sits on the front and half wraps to the back, then press firmly.
8. Fold each taped corner inward into a small triangle or tab, cover it again with another 8-inch strip of tape, and press hard to build a thicker reinforced corner that can handle rope or bungee tension.
9. Add extra taped tabs at the midpoint of the long sides if you need more tie-down spots, using 6-inch strips folded over the edge and pressed tightly on both sides.
10. Leave the finished tarp flat for 15 to 20 minutes so the bonded hems and taped reinforcements can fully cool and set before using it outdoors.
Variations & Tips
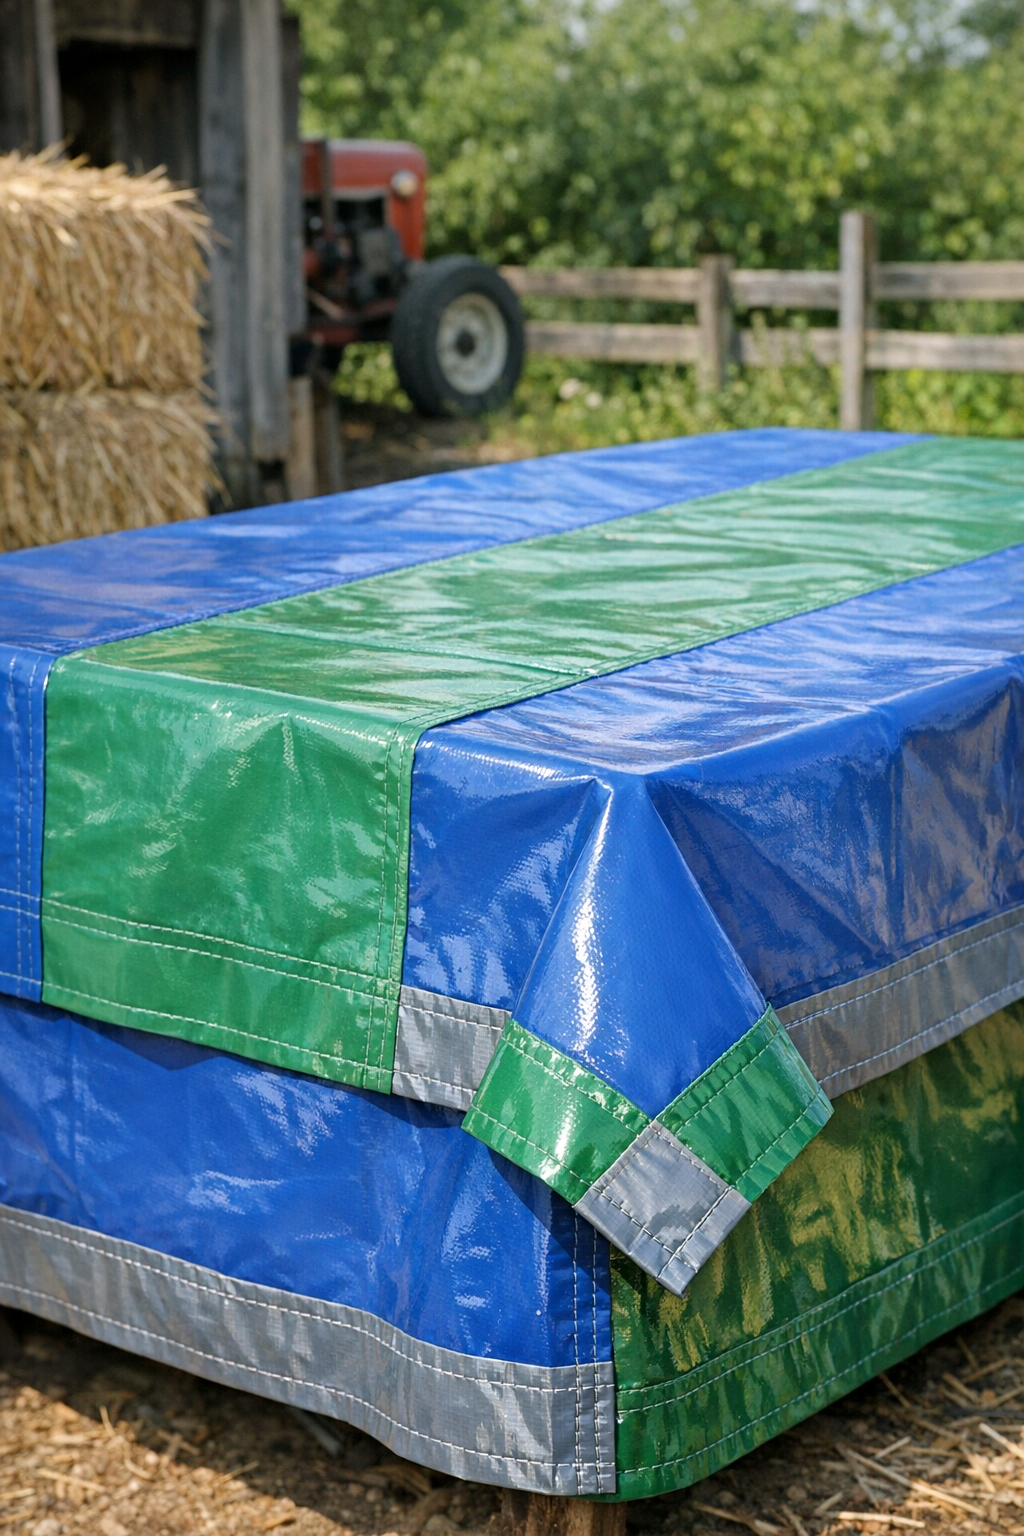
For larger coverage: Overlap two tablecloths by 2 inches and bond that seam under parchment paper before hemming the outer edges, then tape over the seam on both sides for extra strength.
For woodpiles and awkward shapes: Make the tarp slightly oversized. I’ve found a little extra drape is better than a skimpy cover when the wind starts fussing with things.
Iron temperature tip: Start lower than you think you need. Vinyl can warp in a hurry, so I always test a small folded scrap first and increase heat only a little at a time.
Best use: These work beautifully for seasonal equipment covers, stacked supplies, outdoor bins, and short-term weather protection. I would not use them where they’ll sit against very hot engines, stovepipes, or open flame.
Stronger corners: If your tarp will be tied down often, add two more layers of tape at each corner in a crisscross pattern. Those stress points are where homemade covers usually give out first.
Storage tip: Fold the tarp loosely and keep it out of direct sun when not in use. Like a good oilcloth from years ago, it lasts longer when it isn’t baked day after day.