
If you like outdoor projects that look far more expensive than they really are, this one is such a fun weekend make. By filling slit pool noodles with wet cement, you can create heavy, curved “yard logs” that work as rustic garden edging, landscape accents, or even sculptural pieces tucked into a flower bed. I love projects like this because they use simple materials but still give you that satisfying, substantial finished result.
As someone who is usually squeezing DIY time in between work and making dinner, I appreciate that this project is low on complicated steps and high on visual payoff. If you want an easy way to add texture and shape to your yard without cutting real timber or hauling giant stones, this is a very approachable build.
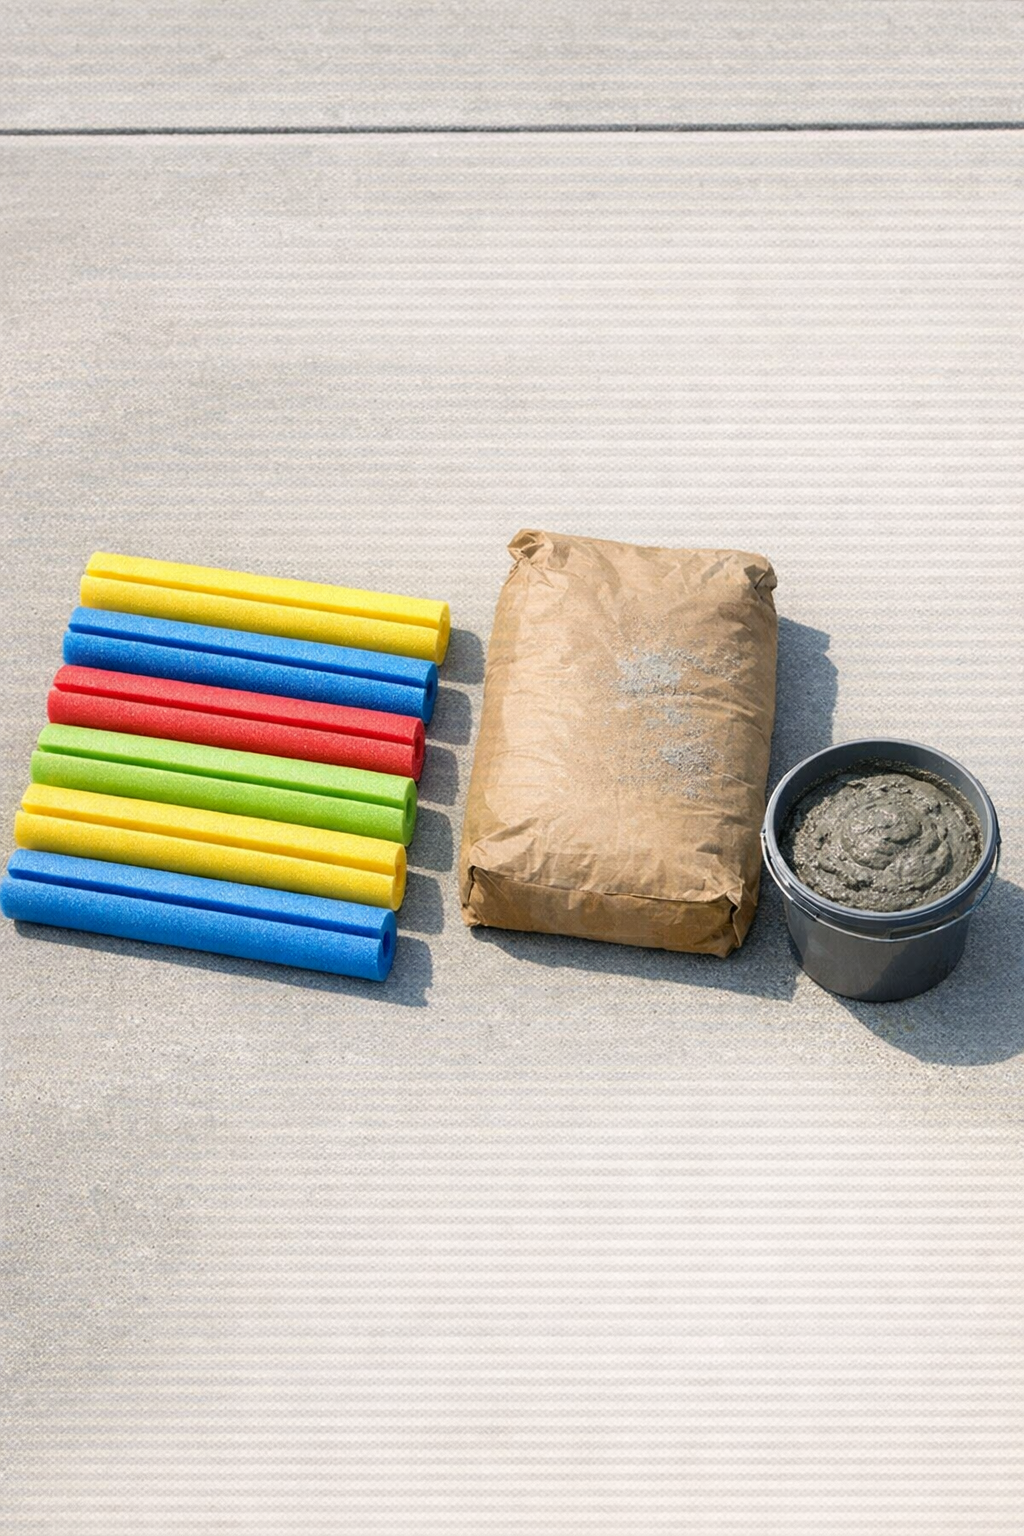
Materials
Instructions
1. Lay a plastic sheet on a flat outdoor surface and place your pool noodles on top. If the noodles are not already slit lengthwise, cut one straight slit down each noodle so you can open them slightly for filling.
2. Mix the cement with water according to the bag directions until it reaches a thick but pourable consistency, similar to pancake batter. Stir well so there are no dry pockets.
3. Open the slit in the first noodle and slowly pour or scoop the wet cement inside, filling it from one end to the other. Tap the noodle gently against the ground as you go to help settle the cement and reduce air gaps.
4. Bend the filled noodle into a gentle curve and leave it resting in that shape on the plastic-covered ground. Adjust the curve right away, because the cement weight will help the noodle hold its form as it begins to set.
5. Repeat the filling and shaping process with the remaining noodles, making each curve slightly different for a more natural yard-log look. Keep the forms spaced apart so they can dry evenly.
6. Let the cement cure completely until the pieces feel hard and heavy; this usually takes at least 24 to 48 hours depending on temperature and humidity. Avoid moving them during this time so the curved shapes stay intact.
7. Once cured, place the finished curved cement logs directly in your yard, garden bed, or along a path. Set them partially into mulch or soil for a more natural, grounded appearance.

Variations & Tips
Make the curves look natural: I like to avoid making every piece identical. A mix of shallow bends and deeper curves gives the finished arrangement more of that weathered-log feel.
Work in small batches: If you are fitting this in after work like I usually do, mix only enough cement for one or two noodles at a time. It is much less stressful than racing a full bucket that is starting to set.
Use them as edging: These look especially nice when nestled along the edge of a mulch bed or around a small tree ring. Pressing them slightly into the soil helps them look intentional and keeps them steady.
Expect some texture variation: Because the foam exterior shapes the cement, the finished pieces can have slight ridges or uneven spots. I think that actually adds to the rustic yard-log effect.
Let them cure fully before moving: This is the biggest practical tip. If you try to lift them too early, the cement inside can crack or flatten on one side, so patience really pays off here.