
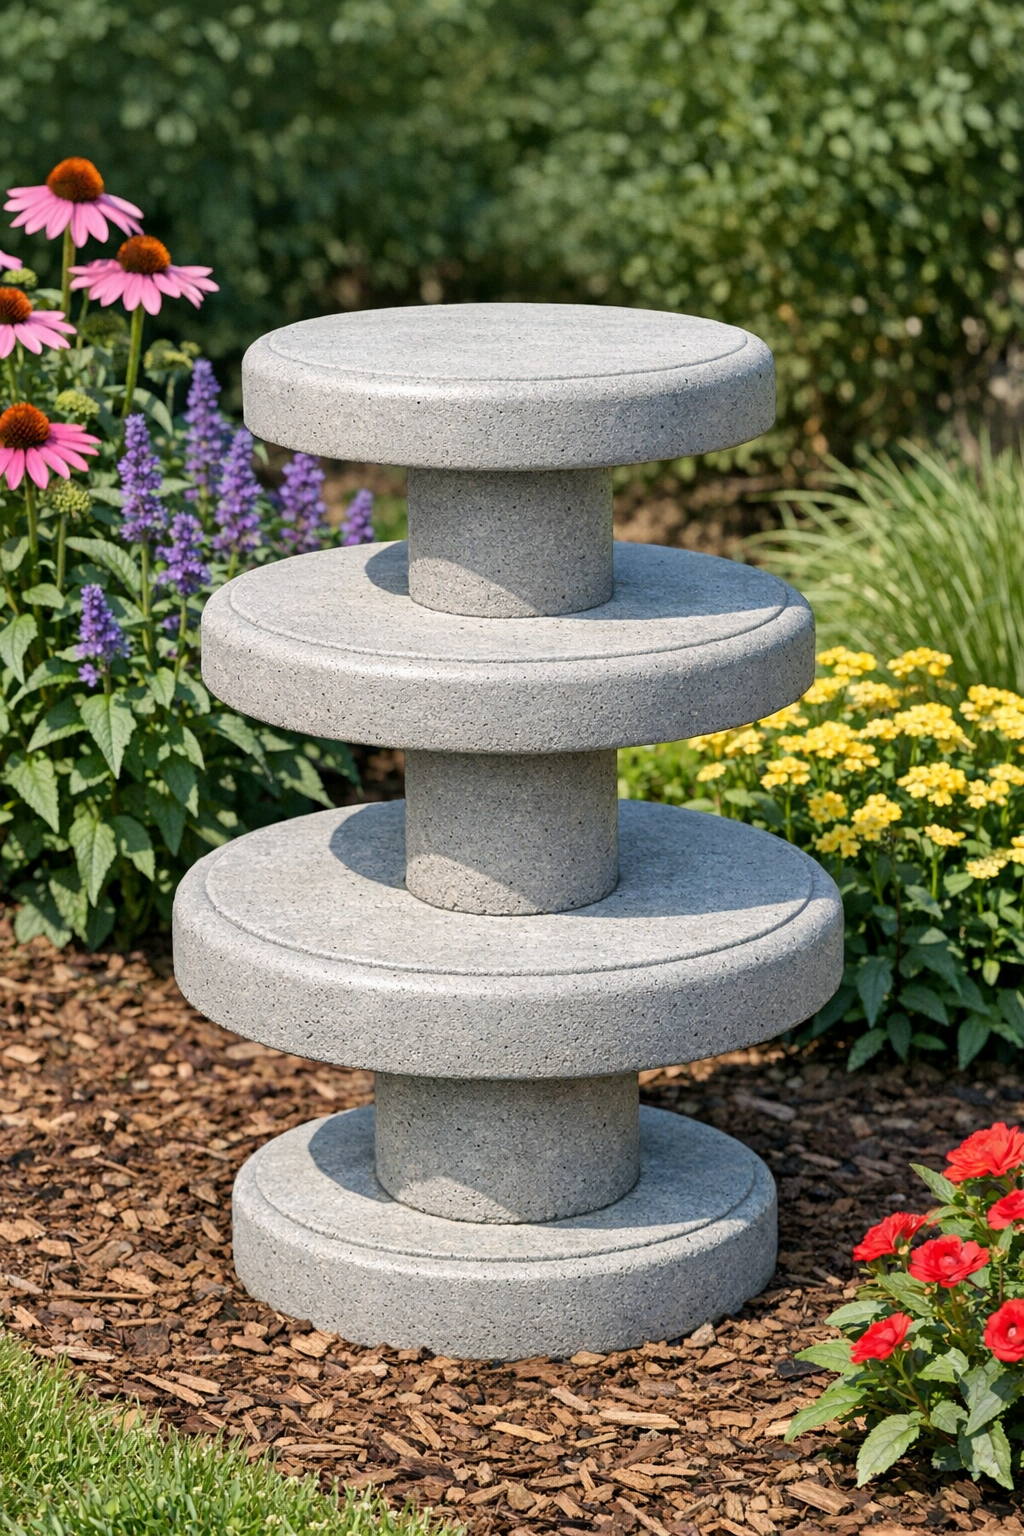
I love a garden project that looks far more expensive than it really is, and these heavy tiered garden pillars absolutely fit that category. By using inexpensive plastic frisbees as molds and pairing them with cement plus a simple center support, you can make sculptural stacked pillars that look like stone pieces from a boutique garden center.
This is a great weekend project if you want to dress up a flower bed, frame a walkway, or add height to a patio corner without spending a fortune. I’m always looking for practical DIYs that give me a big visual payoff with basic supplies, and this one is especially satisfying because the finished pillars feel solid, substantial, and weather-friendly.
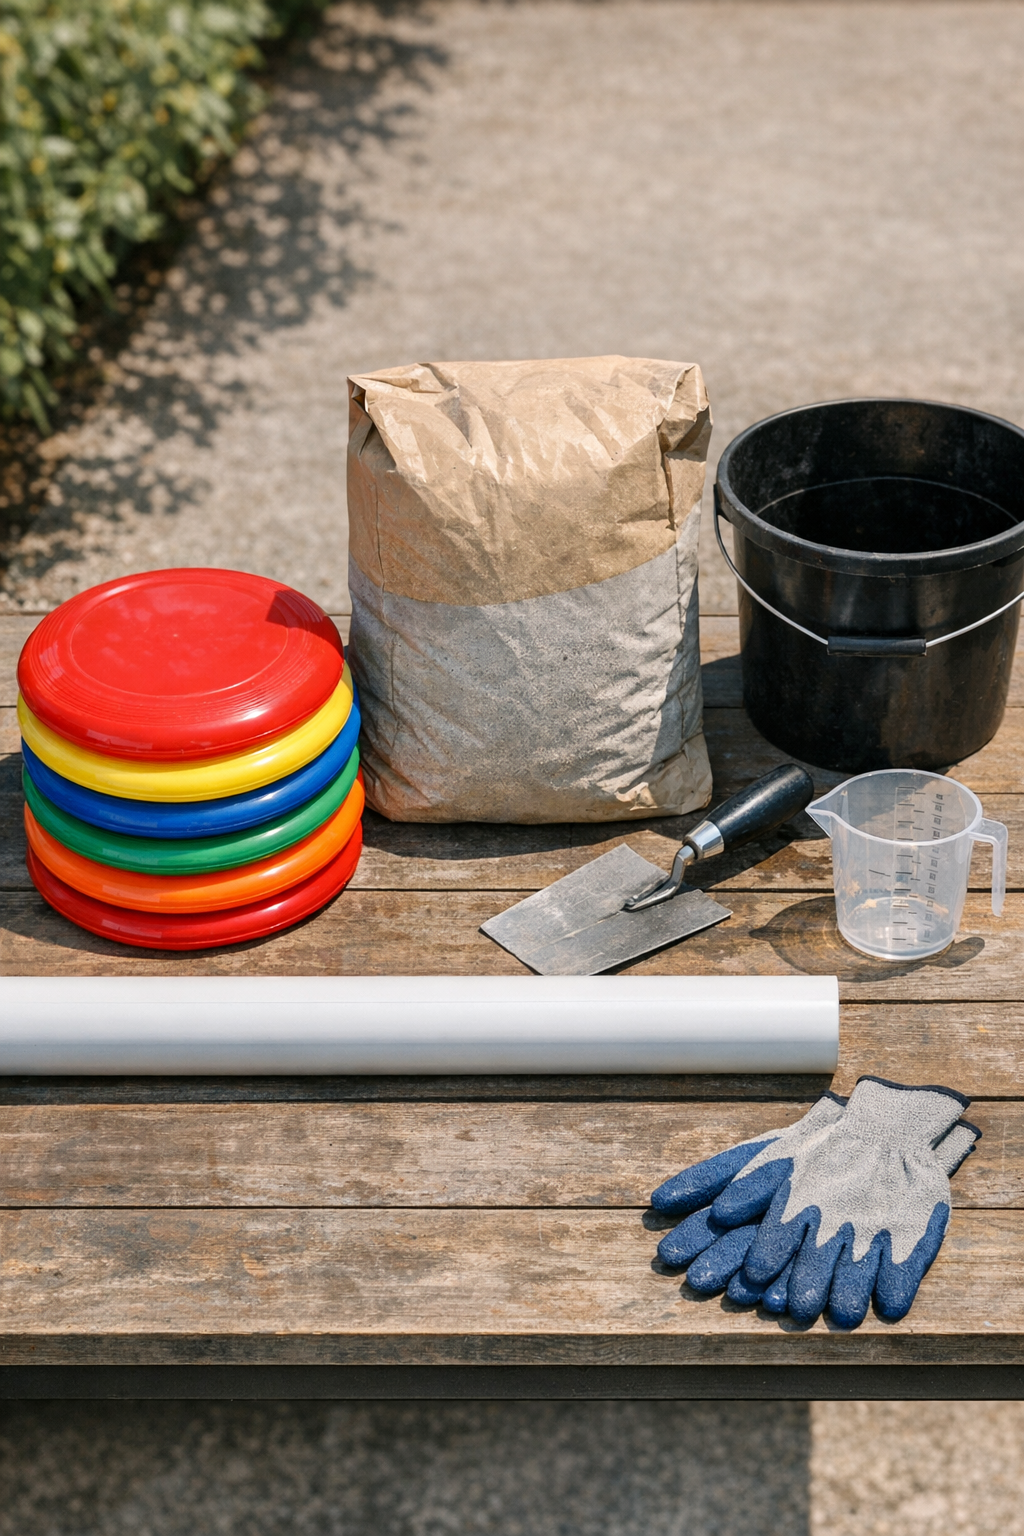
Materials
Instructions
1. Cover your work surface with a plastic drop cloth and set out the frisbees, cement, PVC pipe, water, and gloves. Lightly coat the inside of all 6 frisbees with a thin film of oil so the cement releases more easily later.
2. Cut or confirm your PVC pipe is 36 inches long, then wrap a small piece of painter’s tape around the bottom end to mark where you want the base to sit. This helps you keep the stack centered as you build upward.
3. Mix a small batch of cement in a bucket, adding water gradually until it reaches a thick peanut-butter consistency. I’ve learned the hard way that cement that’s too runny makes messy edges and weaker shapes, so keep it stiff enough to hold form.
4. Fill one frisbee about three-quarters full with wet cement, then press the PVC pipe straight down into the center by about 1 inch. Tap the frisbee gently on the table to settle the mix and release air bubbles.
5. Slide a second frisbee over the top of the pipe and press it down onto the cement-filled frisbee to create the first rounded tier. Add more cement around the pipe inside the top frisbee if needed so both sides meet firmly and form a full, thick disc shape.
6. Repeat the process with the next two frisbees to form a second tier several inches above the first, then do the same with the final two frisbees for a third tier near the top. Space the tiers evenly by eye or leave 8 to 10 inches between each for a taller, more dramatic pillar.
7. Check that all tiers are centered and level-looking, then smooth any squeezed-out cement around the seams with a gloved finger or small trowel. Let the entire pillar stand upright and cure undisturbed for at least 24 hours.
8. Once the cement is fully hardened, peel away or flex the plastic frisbees to release the cement forms. Sand any rough edges lightly with medium-grit sandpaper for a cleaner finished look.
9. Place the finished pillar directly into the garden bed by pushing the pipe end into the soil, or set it in a heavy planter for display on a patio. If you want extra stability, bury 6 to 8 inches of the pipe below ground.
Variations & Tips
Change the height: Use a 24-inch PVC pipe for a shorter accent piece or a 48-inch pipe for a taller pillar, as long as you keep enough depth at the bottom for support.
Create an aged stone look: After curing, dry-brush the cement with exterior gray, beige, or mossy green paint to mimic weathered garden stone.
Use different tier spacing: Tight spacing gives a more compact sculptural look, while wider spacing makes the pillar feel more dramatic and architectural.
Make a matched pair: These look especially pretty flanking a path or garden gate. I’d batch-mix the cement and build both at the same time to save effort and keep them similar.
Work in small batches: Fast-setting cement firms up quickly, so mix only what you can use in 10 to 15 minutes for easier handling and cleaner tiers.
Stabilize for windy spots: If your yard gets strong wind like some Midwestern backyards do, set the pipe into a small buried concrete footing or a heavy planter filled with compacted gravel for extra hold.