
I’ve always had a soft spot for old things that still have some good use left in them, and this outdoor bar cart is exactly that kind of project. By bolting weathered wooden crates onto a painted vintage wagon frame, you get a serving cart with loads of charm, sturdy storage, and easy mobility for backyard suppers, porch lemonade, or a family cookout that stretches past sunset.
What I like most about this build is that it doesn’t ask you to make everything from scratch. If you’ve got an old wagon frame tucked in a shed or you’ve found one at a farm sale or flea market, this is a practical way to give it a second life. It’s a good project for a confident beginner with basic tools, and the end result looks right at home beside a grill, a garden, or a long picnic table.
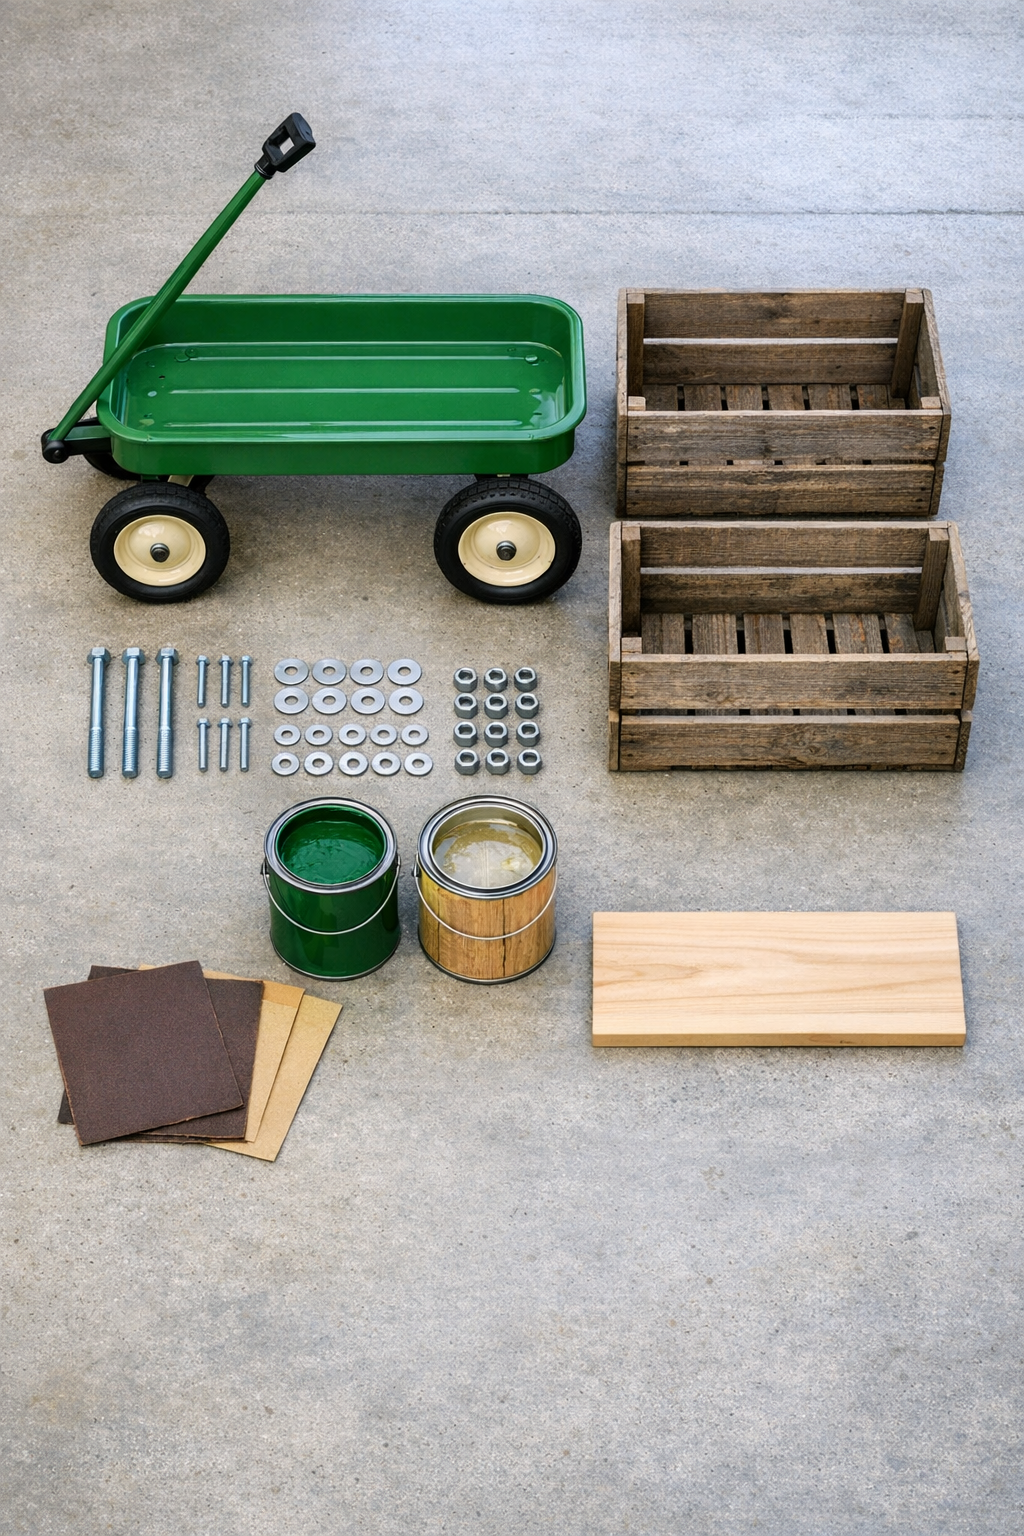
Materials
1 vintage wagon frame with wheels, approximately 36 inches long x 18 inches wide
Instructions
1. Set the wagon frame on a level work surface and remove any loose hardware, flaking paint, or dirt with a rag and degreaser. Let it dry fully before making repairs or painting.
2. Sand the wagon frame lightly with 120-grit sandpaper to scuff the old finish and smooth any rough spots. Wipe away all dust so the new paint will bond well.
3. Paint the wagon frame with two thin coats of exterior paint, allowing the first coat to dry completely before applying the second. Leave the wheels free to turn and avoid building up paint on moving parts.
4. Inspect the wooden crates and tighten or reinforce any loose slats with exterior wood screws. If needed, fill deep cracks with a small amount of wood filler and sand smooth once dry.
5. Sand the crates with 120-grit, then 220-grit sandpaper, keeping their weathered character while removing splinters and rough edges. Brush off the dust and apply a coat of exterior clear sealer to protect the wood outdoors.
6. Arrange the crates on the wagon frame to find the best fit, usually side by side lengthwise or stacked with one raised depending on your frame size. Leave enough clearance so the wheels roll freely and the cart stays balanced.
7. Mark the bolt locations through the crate bottoms and onto the wagon frame, using four bolts per crate for a secure hold. Keep the marks at least 1 inch in from the crate corners to prevent splitting.
8. Drill 5/16-inch holes through the crate bottoms and the wagon frame at the marked spots. Drill slowly and support the wood underneath to avoid cracking the slats.
9. Insert the galvanized carriage bolts through the crates and frame, then add washers and lock nuts underneath. Tighten each nut evenly until the crates are snug and secure without crushing the wood.
10. Screw the small wood board across the lower area or between crate edges if your design needs an extra shelf or top support. Add the metal corner braces wherever the crates need a bit more rigidity.
11. Stick rubber pads anywhere wood meets metal and might rub during movement. Roll the cart a few feet, check for wobble, and retighten all hardware as needed.
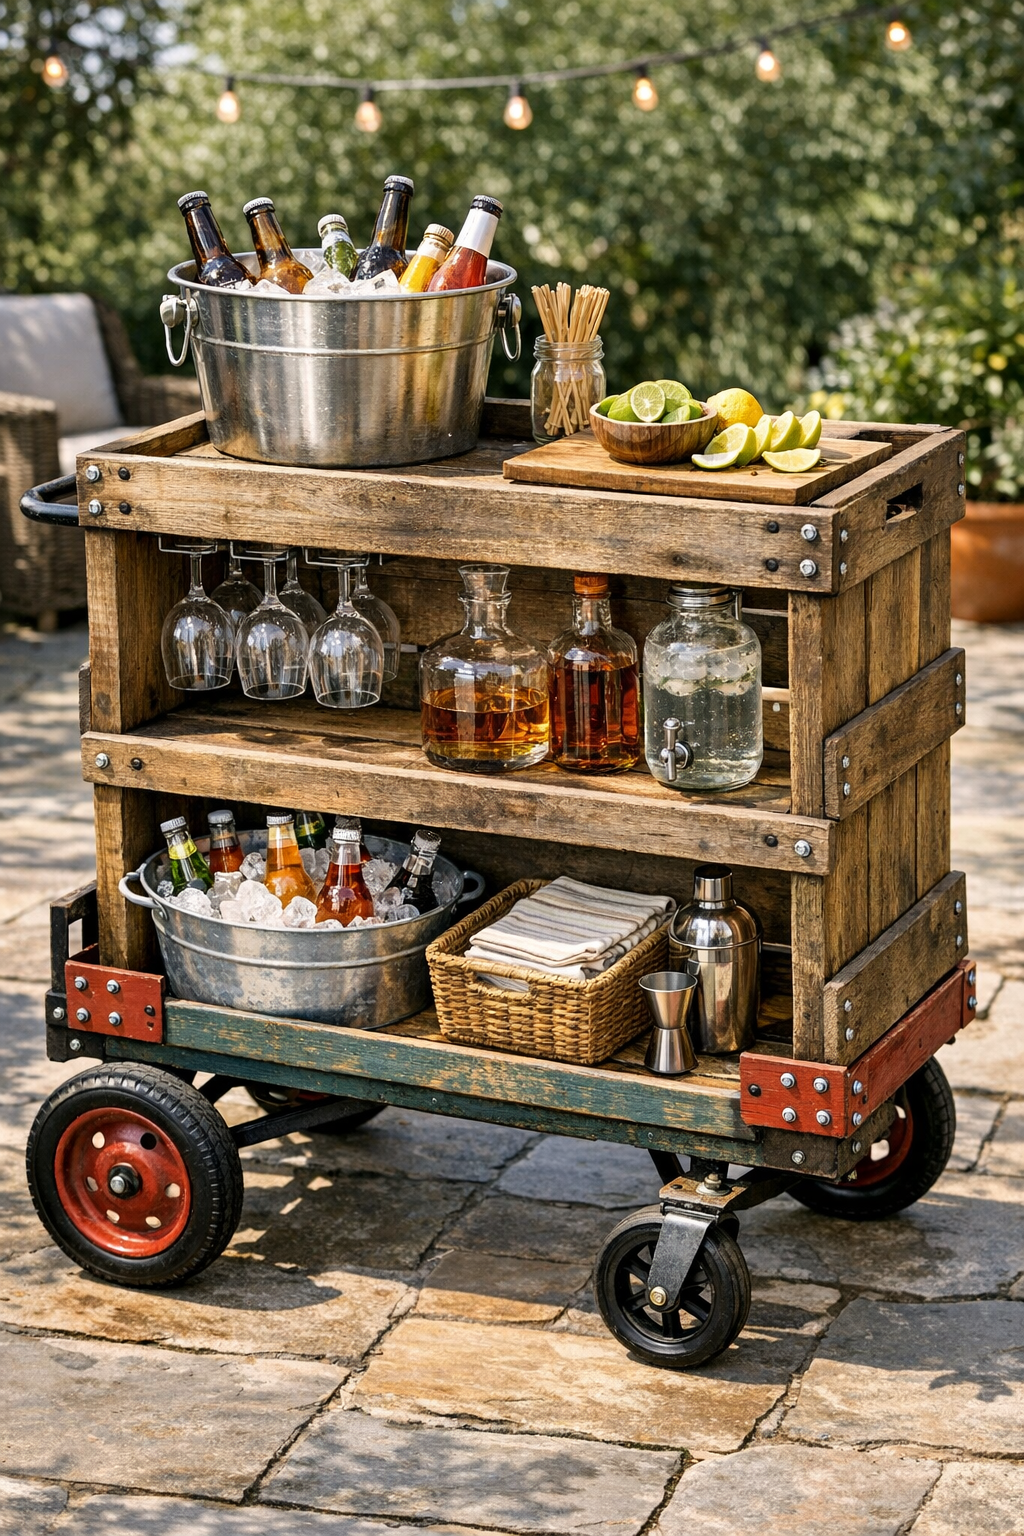
12. Load the finished cart with a tray, bottles, glasses, napkins, or a small bucket for ice, keeping heavier items low for stability. Once everything feels balanced, roll it into place and enjoy using it for outdoor entertaining.
Variations & Tips
Two-tier version: If your wagon frame is tall enough, stack one crate higher at the back to create a two-level serving station. I like this arrangement because bottles can sit behind and glasses or plates can stay easy to reach in front.
Color choice: A deep green, barn red, black, or creamy white all look lovely on a vintage frame. Around here, I tend to choose colors that feel like they’ve always belonged on the place rather than something too shiny or modern.
Best crate selection: Choose crates with solid corner joints and thick enough slats to take bolts without splitting. If the wood feels brittle, reinforce the inside corners with small scrap blocks before drilling.
Outdoor durability: Reapply clear sealer to the crates once a year if the cart stays on a porch or patio. Even weathered wood lasts much longer when you give it a little regular care.
Serving setup: For the handiest layout, keep ice, canned drinks, or heavier bottles in the bottom of the crates and lighter items on top. That simple trick helps the cart roll better and keeps it from feeling top-heavy.
Safety check: After the first few uses, go back and tighten every bolt and screw once more. Old wood has a way of settling, and a quick check now saves trouble later.