
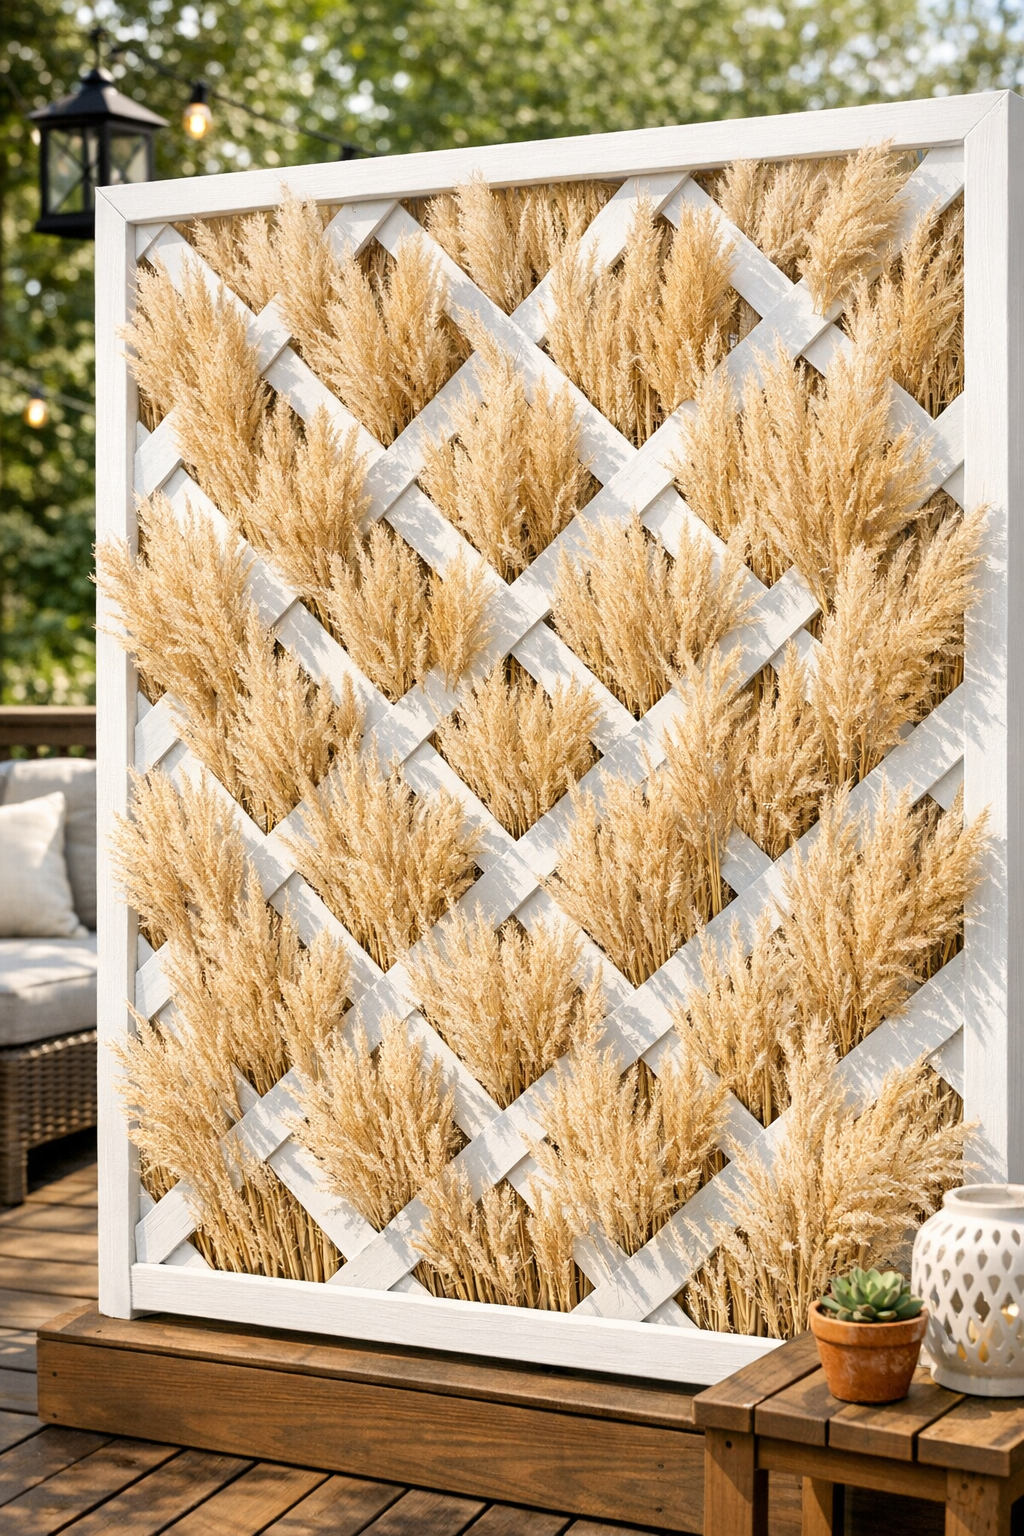
I love a deck project that makes a space feel finished without turning into a full weekend renovation, and this woven pampas grass privacy screen does exactly that. It starts with a simple painted wooden lattice frame, then gets softened up by weaving dried pampas grass through the openings for a look that feels warm, airy, and surprisingly high-end.
If you want a little more privacy on a patio or deck but still want something decorative, this is such a satisfying build. It’s especially great for anyone who likes natural textures and wants a project that looks custom without requiring advanced carpentry. As someone who’s always trying to make outdoor spaces feel as inviting as the kitchen when I’m hosting friends, I love how this one adds both function and style.
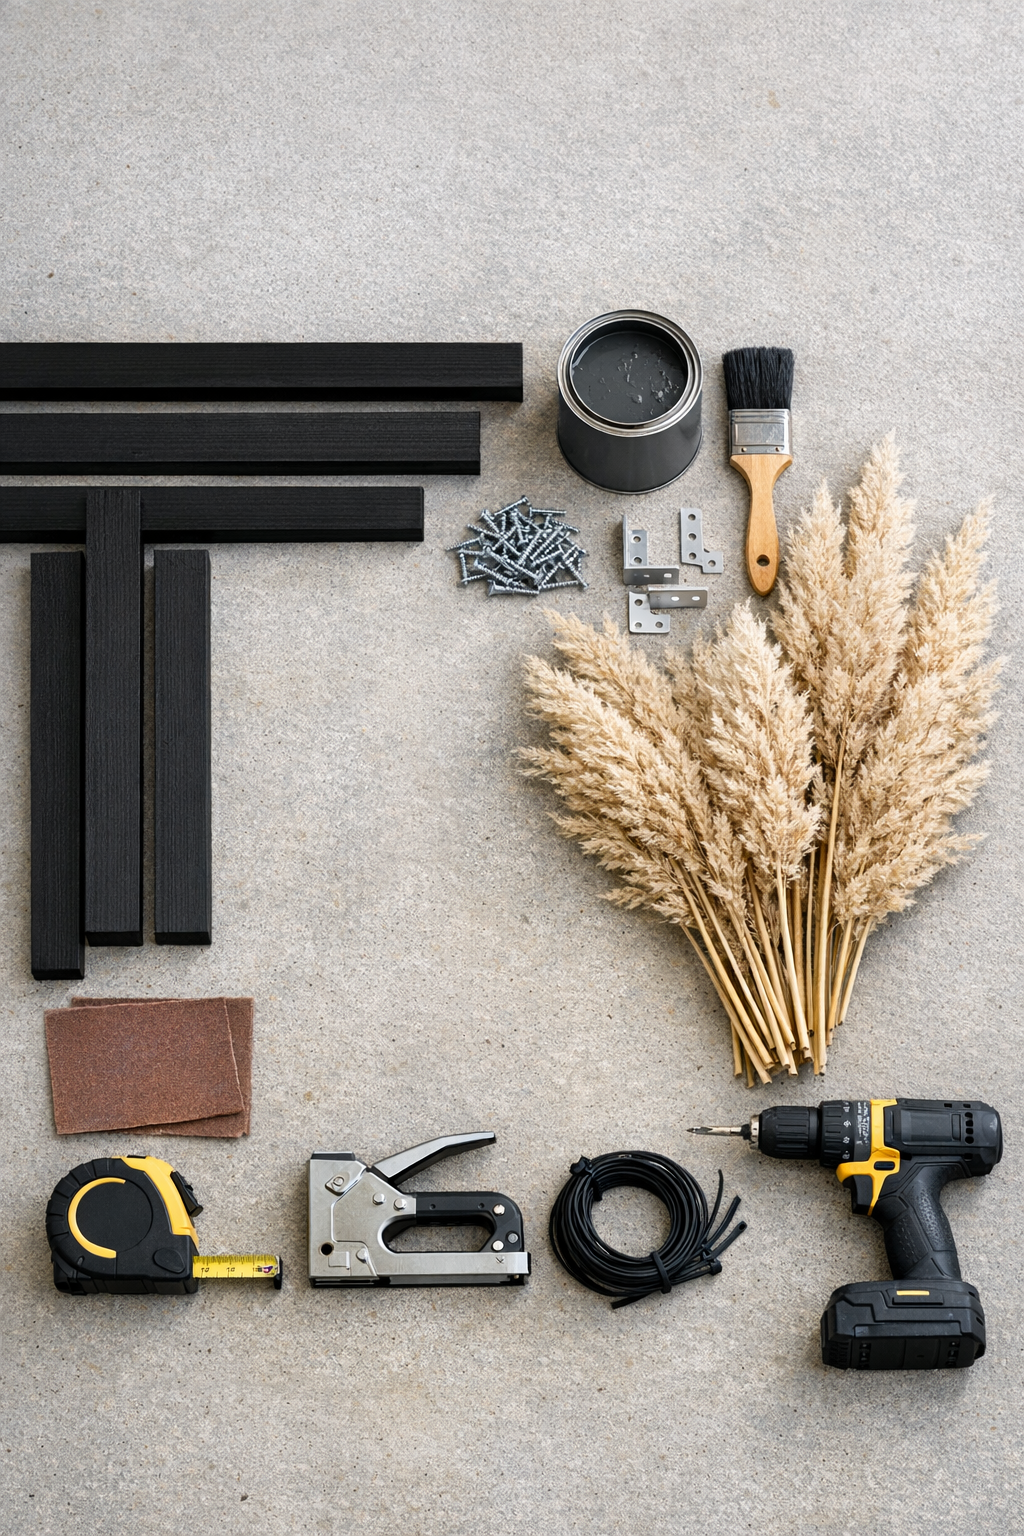
Materials
Instructions
1. Lightly sand the frame boards and lattice edges with 120-grit sandpaper to smooth splinters and help the paint adhere evenly.
2. Paint the four frame boards and both sides of the lattice panel with exterior paint, then let everything dry completely before assembly.
3. Lay the two 72-inch side rails and the two 36-inch top and bottom rails into a rectangle, check that the corners are square, and fasten each corner with a flat brace and #8 x 1 1/4 in. screws.
4. Set the painted lattice panel inside the back of the frame so the edges are flush, then staple it every 6 to 8 inches around the perimeter; add a thin bead of construction adhesive first if you want extra hold.
5. Sort the dried pampas grass stalks by length and fullness, and trim the stem ends so they are easier to tuck and weave through the lattice openings.
6. Start at the bottom of the panel and weave the first layer of pampas grass horizontally through the lattice, alternating over and under to create an even base.
7. Add more stalks row by row, overlapping stems by 3 to 4 inches and changing the direction slightly so the screen looks full and natural instead of too uniform.
8. Secure the thicker stem ends to the back side of the frame with clear zip ties or a few hidden staples anywhere the grass feels loose or likely to shift in the wind.
9. Step back every few rows and fill thin spots by threading in extra stalks until the panel gives the amount of privacy you want while still letting a little light through.
10. Mount the finished screen to deck posts, a railing, or an exterior wall using #8 x 2 in. screws; use 3-inch L-brackets at the bottom corners if the panel needs extra stability.
Variations & Tips
Paint color choice: I love this in soft white, black, or a muted sage green. A darker frame makes the pampas stand out more, while a lighter frame gives the whole project an airy look.
Weather note: Dried pampas grass is best in a covered deck or patio area. If your screen will sit in full exposure, expect to refresh the grass over time as sun, rain, and wind wear it down.
Budget-friendly option: If pampas grass is pricey in your area, mix in dried reeds or faux stems made for outdoor use. You’ll still get that woven texture with less cost.
Privacy level: For more coverage, pack the stalks tighter and alternate a few vertical pieces through the back side of the lattice. For a lighter look, leave small gaps between rows.
Installation tip: If you’re attaching this to an existing railing, pre-drill your screw holes first to avoid splitting the painted wood. That extra two minutes saves a lot of frustration.
Maintenance: Give the screen a gentle shake or use a dry cloth to remove dust and loose fluff. I’d avoid spraying it with water, since natural dried grass holds up better when kept dry.