
If you have a couple of cracked old Styrofoam coolers hanging around, this is one of those satisfyingly practical projects that makes you feel extra resourceful. I love a DIY that turns something headed for the trash into something sturdy and useful, and these heavy insulated yard boxes do exactly that. Once they’re coated in cement, the coolers become durable outdoor boxes that still keep some of that built-in insulation, which makes them great for patio storage, planter boxes, or even tucked beside a garage for garden odds and ends.
As someone who’s always trying to balance a busy workweek with keeping the house and yard functional, I’m a big fan of projects that don’t require fancy materials or a full weekend of work. This one is especially good for beginners because the cooler already gives you the shape; you’re really just reinforcing it and giving it a weather-tough outer shell. I’m showing you how to make two matching boxes, but the method is easy to scale up or down depending on what you’ve got on hand.
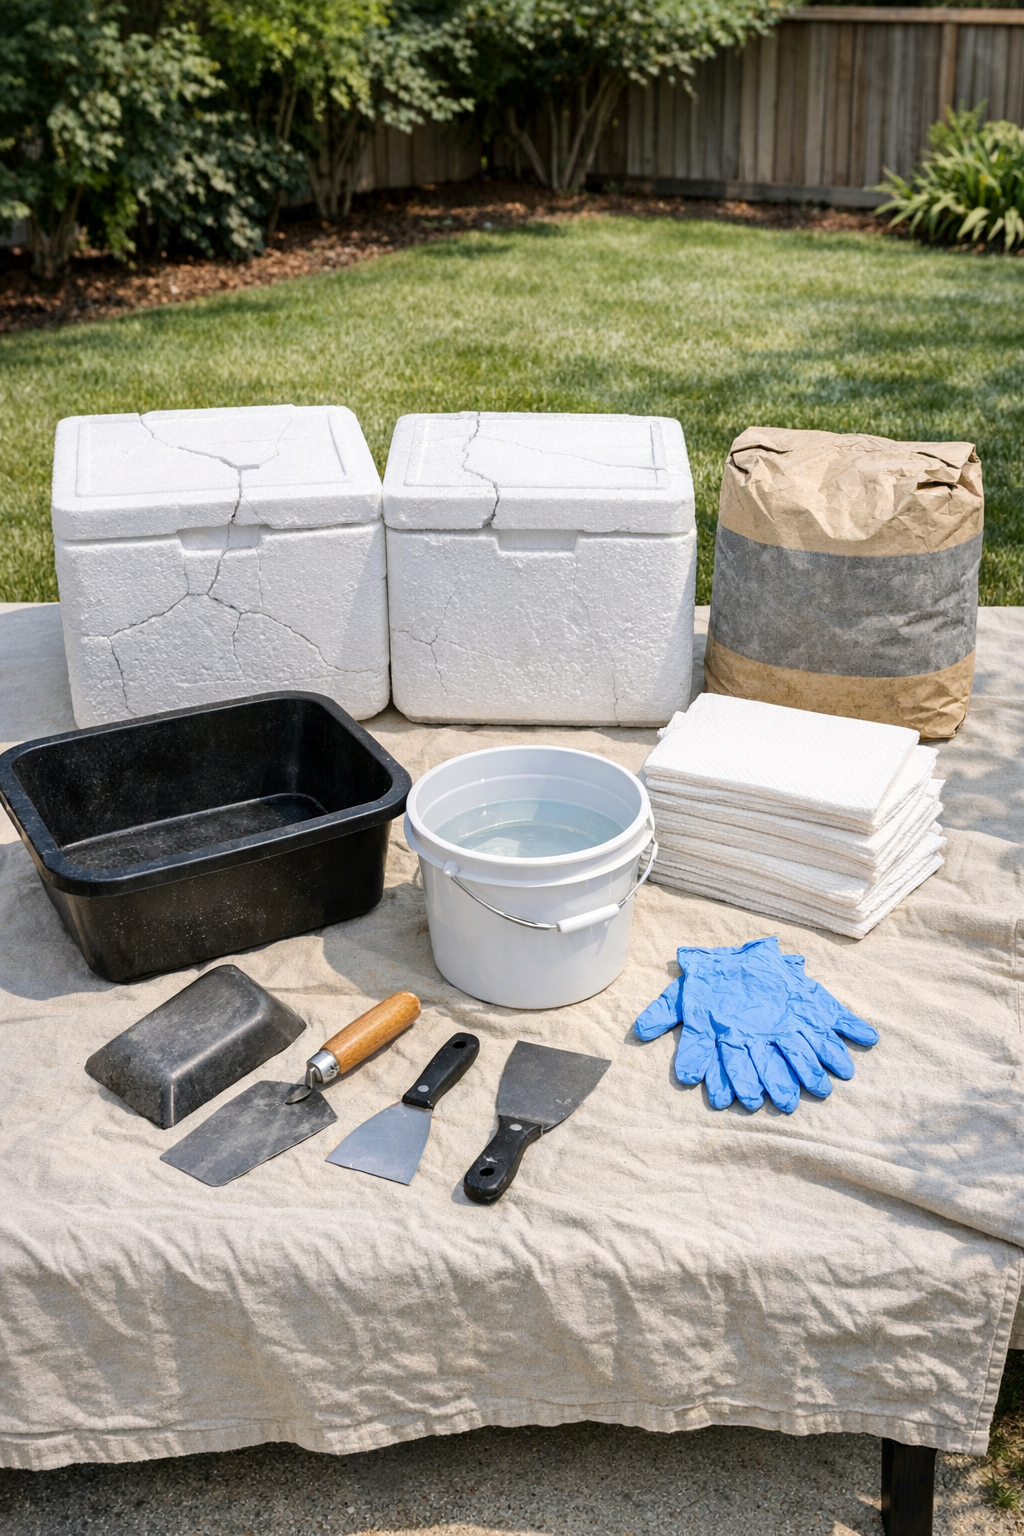
Materials
2 cracked Styrofoam coolers, about 22 to 28 quarts each, with lids removed
Instructions
1. Set up your work area on a tarp in a dry, shaded spot, and wipe any dirt or loose foam off both coolers so the cement can grab the surface better.
2. Tear the paper towels into strips about 2 to 3 inches wide and 8 to 12 inches long; this quick prep step makes the wrapping go much faster once your cement is mixed.
3. Mix cement in the tub with water a little at a time until it reaches a thick peanut-butter consistency that will cling to the cooler without sliding off.
4. Spread a thin coat of cement over one cooler, covering the sides first, then press paper towel strips into the wet cement so they act like a reinforcing layer across cracks and weak spots.
5. Add a second coat of cement over the paper towels, smoothing it with the trowel until the strips are fully covered and the walls are about 1/4 inch thick overall.
6. Coat the bottom edge and top rim, but leave the inside of the cooler uncoated so the box keeps its lightweight insulated core and usable interior space.
7. Repeat the same cement-and-paper-towel process on the second cooler, checking that both boxes sit level and adjusting any thick drips with the putty knife.
8. Let the boxes rest for 12 to 24 hours until firm, then patch any missed spots or shallow cracks with a fresh skim coat of cement.
9. After the cement has cured for 24 to 48 hours, lightly sand any rough ridges or sharp edges so the boxes look cleaner and are easier to handle.
10. If you want extra weather resistance, brush on a thin coat of exterior sealer and let it dry fully before using the boxes outdoors.
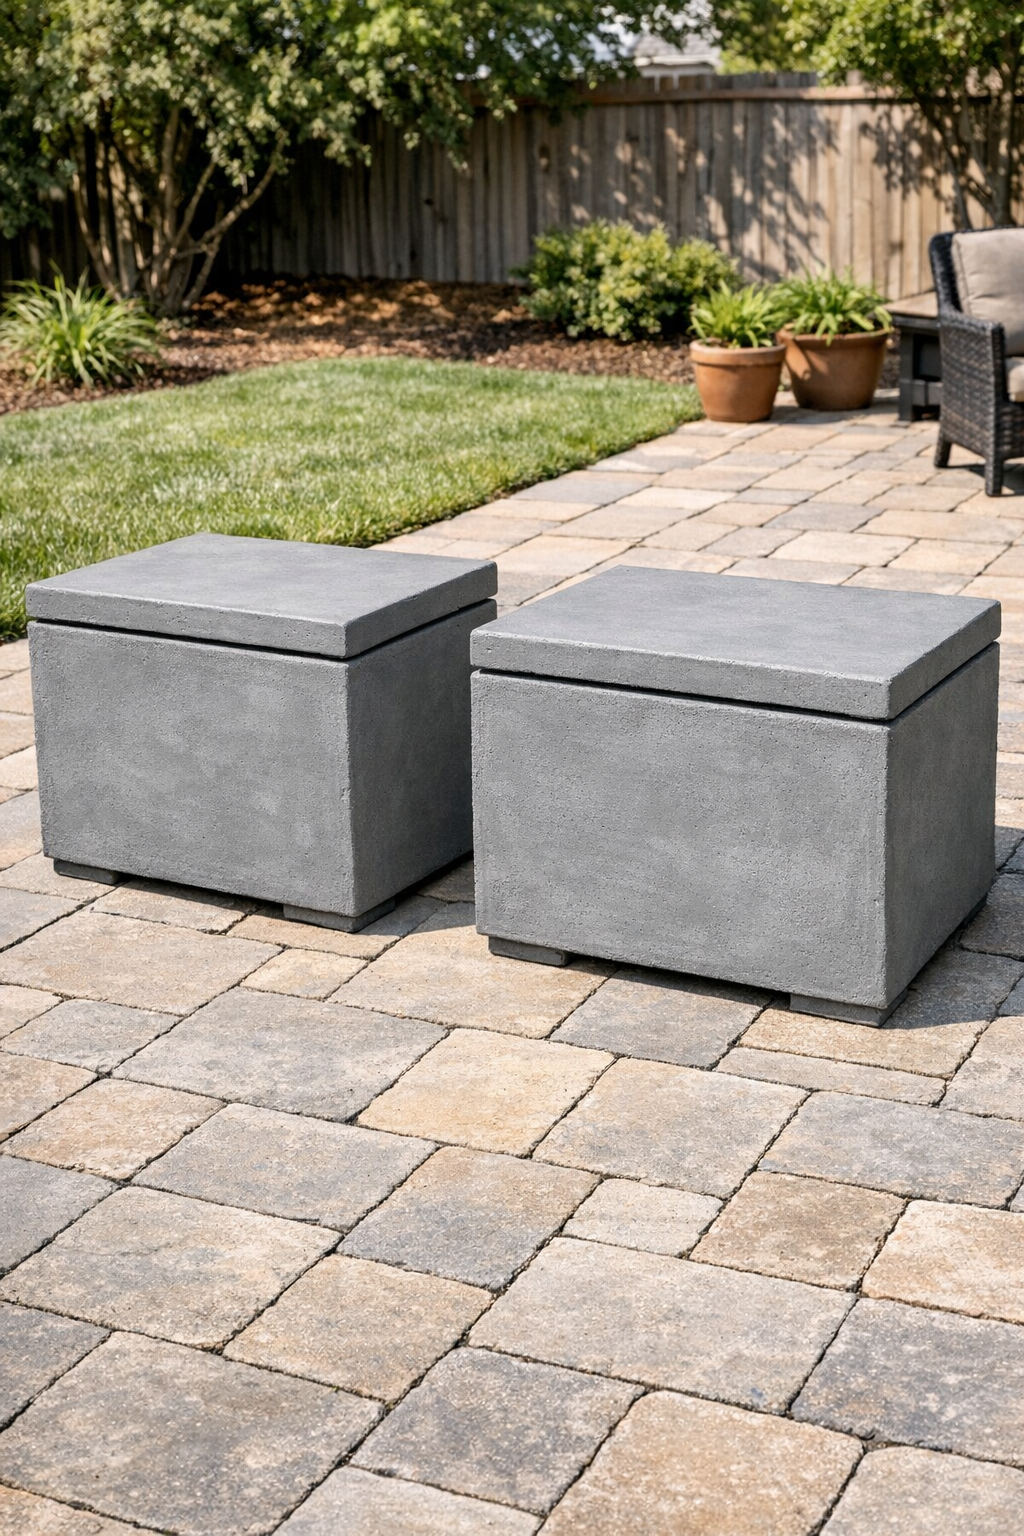
11. Place the finished boxes in the yard, on a patio, or near a shed and use them as insulated planter boxes, hose-and-tools holders, or weighted outdoor storage containers.
Variations & Tips
Use them as planters: If you want these to work as planter boxes, poke or drill a few drainage holes through the cooler bottom before starting the cement coat, then keep the cement layer a little thinner on the base so water can move out more easily.
Keep the shape simple: I’ve learned the hard way that trying to sculpt fancy details into wet cement usually just creates more cleanup. A clean rectangular finish looks intentional and is much easier to pull off on a weeknight project.
Work in smaller batches: Cement sets faster than you think, especially on a warm day. I like mixing enough for one cooler at a time so I’m not rushing halfway through.
Patch first if needed: If the coolers are badly broken, press the cracked sections back into shape before coating them. The paper towel strips do a surprisingly good job of bridging gaps once the cement goes on.
Change the finish: For a smoother look, go back over the final coat with a damp trowel just as it starts to firm up. For a more rustic garden-box style, leave a little texture in the surface.
Add function without fuss: These are handy near a grill, garden bed, or back door because the weight helps keep them from blowing around. Mine would absolutely end up holding gardening gloves, plant tags, and the random little tools I’m always misplacing.