
I love a project that gives a patio or garden a lot of visual weight without requiring fancy tools, and these heavy textured cement spheres do exactly that. Using wire hanging baskets, cement, and one simple texturing material, you can make sculptural garden accents that look like something you’d spot in an upscale landscape center.
What I especially like about this project is how adaptable it is. You can make one large statement sphere, cluster several in different sizes, or tuck them into flower beds for year-round structure. If you’re comfortable mixing a small batch of cement and don’t mind getting your hands a little messy, this is a very approachable weekend build.
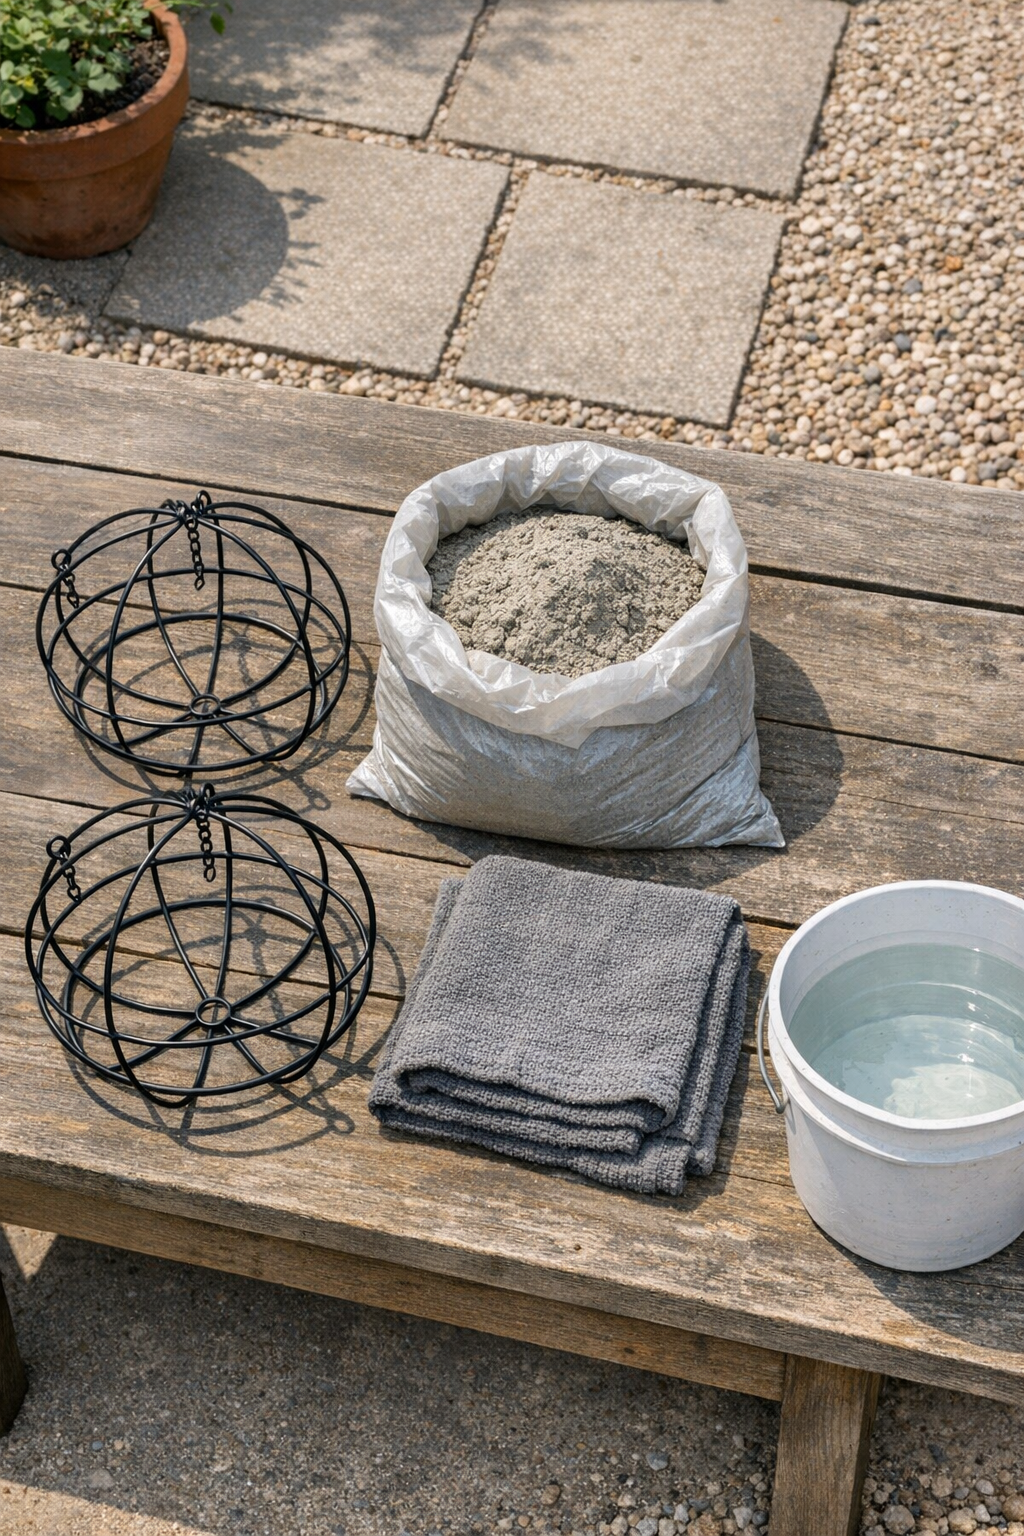
Materials
Instructions
1. Remove any liners, chains, or hooks from the wire hanging baskets so you’re left with just the round metal frames. Set the two basket halves together to check that they form a fairly even sphere.
2. Lay your work area with plastic sheeting and wear gloves, because cement is hard on skin and cleanup is easier if you contain the mess from the start. I usually do this on my patio or in the garage doorway where I have good airflow and easy access to water.
3. Mix the cement in a bucket or tub according to the package ratio, adding water a little at a time until it reaches the texture of thick oatmeal. You want it wet enough to smear and press into place, but not so runny that it slides through the wire.
4. Dip one textured shop towel into water and wring it out so it’s damp but not dripping. Press and drape it over one wire basket frame, pushing it into the metal shape so it follows the curve.
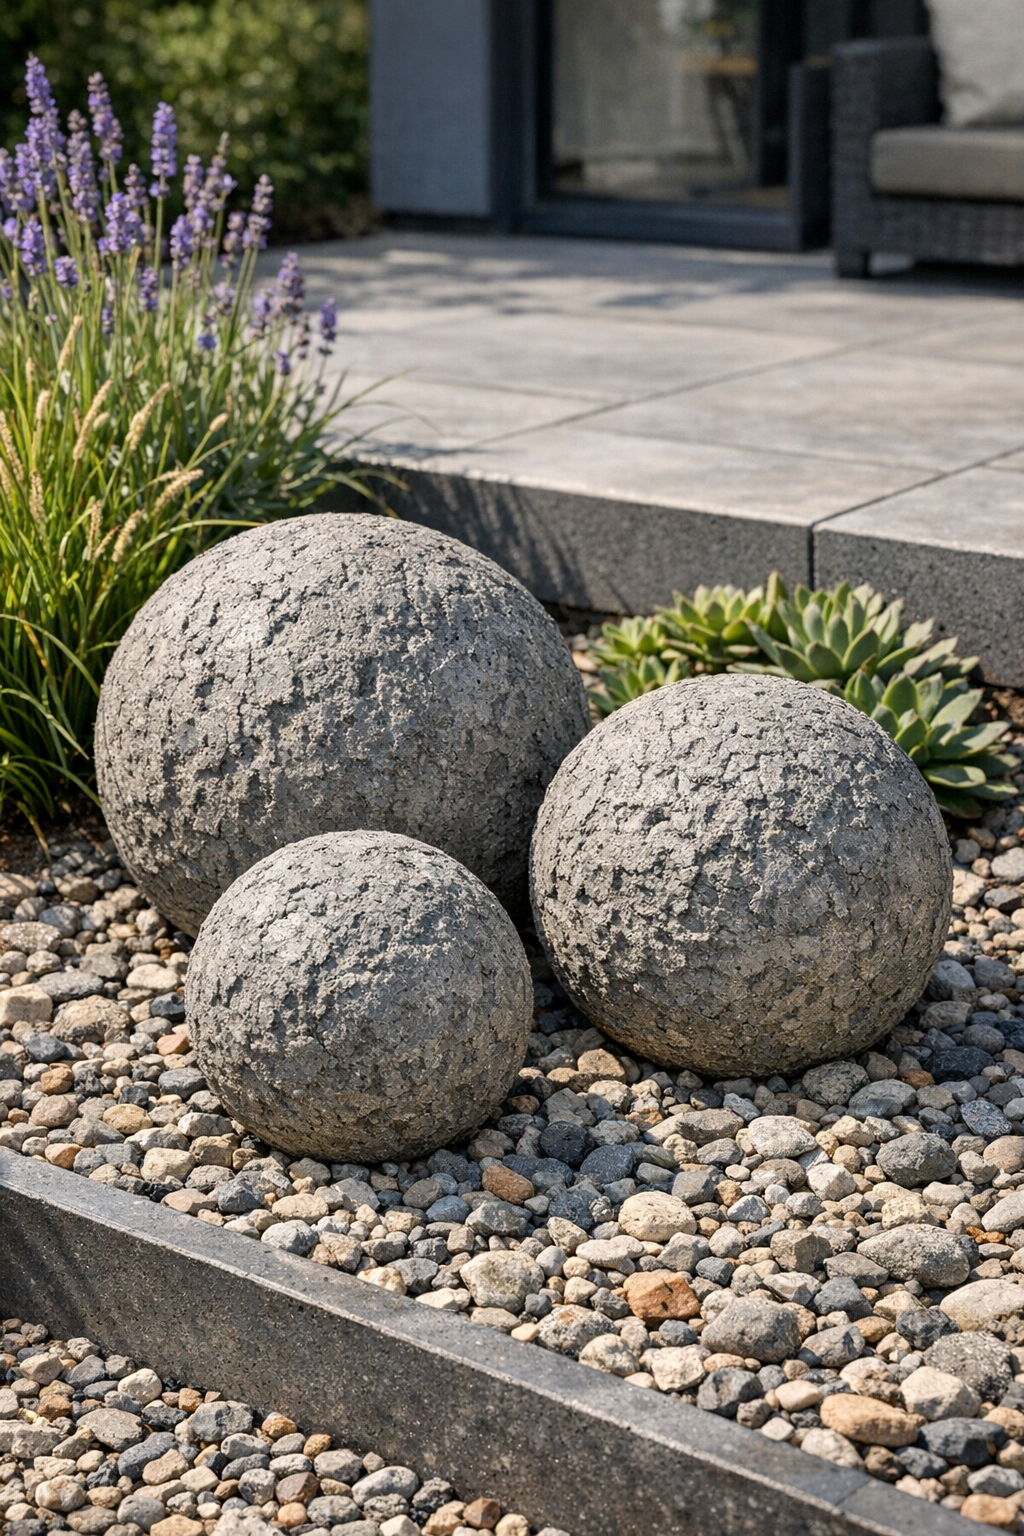
5. Smear a thick layer of wet cement over the damp cloth and wire, covering the entire outside surface and pressing cement into the texture. Leave the natural ridges and unevenness in place, because that rough finish is what makes the sphere look so dramatic outdoors.
6. Repeat the same process with the second damp cloth and the second wire basket frame, building up an even cement coating over that half as well. Aim for about a 1/2-inch-thick coating overall so the finished sphere feels substantial.
7. Let both cement-coated halves sit until they are firm enough to hold their shape without slumping, usually 30 to 60 minutes depending on weather. If the mix is still very soft, give it more time before joining them.
8. Set the two halves together to form a full sphere, then use more wet cement to seal and build up the seam all the way around. Smooth only enough to connect the halves securely, and keep the outside texture irregular for that heavy stone-like look.
9. Pat extra cement onto any thin spots and refine the shape by lightly pressing with your hands or a trowel. Don’t overwork it; a slightly imperfect sphere tends to look more natural once it’s placed in a garden bed.
10. Cover the sphere loosely with plastic and let it cure for at least 24 hours before moving it carefully. For the strongest result, mist it lightly and allow it to continue curing for 2 to 3 days before setting it out permanently.
Variations & Tips
Size variation: Use different diameters of wire hanging baskets to create a grouped set of spheres. I think they look best in odd-numbered clusters, especially three sizes together.
Texture choice: Shop towels give a rugged, layered finish, but other heavy woven cloths can create different surface patterns. Just avoid thin fabrics, which tend to disappear into the cement instead of adding character.
Cement consistency: If your cement slips through the wire, it’s too wet; add a little more dry mix and stir again. If it won’t spread easily, add just a splash of water rather than a full pour.
Placement tip: These spheres are heavy once cured, so place them near their final location before the last full cure if possible. I learned that the hard way after making one that looked marvelous and felt like I’d accidentally sculpted a cannonball.
Weather advice: Work in mild temperatures and out of direct blazing sun so the cement doesn’t dry too fast on the outside. Slow, steady curing usually gives a stronger and less crumbly finish.
Finishing option: Leave the spheres natural for a weathered stone look, or dry-brush a small amount of exterior masonry paint over the high spots once fully cured. Soft gray, charcoal, or aged limestone tones all suit this project beautifully.