
If you spend any time by the pool with kids, cousins, neighbors, and a tray of drinks that nobody remembers to keep upright, this little project is the kind of simple fix that feels almost too clever. I love a DIY that uses inexpensive materials and solves a real problem, and these colorful poolside drink holders do exactly that by turning pool noodles into soft cup rests that stick right to the side of the pool.
What I especially like about this project is that it’s beginner-friendly, quick to make, and easy to customize for different cups, tumblers, and even snack containers. If you host summer get-togethers like I do, this is one of those small touches that makes the whole pool day feel more organized and a little more special.
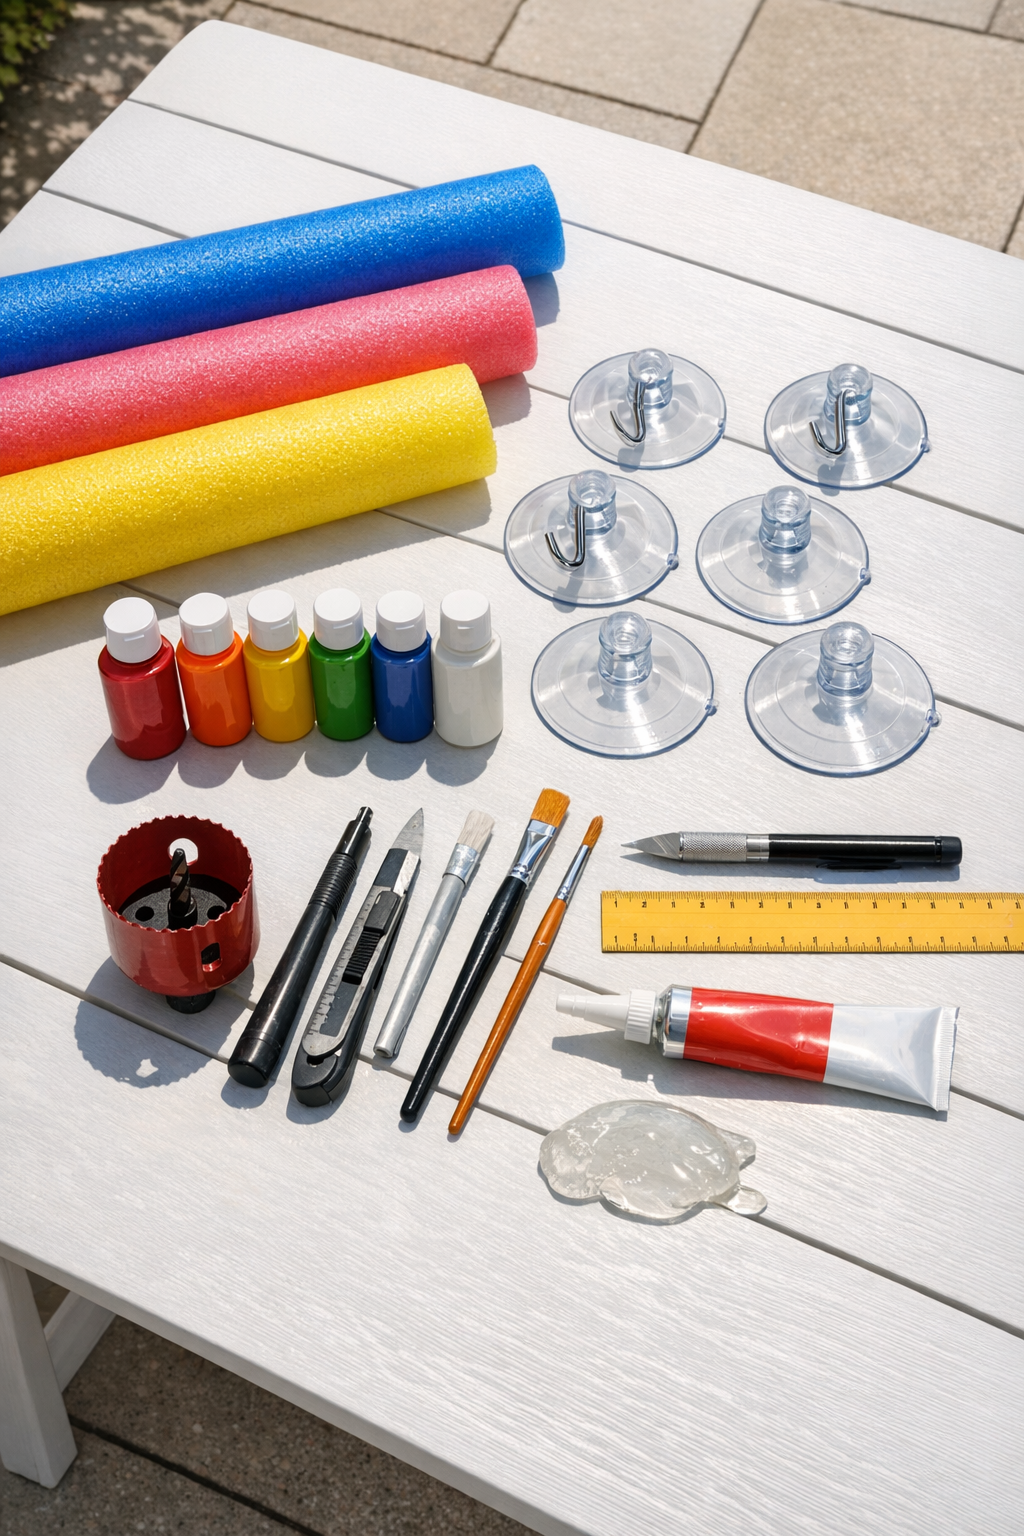
Materials
Instructions
1. Cut the pool noodles into holder sections that are 8 to 10 inches long each; this size gives enough support for a drink without taking up too much space on the pool wall.
2. Mark the center of each section lengthwise, then mark a hole position about 2 inches in from the top edge so the cup opening sits high and stable.
3. Cut a circular hole through each noodle section using a hole saw or a careful twisting motion with a craft knife, making the opening slightly smaller than your cup so it grips gently.
4. Test a plastic cup or tumbler in the opening and trim little bits away as needed until the drink slides in easily but does not wobble.
5. Lightly sand any rough painted or cut edges so they look neat and feel smooth to the touch.
6. Paint the outside of each noodle section in your chosen colors, using thin coats to keep the finish even, and let them dry completely between coats.
7. Brush on a clear outdoor sealer once the paint is dry, then allow the holders to cure fully so the finish holds up better around splashes.
8. Attach two or three suction cups to the back side of each noodle section, spacing them evenly so the holder stays level when mounted.
9. If your suction cups do not have built-in posts or hooks, use a small amount of waterproof adhesive to secure them and let the adhesive cure according to the package directions.
10. Clean the pool wall or other smooth surface with a damp paper towel and dry it well so the suction cups grip properly.
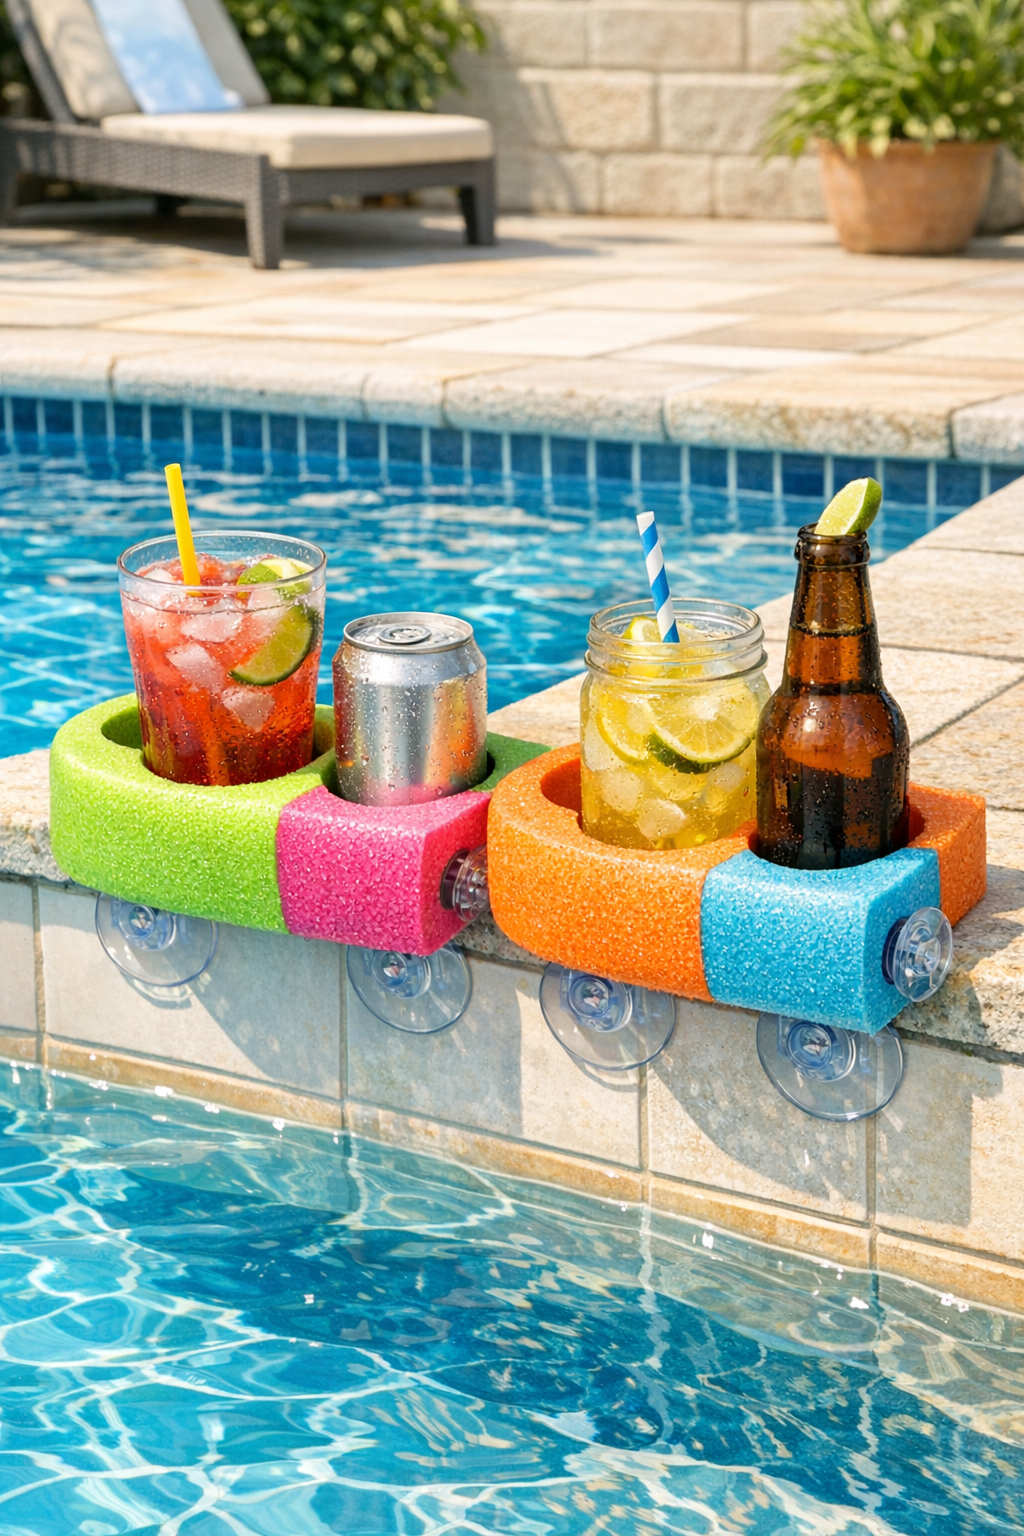
11. Press the holder firmly onto the pool edge or smooth tile wall, then add a drink and check that it sits flat and feels balanced before using all of them.
Variations & Tips
For different cup sizes: Trace the actual cup you plan to use before cutting. In my house, that matters because the kids grab smaller juice cups while the adults usually reach for bigger tumblers.
Color-coding idea: Paint each holder a different color so family members can remember which drink spot is theirs. This is especially handy during busy pool afternoons when everybody sets their drink down at once.
Snack holder option: Make one or two openings slightly wider to fit a small plastic bowl for crackers, fruit, or wrapped treats. I like this for family swim nights because it keeps wet hands out of the main snack tray.
Best surface tip: Suction cups work best on smooth tile, fiberglass, metal, or acrylic surfaces. If the pool edge is textured, test one holder first before making a full set.
Safety note: Keep the holders mounted where they won’t interfere with climbing in and out of the pool. I always place practical projects like this a little off to the side so they help the day run smoothly without getting in the way.
Make-ahead tip: Paint and seal the holders a day early so everything has time to cure fully before pool use. That extra patience usually means a nicer finish and less mess on party day.