
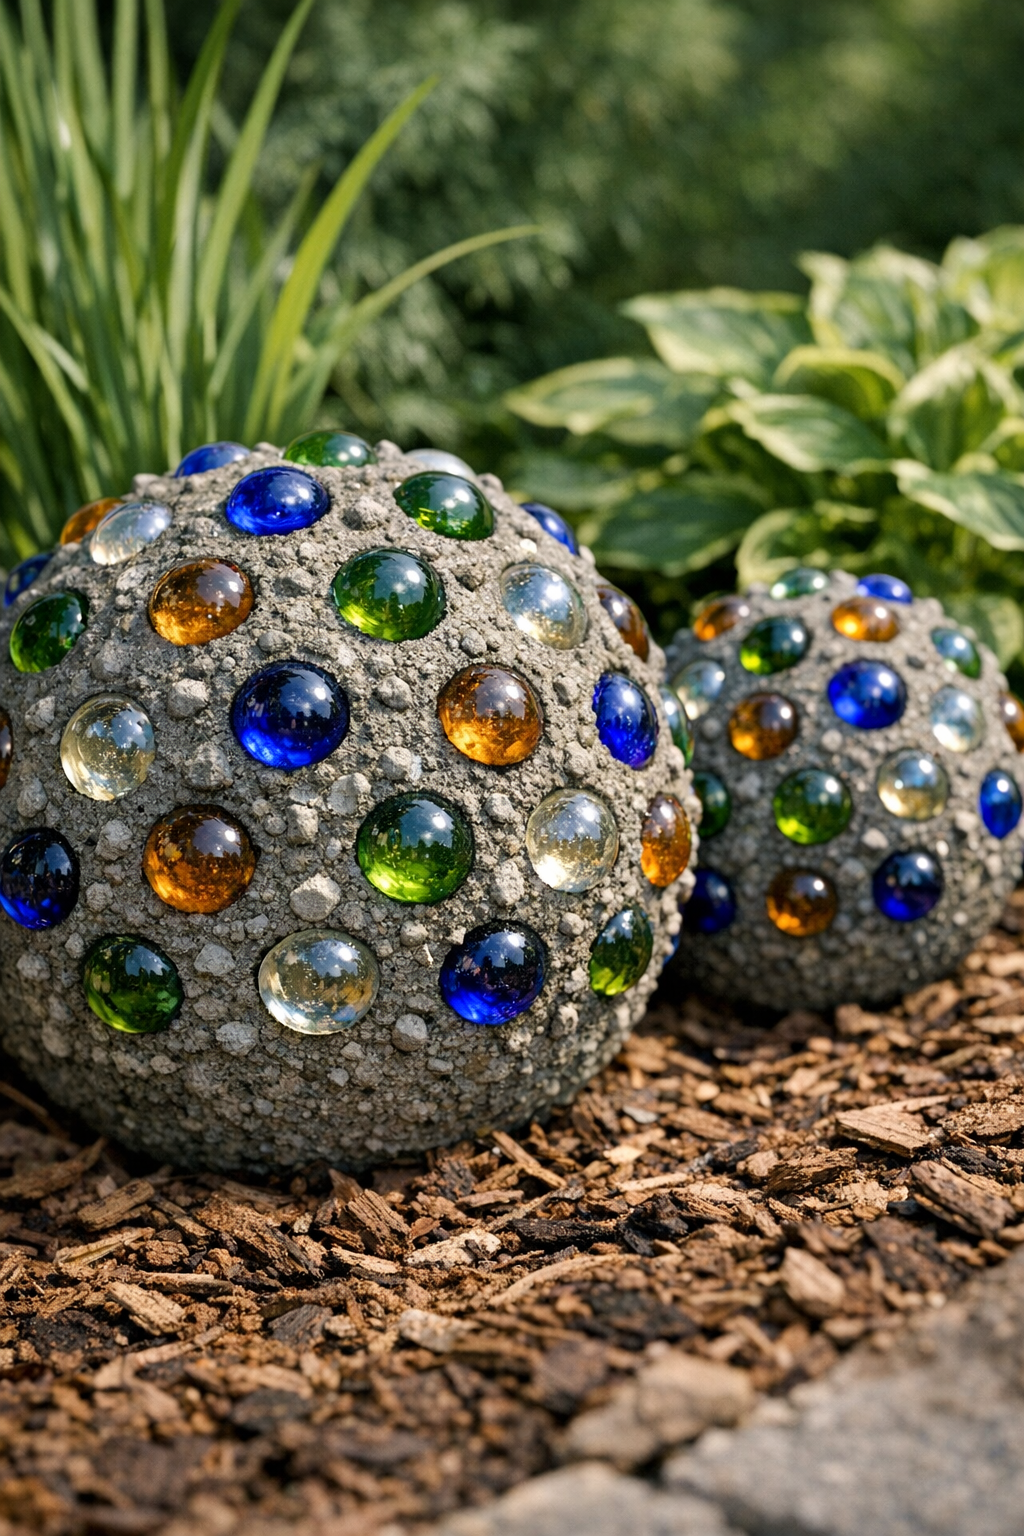
I love a garden project that looks expensive but starts with the sort of humble items you can toss into a cart at the discount store. These heavy studded yard globes are made by packing cement over plastic colanders and using one simple extra item to create that raised, textured surface that makes them look like sculptural stone ornaments. The result has the same presence as store-bought garden spheres, but for a fraction of the cost.
If you enjoy practical outdoor DIYs and do not mind getting your hands messy, this is a very manageable project. I especially like it for patios, flower beds, and tucked-in corners that need some year-round structure. As someone who spends plenty of time thinking about texture in food and presentation in the kitchen, I find that gardens respond the same way: a little contrast and repetition can completely transform the scene.
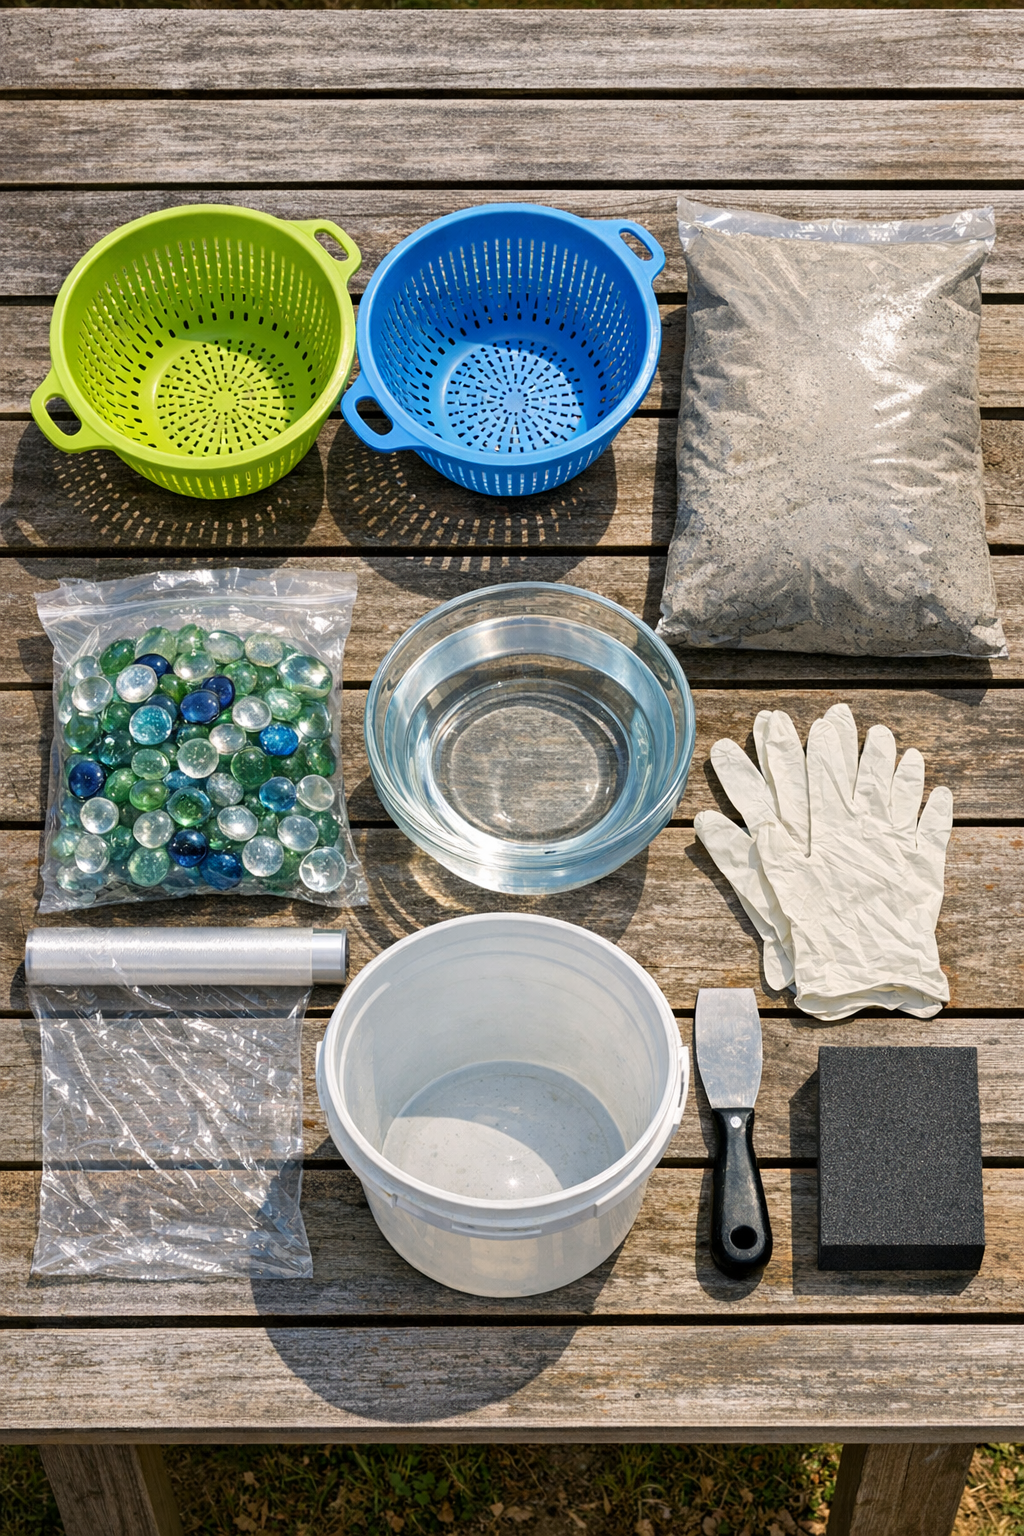
Materials
Instructions
1. Cover your work surface with cardboard or a plastic drop cloth, then set the two colanders upside down so the rounded bottoms become your globe forms.
2. Lightly coat the outside of each colander with cooking spray or a thin smear of petroleum jelly so the cement will release more easily after curing.
3. Press a sheet of plastic wrap smoothly over each colander, tucking it around the shape so wet cement cannot sink into the drain holes.
4. Pour the cement mix into a bucket and add water a little at a time until it reaches the texture of thick mashed potatoes; it should hold its shape on a putty knife without running.
5. Scoop cement onto the covered colanders and pack it firmly all over the surface in an even layer about 3/4 inch thick.
6. Smooth the surface lightly with the putty knife, but do not worry about perfection; a bit of unevenness gives these globes a more weathered stone look.
7. Press the flat glass marbles into the wet cement in evenly spaced rows or a scattered pattern, pushing each piece in just enough to anchor it while leaving most of the rounded face visible.
8. Let the globes sit undisturbed until the cement firms up, usually 24 hours, then check that the surface feels hard before moving them.
9. Carefully lift the cement domes off the colanders and peel away the plastic wrap; if needed, tap the colander gently to help release the form.
10. Turn the globes upright and sand any rough edges around the base so they sit steadily in the garden or on a patio.
11. Allow the cement to cure for another 24 to 48 hours before placing the globes outdoors permanently, especially if the weather is cool or damp.
Variations & Tips
Different stud pattern: Instead of spacing the glass marbles evenly, cluster them in bands or spirals for a more decorative, custom look.
More rustic finish: If you like aged garden décor, leave the cement slightly rough and skip over-smoothing; it will look more like old cast stone.
Color option: You can mix a small amount of concrete pigment into the cement if you want a warmer stone tone, charcoal gray, or earthy terracotta effect.
Placement tip: These look best when grouped in odd numbers, but even a pair can anchor a flower bed nicely if you vary the heights with one set slightly behind the other.
Curing reminder: Do not rush the drying time; cement gains strength as it cures, and a full extra day makes a noticeable difference in durability.
Base stability: If the bottom edge rocks a little, set the globe into a shallow bed of mulch or pea gravel to help it nest securely in place.