
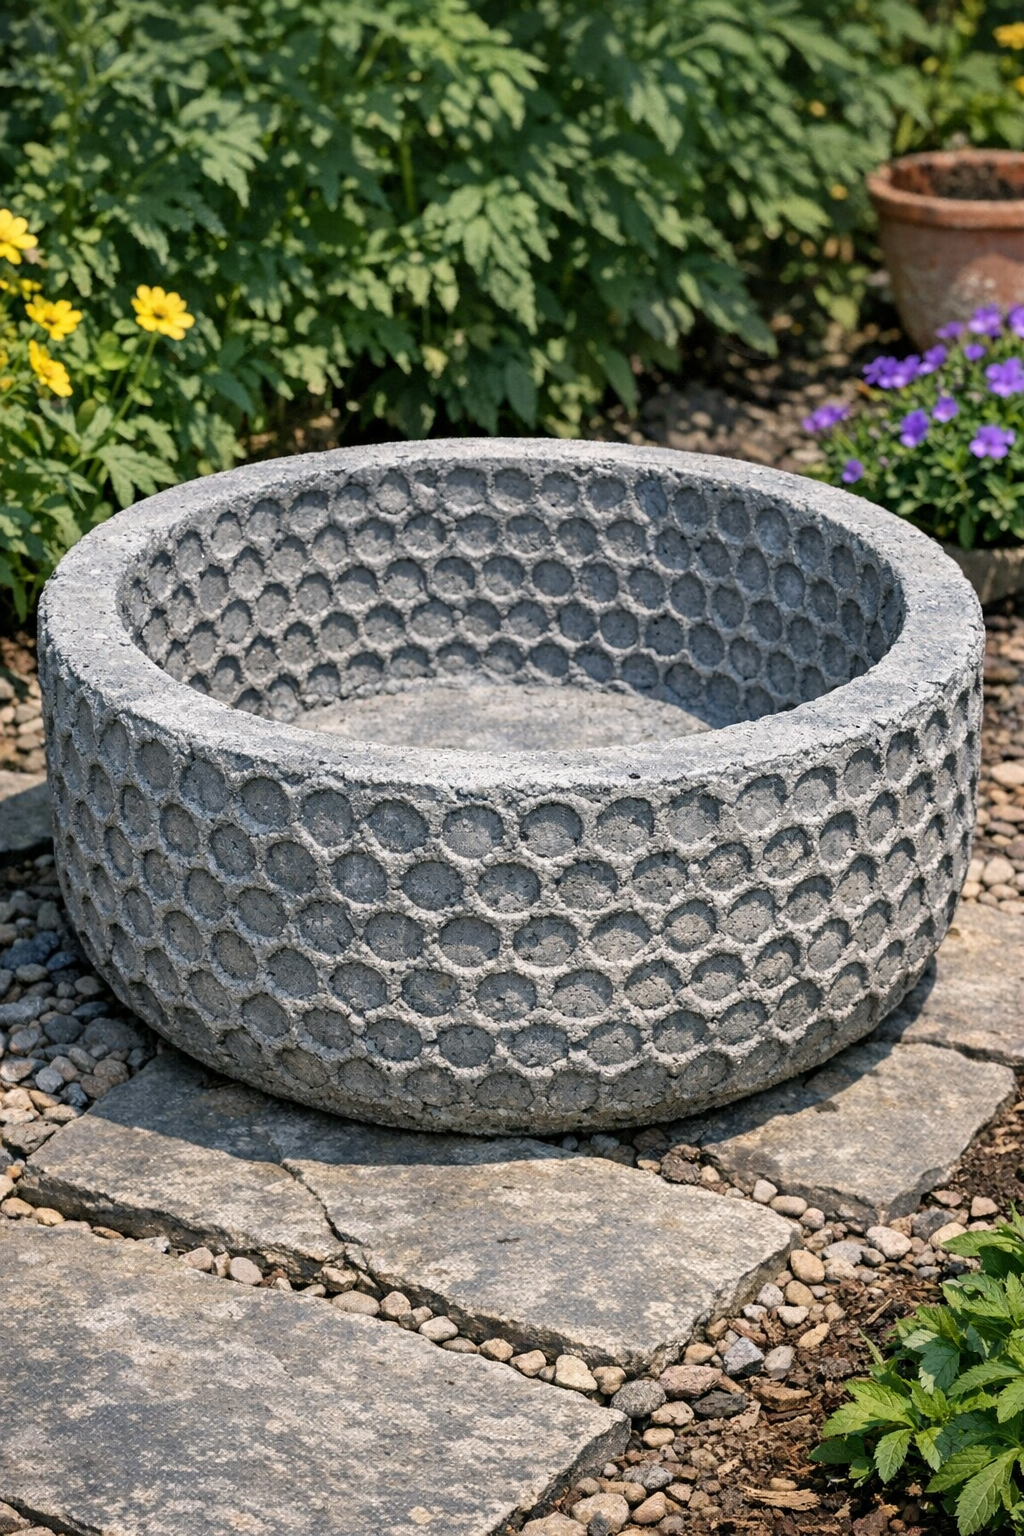
This little yard project turns a few humble materials into sturdy decorative basins with a beautiful honeycomb texture pressed right into the surface. By using thick bubble wrap as a stamp and a couple of household scrap items as molds and supports, you can make heavy cement basins that look far more expensive than they are.
I love projects like this because they give the garden a handmade touch without asking for fancy tools or hard-to-find supplies. If you enjoy simple weekend DIYs and want something eye-catching for a flower bed, patio, or bird-friendly corner of the yard, this is a very satisfying one to make.
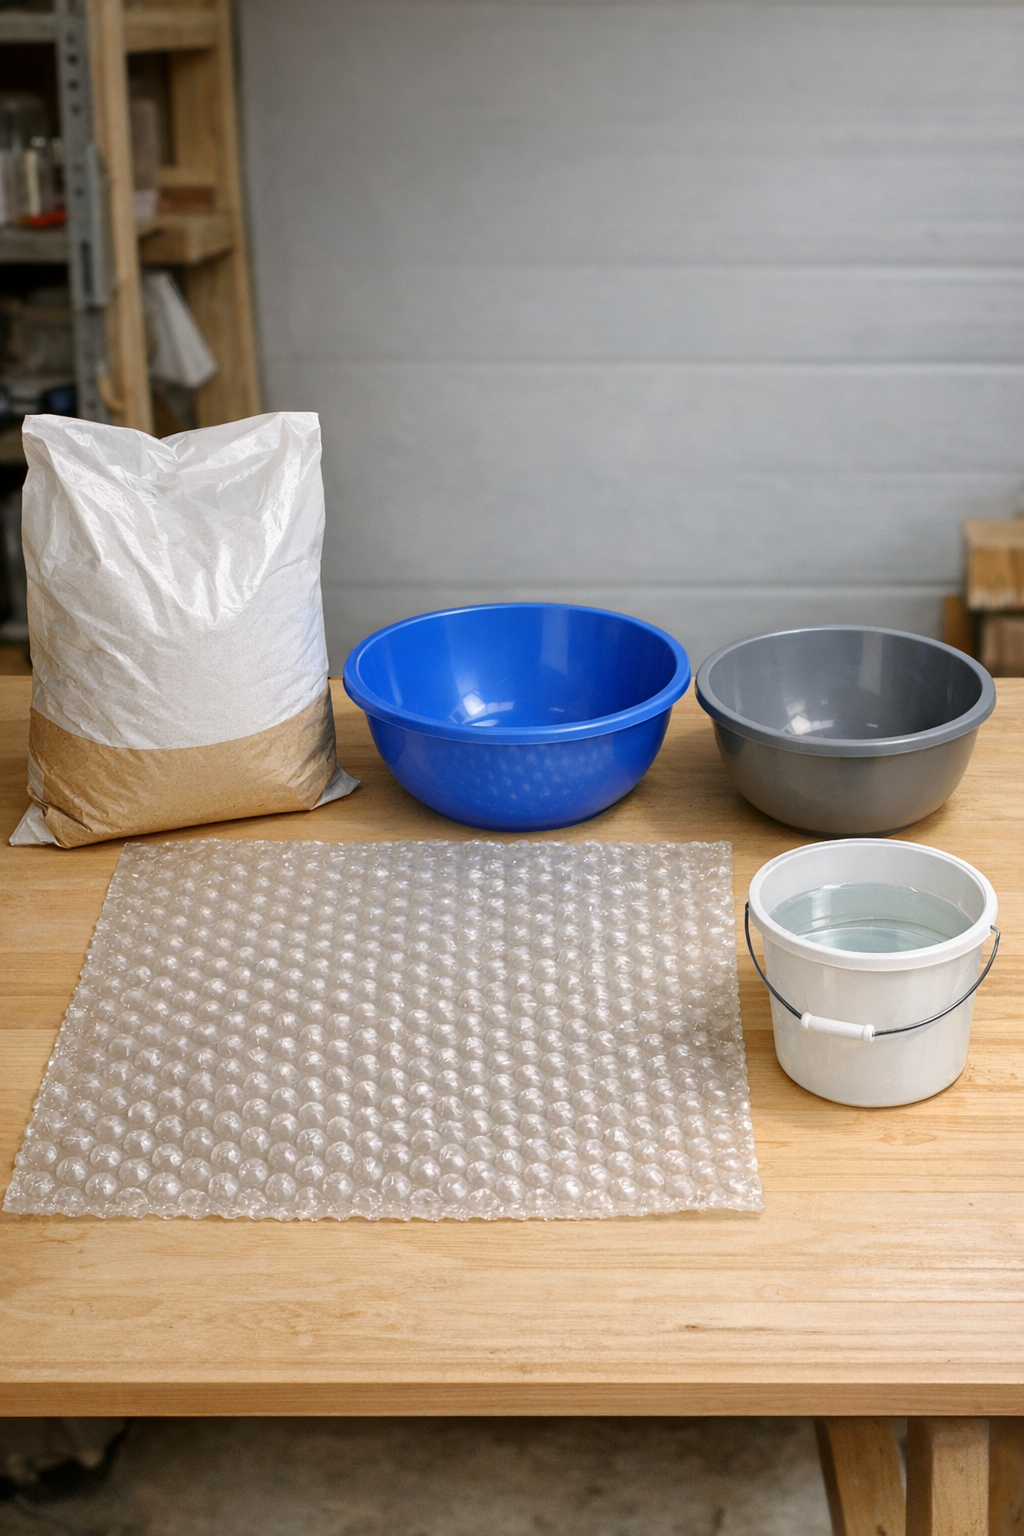
Materials
1 bag fast-setting cement mix, 20 to 25 pounds
Instructions
1. Cover your work surface with the scrap plastic and set the two bowls nearby, making sure one can nest inside the other with at least 1 to 1 1/2 inches of space for the cement wall.
2. Cut the bubble wrap into a circle or square slightly larger than the inside of the larger bowl, then lightly oil the inside of both bowls so the cement releases more easily later.
3. Press the bubble wrap into the inside of the larger bowl with the bubble side facing up so it will imprint the cement, smoothing it so it follows the curve of the bowl.
4. Mix the cement with water in a separate container until it reaches a thick, scoopable consistency, like stiff oatmeal; it should hold its shape without being dry and crumbly.
5. Spread a 1 to 1 1/2 inch layer of cement into the bubble-wrap-lined bowl, pressing it down firmly so the mix fills the spaces evenly and captures the texture.
6. Center the smaller bowl on top of the wet cement and press it down gently to form the basin cavity, adjusting until the rim thickness looks even all the way around.
7. Add or remove a little cement around the edges as needed, then place a small weight inside the top bowl so it stays in place while the cement begins to set.
8. Let the basin cure undisturbed for 24 hours, then remove the inner bowl first and carefully flex the outer bowl to release the cement piece.
9. Peel away the bubble wrap to reveal the honeycomb texture, then smooth any rough rim spots with a rubbing stone, sanding block, or the edge of another scrap of cement.
10. Allow the basin to continue curing for another 2 to 5 days before placing it outdoors, especially if you plan to use it as a planter saucer, garden accent, or shallow water basin.
Variations & Tips
For a deeper basin: Use taller nested bowls with the same gap between them, and keep the cement walls at least 1 inch thick so the piece stays strong.
For picky decorators: If your family likes a cleaner look, brush the finished basin well and leave it plain gray; if you want more personality, dry-brush a little outdoor masonry paint over the raised texture after full curing.
For drainage: To turn this into a planter, press a greased cork or a wrapped dowel through the base while the cement is still wet, then remove it after the mix firms up to create a drain hole.
For easier release: Don’t skip the light coating of oil inside the molds, especially if the bowls have ridges or a matte surface that likes to grip cement.
For outdoor durability: Keep the basin out of heavy rain while it cures, and if the weather is hot and dry, cover it loosely with plastic so it cures slowly and resists cracking.
For placement: These basins are heavy once cured, so I like to set them in their final garden spot before filling them with pebbles, potted plants, or water.