
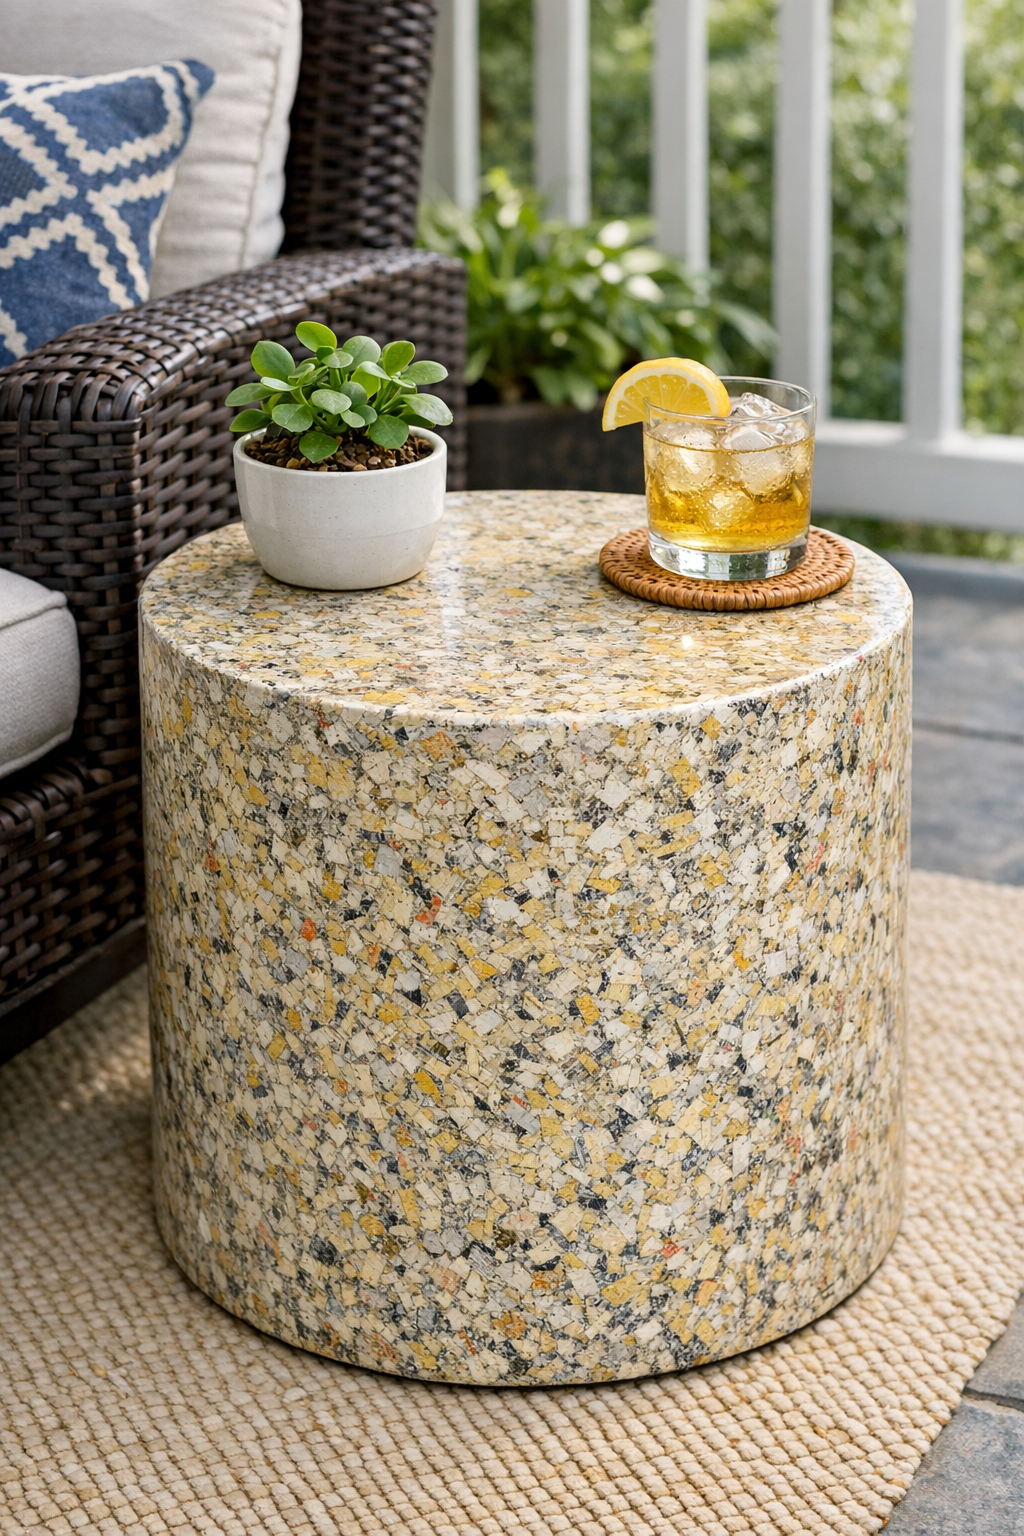
I love a project that turns something headed for the recycling bin into a piece that is genuinely useful, and this one does exactly that. These heavy-duty patio side tables are made by soaking old phone book pages and binding them with a cheap liquid adhesive, then shaping and sealing the mass into sturdy little tables that can handle drinks, plants, and everyday outdoor use under a covered patio.
As someone who spends plenty of time thinking about materials, texture, and how humble ingredients transform, I find this project especially satisfying. If you like upcycling, low-cost home décor, or making conversation-starting furniture with almost no fancy supplies, this is a very approachable build. The process takes more drying time than hands-on effort, and the final result has a stone-like, layered look that feels far more substantial than you would expect from old paper.
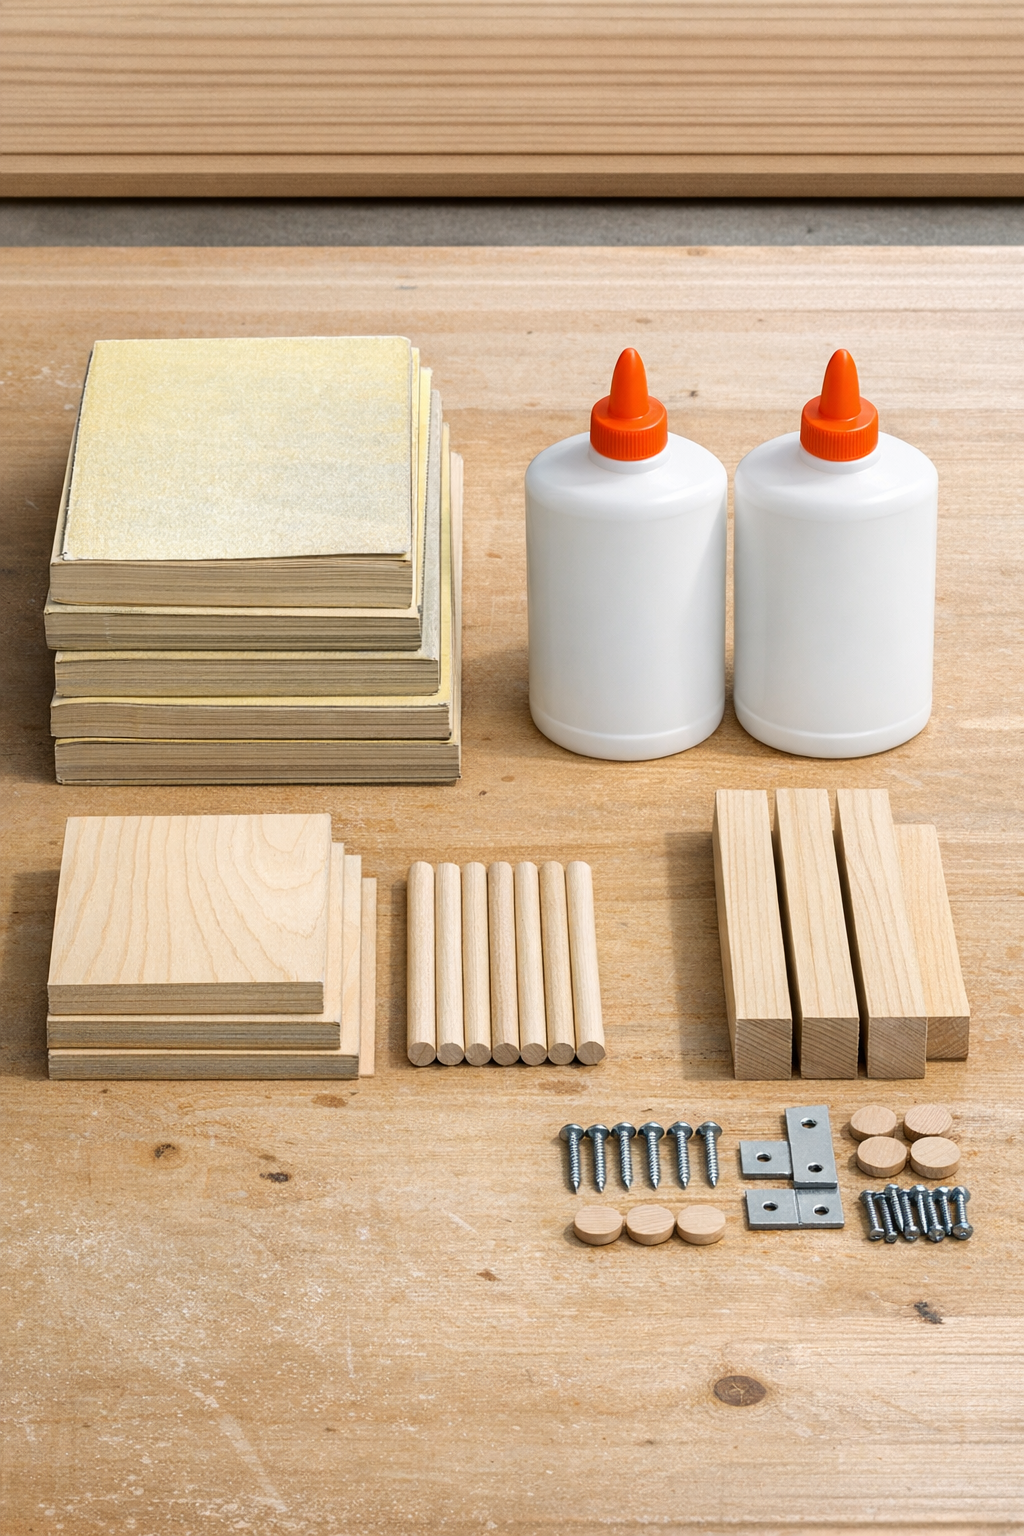
Materials
6 old phone books, each about 2 to 2.5 inches thick
Instructions
1. Tear the phone books into loose sections of 20 to 30 pages and remove any glossy covers or inserts so the paper absorbs water evenly.
2. Put the paper sections into a large bucket or tub, cover them fully with water, and let them soak for 12 to 24 hours until the pages are soft and pulpy.
3. Drain off most of the water, then squeeze the paper by handfuls until it is damp rather than dripping; leave enough moisture that it still breaks apart easily.
4. Mix the damp paper with white glue in a large container, using roughly 1 part glue to 3 parts squeezed paper by volume, and knead it until it becomes a thick, even pulp.
5. Line a sturdy round or square mold, bucket, or box with plastic wrap, then press in the pulp firmly in 2-inch layers, compacting each layer hard to remove air pockets.
6. Build the table to about 18 to 20 inches tall and 12 to 16 inches wide, shaping the top as flat and level as possible with your hands or a straight board wrapped in wax paper.
7. Cover the top loosely with plastic wrap and let the form dry for 48 hours, then unmold it carefully and set it on wax paper so air can reach all sides.
8. Continue drying the table for 7 to 14 days in a warm, airy spot, turning it every day or two until it feels hard and noticeably lighter.
9. Patch any cracks or dents with a small batch of fresh paper-and-glue pulp, then let those repairs dry completely before finishing.
10. Brush on 3 thin coats of exterior clear sealer or water-based polyurethane, letting each coat dry fully before adding the next to help the table resist patio moisture.
11. Let the finished table cure for 2 to 3 days before using it, and keep it on a covered patio or porch rather than in constant direct rain.
Variations & Tips
Shape option: A round table is the easiest to compact evenly, but a square version has a cleaner modern look if you use a straight-sided box as your mold.
Batch size: If you do not have enough phone books for one tall table, make two shorter stool-height blocks or a pair of low plant stands instead.
Compacting tip: The more firmly you compress each layer, the stronger the final table will be. I treat this step a bit like pressing a firm terrine in the kitchen—removing trapped air makes all the difference in the finished texture.
Drying tip: Do not rush the drying stage with extreme heat, because the outside can harden while the inside stays wet and weak. A fan and steady airflow work better than blasting it with high heat.
Surface finish: For a more refined look, sand lightly between sealer coats once the table is fully dry, then wipe away dust before the next coat.
Outdoor use: These hold up best in covered outdoor spaces. If your patio is exposed, add extra coats of sealer and bring the table indoors during long stretches of wet weather.
Style idea: You can leave the layered paper texture visible for an organic, stone-like finish, or smooth the sides with a final skim of fine pulp if you prefer a cleaner silhouette.