
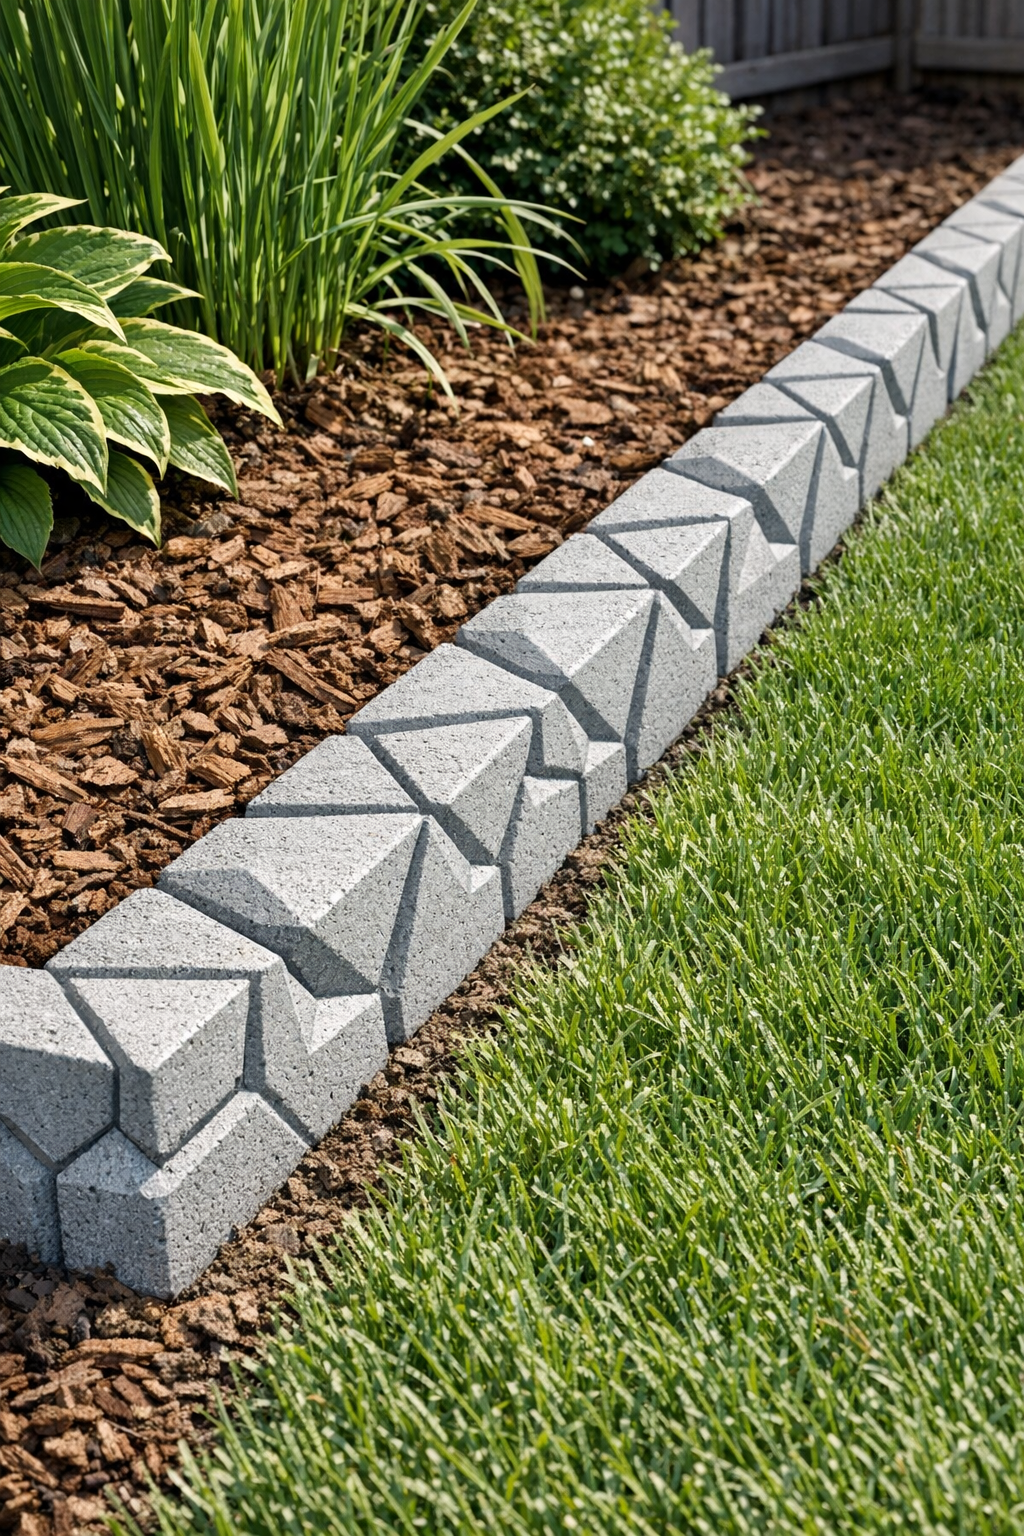
I love a yard project that looks far more expensive than it really is, and this one absolutely fits that category. These DIY geometric yard borders use foam puzzle floor tiles as the mold and wet cement as the star material, which gives you crisp, decorative edging pieces with a modern pattern for a fraction of store-bought landscape borders.
If you want to dress up a flower bed, line a walkway, or add a little structure around a garden without taking on a huge weekend build, this is a great project. I’m always looking for practical ways to make the outside of my home feel pulled together without blowing the budget, and this is exactly the kind of simple, satisfying project that works well even if you only have a few hours at a time.
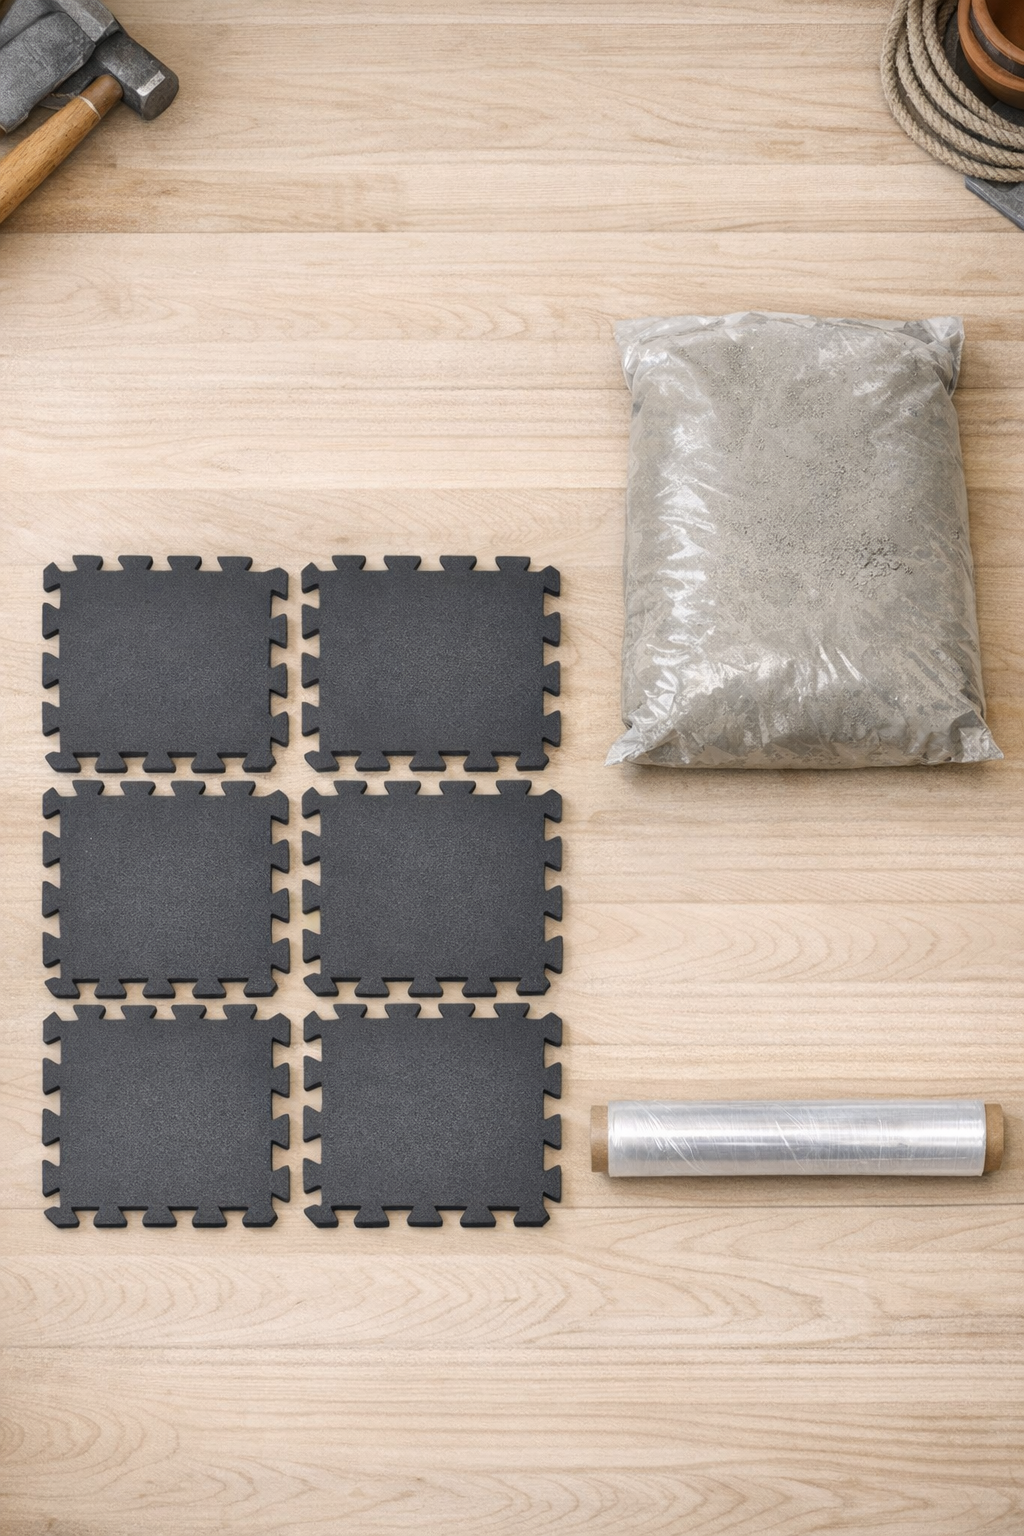
Materials
Instructions
1. Pick a flat work area outdoors or in a garage, and set the foam puzzle tiles side by side with the textured side facing up so the pattern will transfer into the cement.
2. Cover the surface of the tiles with overlapping sheets of plastic wrap, pressing it gently into the grooves and geometric lines without tearing it.
3. Mix the cement according to the package directions until it reaches a thick, spreadable consistency, similar to stiff brownie batter.
4. Spread the wet cement over the wrapped tiles in a layer about 1 to 1 1/2 inches thick, making rectangular or freeform border sections sized to fit your garden edge.
5. Smooth the tops and shape the edges with your hands or a straight scrap edge, then tap the tile base lightly to help settle the cement and reduce large air pockets.
6. Let the cement firm up until it can hold its shape, then carefully peel each piece away from the tile mold and remove the plastic wrap from the back.
7. Cure the pieces fully according to the cement package directions, keeping them undisturbed until they are hard and ready to handle without chipping.
8. Set the finished borders along your garden bed or walkway, pressing them slightly into the soil so the patterned face stays visible and the pieces sit securely in place.
Variations & Tips
Make longer runs: If you need a lot of edging, work in batches of two or three pieces at a time so you can keep the cement at the right consistency without rushing.
Use different tile patterns: Foam tiles come in a few textures, and that pattern is what gives these borders their finished look, so it’s worth choosing one with a design you actually want to see in the garden.
Keep the wrap smooth: The plastic wrap acts as the household helper here, making it easier to release the cement while still capturing the pattern below. A few tiny wrinkles are fine, but big folds will show in the final piece.
Watch the thickness: I’ve found that thinner pieces can crack more easily when moved, especially if you’re like me and trying to finish a project between work emails and dinner prep. Staying close to 1 to 1 1/2 inches thick gives the borders a sturdier feel.
Blend the shape to your yard: You can make these as straight sections for a walkway or slightly curved freeform pieces for flower beds, as long as each piece is thick enough to stay intact.
Let them cure fully: This is the hardest part for me because I always want to place everything right away, but giving the cement enough time to cure makes a huge difference in durability outdoors.