
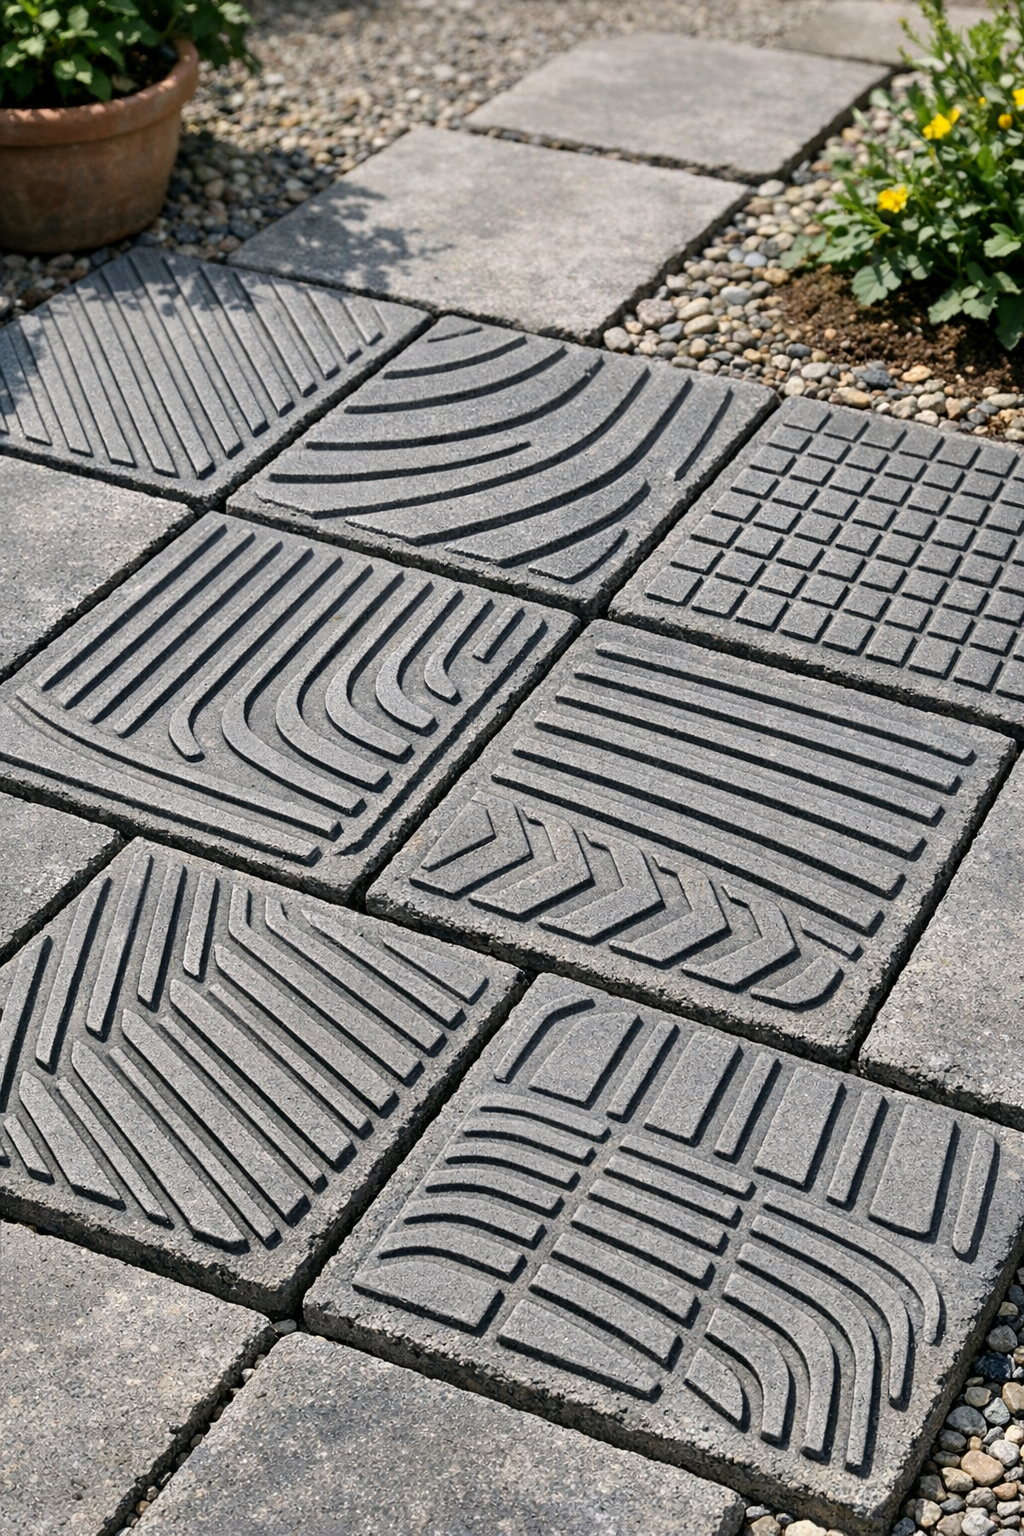
If you want patio pavers with deep texture and a little more grip than the smooth store-bought kind, this is such a satisfying weekend project. I tried this on a whim after looking at an old set of rubber car floor mats in my garage and realizing the grooves would make an amazing mold pattern in cement. The result is a set of heavy patio blocks with bold lines and a surprisingly polished look.
This project is great for anyone who wants an inexpensive way to make stepping stones or small patio blocks without fancy forms or specialty tools. Since I’m usually squeezing DIY time in between work and dinner prep, I really appreciate projects like this one that use simple materials and don’t ask for perfection to still turn out beautifully.
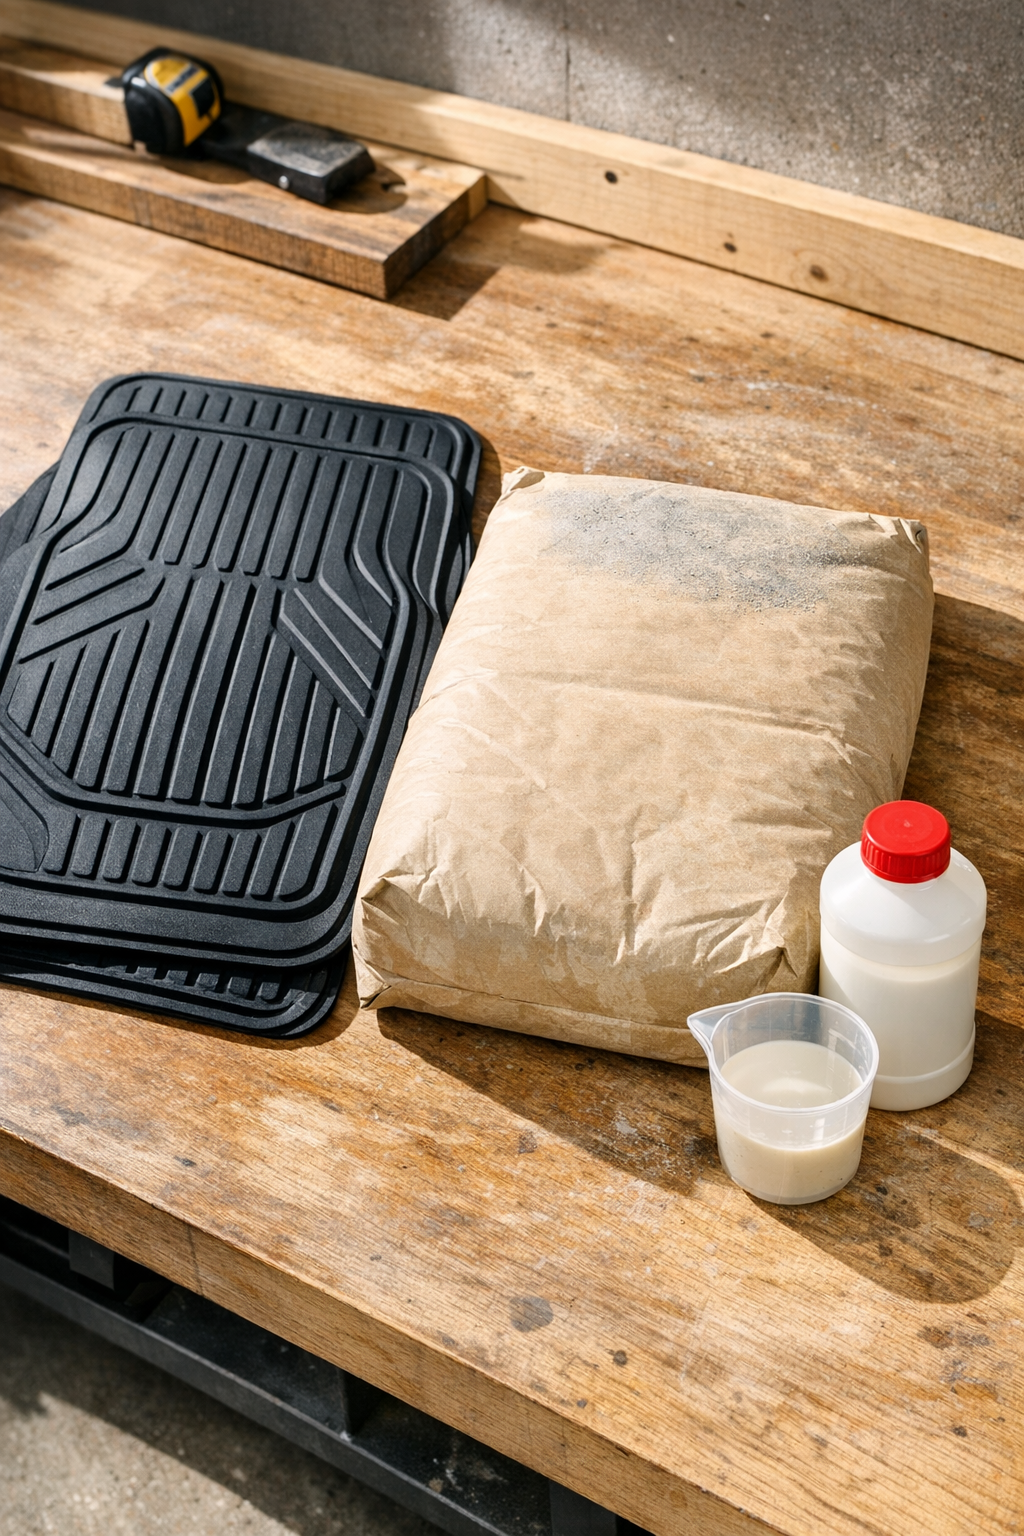
Materials
2 rubber car floor mats, standard front-seat size, approximately 18 x 27 inches each
Instructions
1. Choose a flat, level work area and set the rubber floor mats groove-side up on a protected surface outdoors or in a garage. Make sure the mats sit flat so the finished blocks cure evenly.
2. Mix the cement in a large bucket or mixing tub, replacing part of the water with acrylic fortifier until you get a thick, scoopable consistency like stiff brownie batter. I use the fortifier as the secret additive here because it helps strengthen the finished blocks and reduces crumbling at the edges.
3. Spoon the cement mixture onto one mat, filling the grooved area to a thickness of about 1 1/2 to 2 inches. Spread it evenly with a trowel so the block has a consistent depth from edge to edge.
4. Tap the mat gently against the ground or shake it side to side a few times to settle the mix and release trapped air bubbles. This small step makes a big difference in how crisp the groove pattern looks after unmolding.
5. Smooth the back of the block with the trowel, but don’t overwork it. If you want a cleaner shape, straighten the edges now while the cement is still wet.
6. Leave the cement in the mat undisturbed until it firms up enough to hold its shape, usually 24 to 48 hours depending on temperature and humidity. If the weather is hot or windy, lightly cover it with plastic so it doesn’t dry too fast and crack.
7. Flex the rubber mat gently to loosen the block, then peel the mat away from the cement rather than pulling the block up. The deep grooves from the mat should transfer clearly into the surface.
8. Let the block continue curing for another 5 to 7 days before placing it in the yard or patio area. Once fully cured, repeat the process for additional blocks and space them as stepping stones or fit them together in a small seating area.
Variations & Tips
Make smaller blocks: If a full floor mat feels too large or heavy, cut the mat into smaller sections first and make individual stepping stones instead of one big paver.
Adjust the thickness: For stepping stones, I like about 1 1/2 inches thick; for heavier-use patio blocks, go closer to 2 inches for extra strength.
Use fortifier consistently: Acrylic fortifier really helps with durability, especially if the blocks will live through Midwest freeze-thaw cycles. It’s one of those small upgrades that makes the homemade version hold up much better.
Keep the pattern clean: Rinse and dry the floor mats before using them so dirt and gravel don’t get pressed into the surface of the cement.
Don’t rush unmolding: If the block bends, chips, or feels soft when you try to remove it, give it more time. I’ve learned the hard way that patience here saves a lot of edge repairs later.
Plan your layout first: Before making a full batch, set out a few test blocks in your walkway or patio area to see how many you really need and how far apart they should be.