
I love a garden project that gives me a polished, expensive-looking result without eating up an entire weekend, and this scalloped cement border absolutely fits that category. By pouring cement into halved plastic salad bowls, you can make sturdy curved edging pieces that mimic the look of store-bought garden borders for a fraction of the cost.
This is a great project for anyone who wants to define a flower bed, line a walkway, or give the yard a cleaner finished edge. As someone who is usually squeezing DIY time in between work and figuring out what’s for dinner, I really appreciate that these can be made in batches and set aside to cure while I move on to other things.
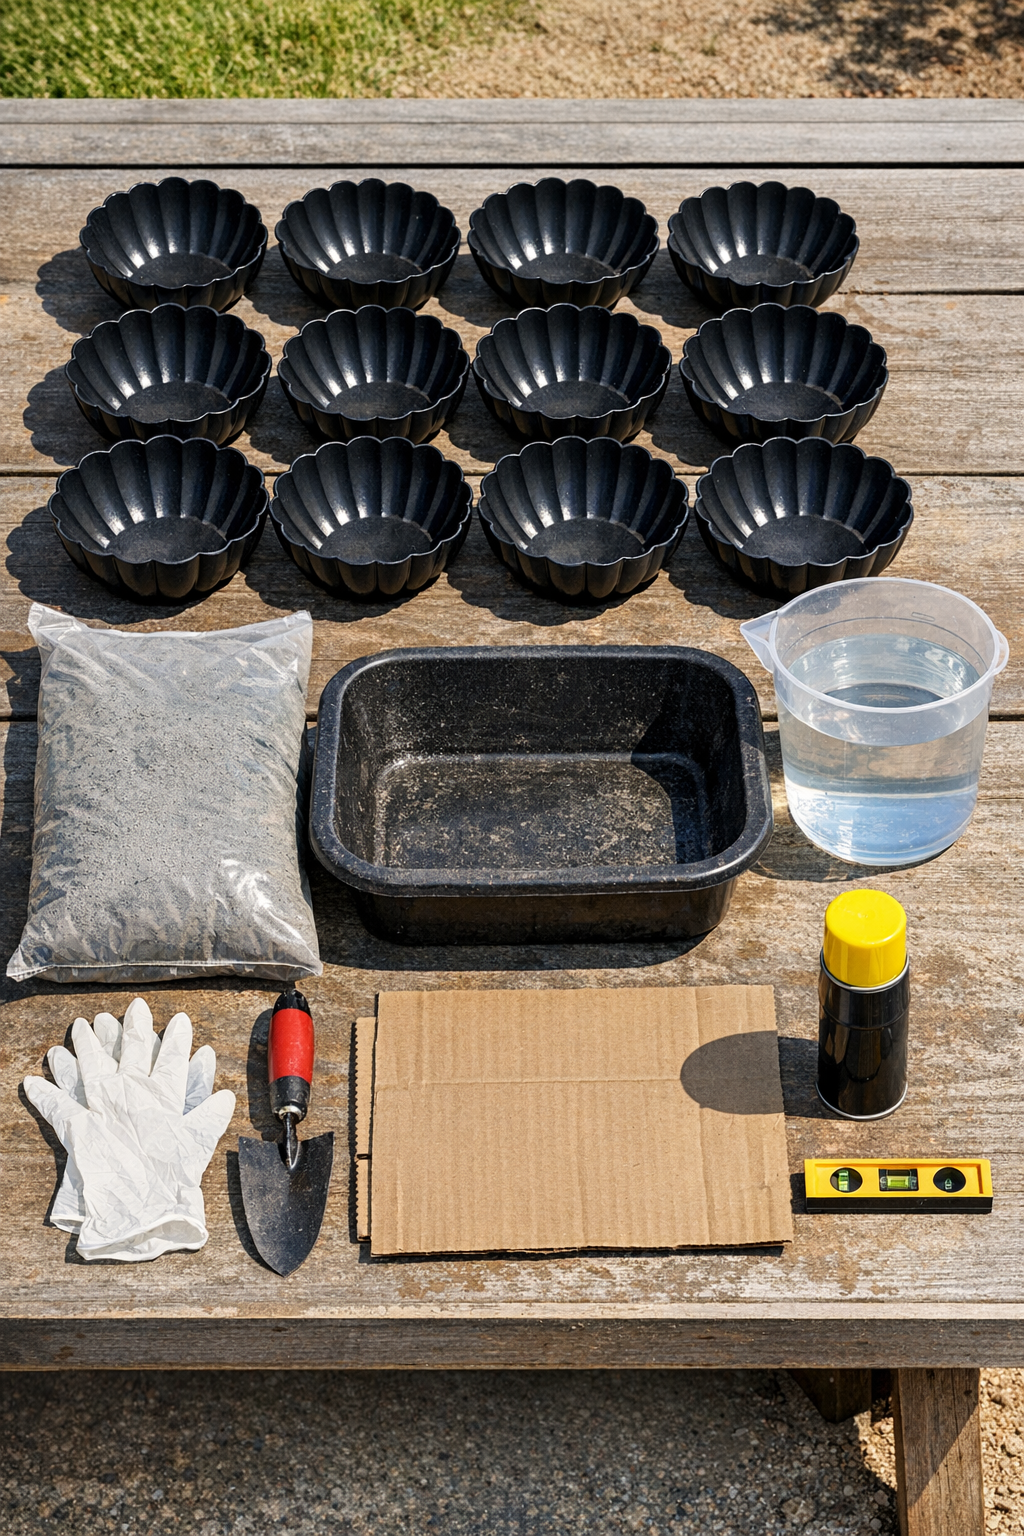
Materials
12 scalloped plastic salad bowls, cut in half evenly
Instructions
1. Cut each plastic salad bowl in half from top to bottom so you have matching scalloped molds, then set them on scrap cardboard with the open side facing up.
2. Lightly coat the inside of each bowl half with nonstick spray so the cured cement releases more easily and keeps the scalloped detail crisp.
3. Put on gloves and a dust mask, then mix the cement in a large tub with water until it reaches a thick brownie-batter consistency that holds its shape but still settles when tapped.
4. Fill each bowl half about 1 1/2 to 2 inches deep with wet cement, then smooth the back surface with a trowel so each piece has an even thickness.
5. Tap the sides and bottom of each mold gently with a mallet or scrap wood to bring air bubbles to the surface and help the cement settle into the scalloped edges.
6. Check that the molds are sitting level, then leave the cement undisturbed for 24 to 48 hours until the pieces are firm enough to demold without chipping.
7. Flex the plastic bowls gently to release the cement pieces, then set the pieces in a shaded spot to continue curing for another 5 to 7 days for better strength.
8. Mark the line for your garden border and dig a shallow trench about 2 to 3 inches deep and slightly wider than the thickness of the cement pieces.
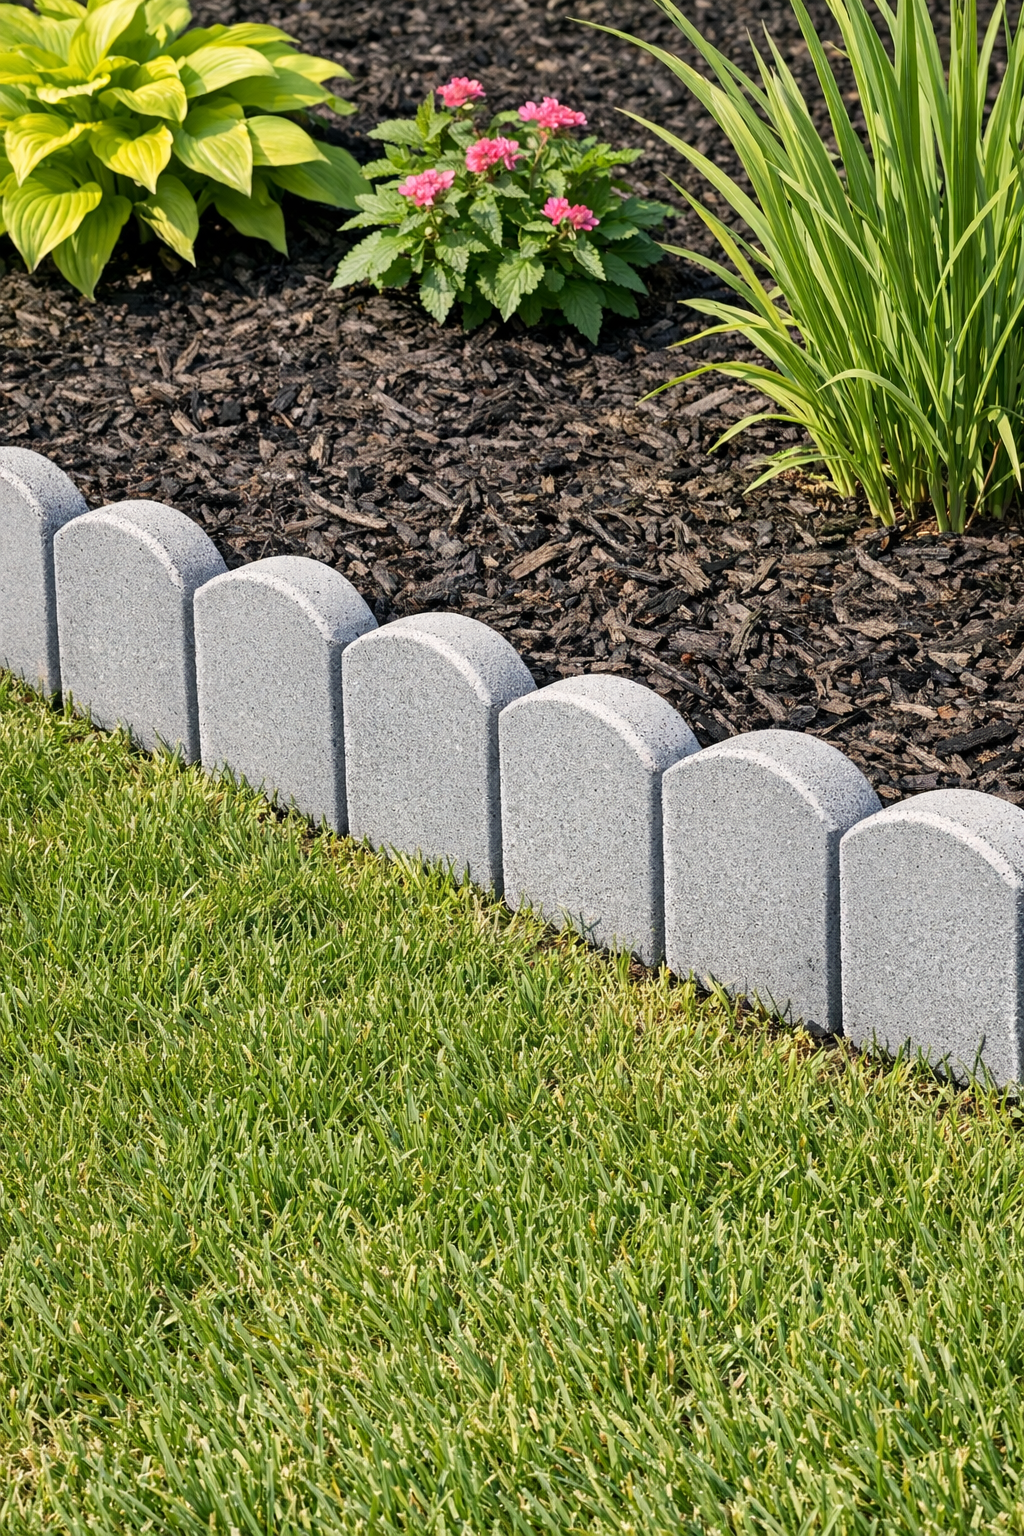
9. Stand the scalloped cement pieces upright in the trench with the rounded side facing outward, overlapping or butting them closely together for a continuous border.
10. Backfill soil around the base of each piece and press firmly to hold them in place, checking every few pieces to keep the top line even.
11. Water the soil lightly and make any final adjustments before the ground settles, then rinse off any loose dirt so the scalloped pattern shows clearly.
Variations & Tips
Make it look more uniform: If you want a really store-bought look, use identical bowls and measure the cement depth in each mold instead of eyeballing it. That extra minute per piece makes a noticeable difference once they’re lined up in the yard.
Add color: You can mix concrete pigment into the cement for a warmer stone tone or a charcoal finish. I’d keep it subtle so the border still blends naturally with the garden.
Reinforce larger pieces: If your bowl halves are on the bigger side, press a short piece of galvanized wire mesh into the center of the wet cement before smoothing the back. That can help reduce cracking during handling.
Work in batches: This is one of those projects that’s much easier to fit into a busy week if you break it up. I like to pour the molds one evening, demold a day or two later, and install everything the following weekend.
Use a smoother finish if you like: For a cleaner face, tap the molds well and run a gloved finger over the back after filling. Fewer air bubbles in the mold usually means a nicer front surface once the pieces are released.
Plan for extras: Make 1 or 2 more pieces than you think you need. I’ve learned the hard way that having a spare on hand is a lot better than remixing a tiny batch of cement at the end of the project.