
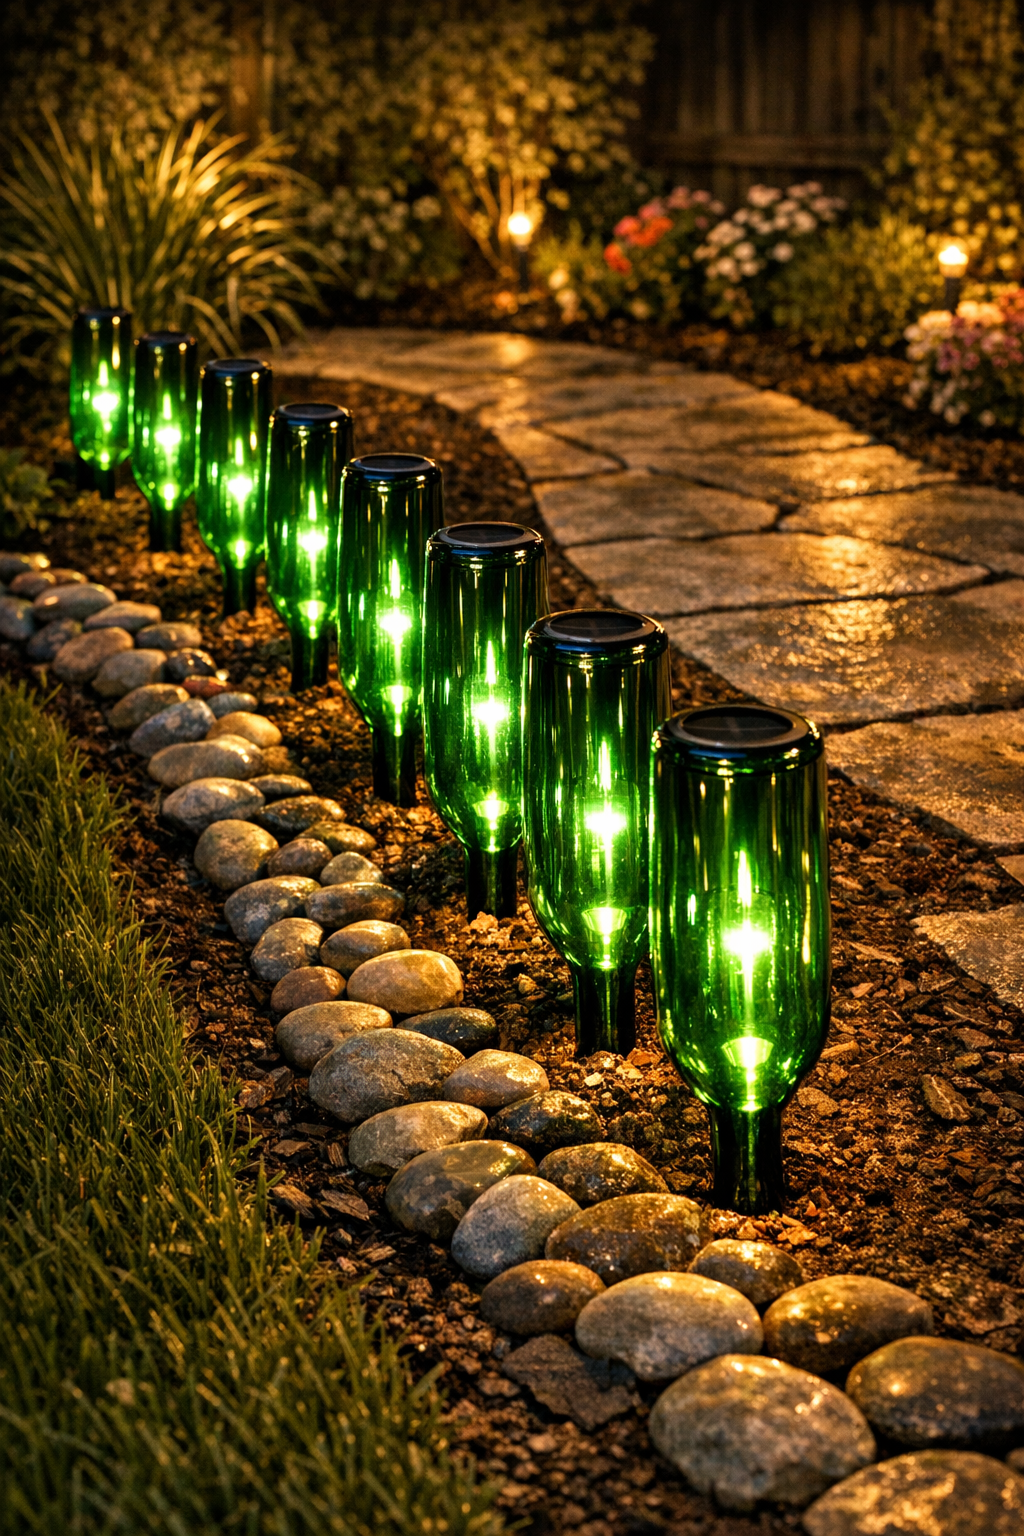
There’s something so comforting about a softly lit walkway at the end of the day, especially when it’s made from simple materials that might otherwise be tossed out. This glowing pathway border uses upturned green wine bottles with solar stake lights tucked through them, creating a pretty nighttime glow that feels both practical and special. It’s an easy garden project that adds charm without needing wiring, and I love that it comes together with a little patience and a few affordable supplies.
If you enjoy outdoor projects that make your home feel more welcoming, this one is a lovely weekend project. I think it’s especially nice for families who spend time outside after dinner, because it adds gentle light along a walkway while giving the yard a polished look. I’m always drawn to projects that feel a little magical once the sun goes down, and this one definitely does.
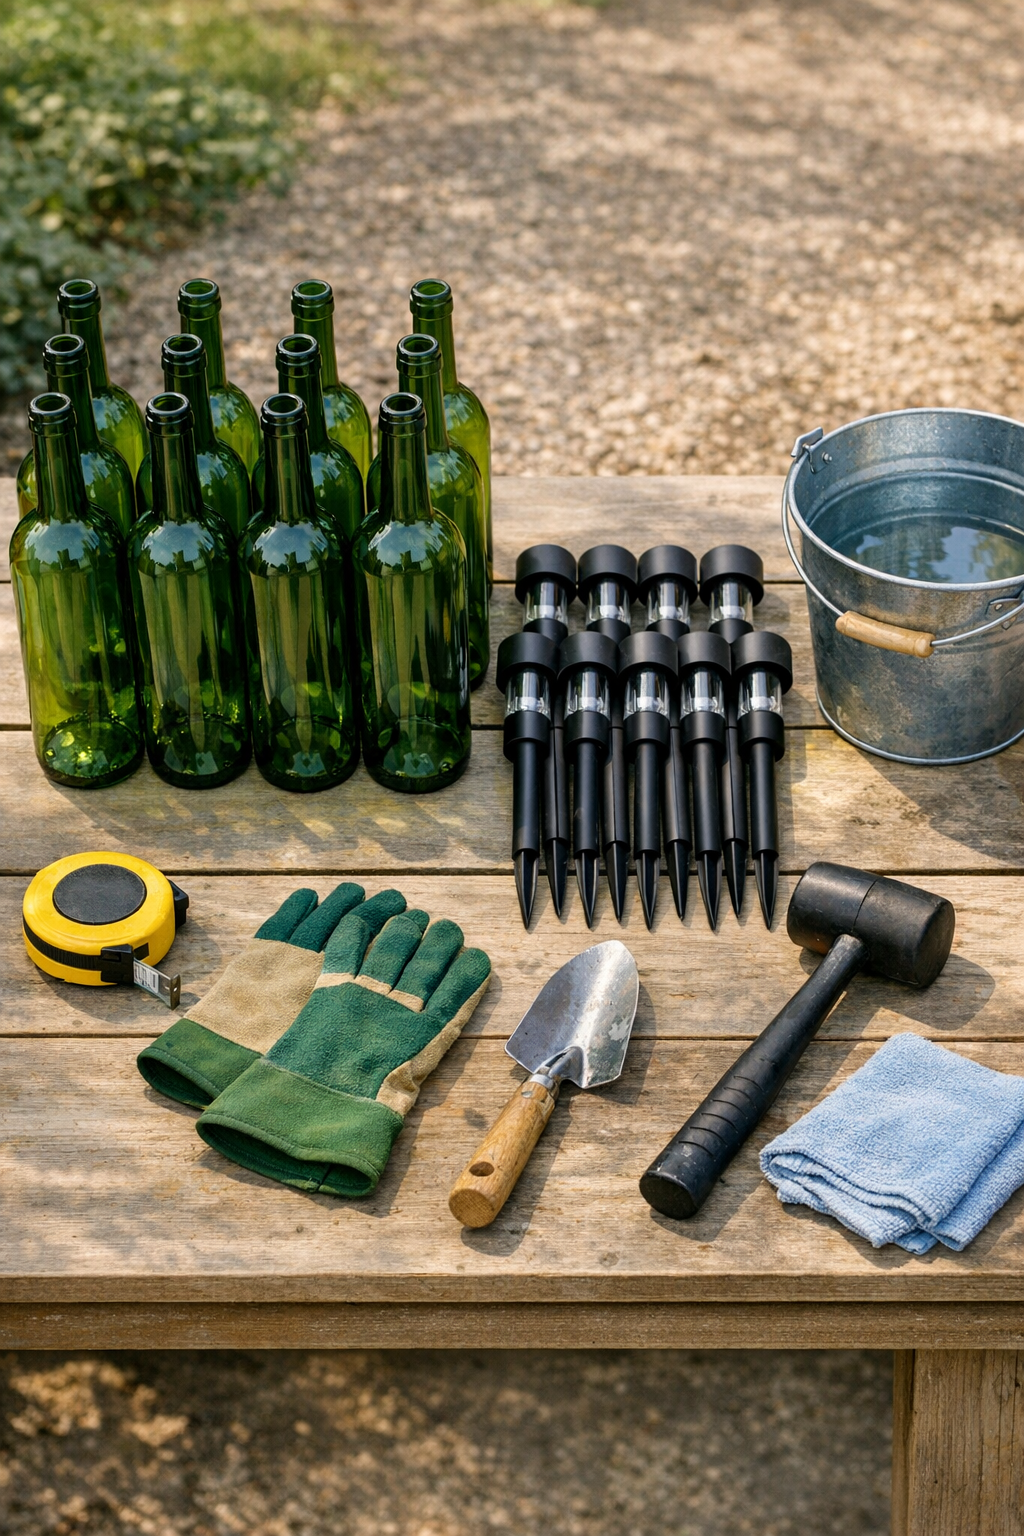
Materials
10 emerald green wine bottles, standard 750 ml size, labels removed and fully dried
Instructions
1. Wash the wine bottles well, remove all labels and adhesive, and let them dry completely so they look clean and catch the light nicely at night.
2. Test one solar stake light by sliding the stake section through the bottle opening to make sure it fits easily without force; if it catches, choose a slimmer light style before continuing.
3. Mark the pathway line with your measuring tape and place the bottles on the ground at even intervals, about 18 to 24 inches apart, so you can preview the spacing before digging.
4. Use the hand trowel to dig each hole 4 to 6 inches deep, making it just wide enough for the neck of the bottle and a little of the shoulder to sit securely in the soil.
5. If the soil is very dry or compacted, pour a little water into each hole and wait a few minutes to soften the ground before inserting the bottles.
6. Turn each bottle upside down and press the neck gently into its hole, then firm the soil around it with your hands so the bottle stands straight and feels stable.
7. Tap the soil gently with a rubber mallet around each bottle if needed, but don’t strike the glass; the goal is to settle the dirt and keep the bottles upright.
8. Add a small handful of pea gravel at the base of each hole before final packing if your soil stays soggy, since that extra drainage helps the bottles remain steady over time.
9. Remove the ground stakes from the solar lights if needed, then slide each light down through the bottom opening of an upturned bottle until the light head rests neatly above the bottle.
10. Adjust each light so it stands centered and straight, and make sure the solar panels are not shaded by plants, mulch, or fence lines during the day.
11. Wipe any fingerprints or dirt off the bottles with a clean cloth so the glass stays bright and the glow looks crisp after sunset.
12. Let the lights charge fully for a day, then check the walkway after dark and reposition any bottles or lights that look uneven from a distance.
Variations & Tips
For a softer look: Space the bottles 24 inches apart instead of 18 inches if you want a lighter, less formal border with more room between each glow.
For picky style preferences: If everyone in the family likes a cleaner look, stick to all matching green bottles and identical solar lights so the border feels more polished and intentional.
For mixed bottle collections: You can use brown or clear bottles too, but emerald green gives the richest glow and the most classic garden look in my opinion.
For windy areas: Set the bottles a little deeper, closer to 6 inches, and pack the soil firmly so they stay straight after storms or heavy foot traffic nearby.
For easier maintenance: Check the bottles every few weeks for splashed mud, fallen leaves, or mulch buildup around the solar panels, since a quick wipe keeps the lights charging well and looking pretty.
Safety tip: Only use bottles without chips or cracks, and handle the glass with gloves while installing to protect your hands.