
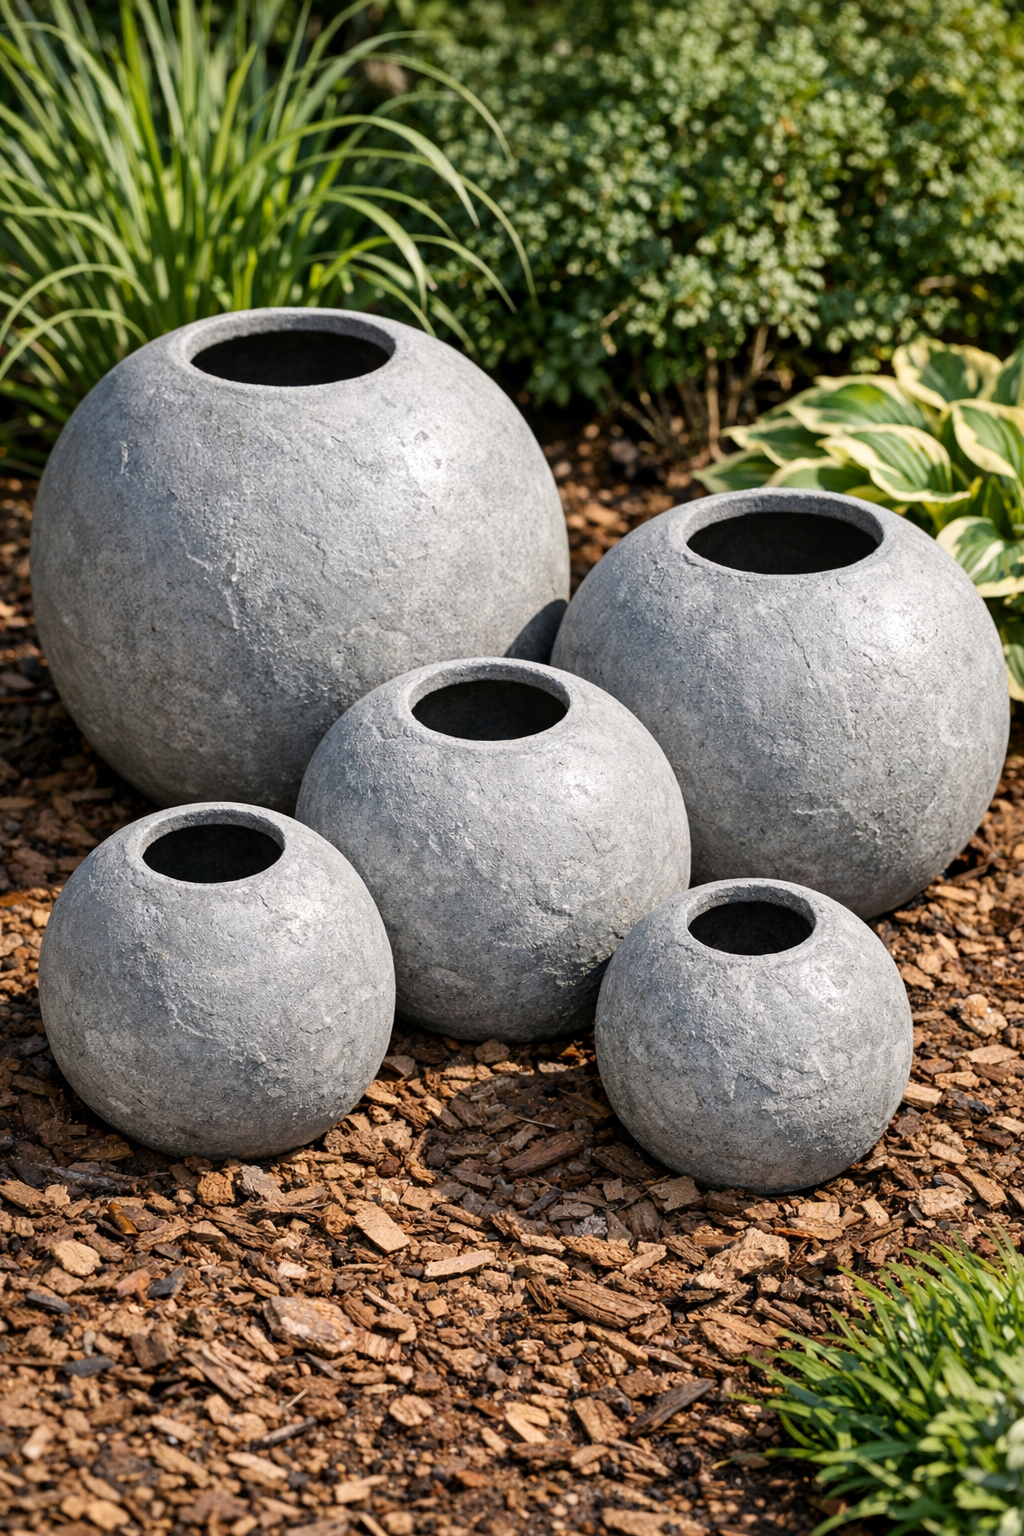
These hollow garden spheres are one of my favorite weekend projects because they give a flower bed or porch planter that substantial, old-stone look without the price tag of buying heavy concrete decor. You’re basically using inflated rubber balloons as forms, then coating them with a smooth cement mixture to create lightweight-looking sculptural spheres that feel a little bit rustic and a little bit classic.
I especially love projects like this when I want to dress up the yard but don’t have time for anything too complicated. If you’re comfortable mixing cement and don’t mind a little mess, this is a very doable DIY. I’ve made similar outdoor pieces on busy Saturdays between errands, and the payoff is big for how simple the process really is.
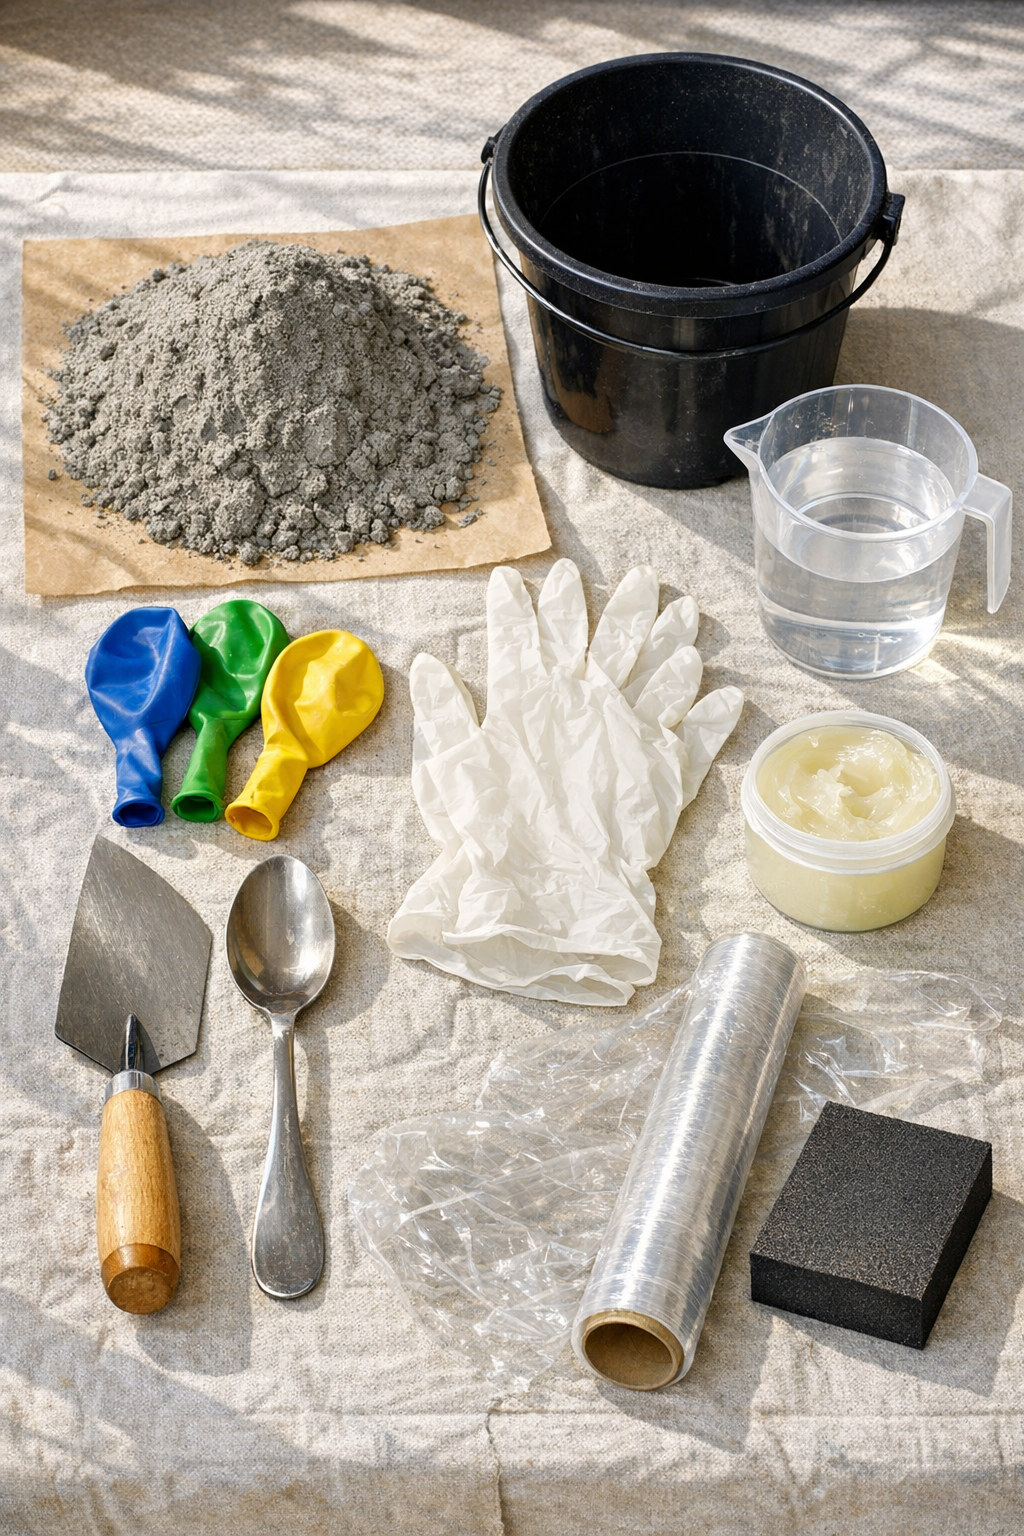
Materials
Instructions
1. Cover your work surface with a drop cloth and set out all of your materials so you can move quickly once the cement is mixed. Choose a shaded, well-ventilated area where the spheres can sit undisturbed while they cure.
2. Inflate each balloon to about 10 to 12 inches across, tie it tightly, and set each one in a small cup or bowl to keep it from rolling. Rub a very thin coat of petroleum jelly or cooking oil over the surface of each balloon so the cement shell releases more easily later.
3. In a mixing bucket, combine the cement and fine sand, then slowly add water until the mixture is smooth and thick like cake batter or soft peanut butter. Stir thoroughly to remove dry pockets; you want it wet enough to spread, but not so runny that it slides right off the balloons.
4. Wearing gloves, spoon or trowel the cement mixture over the top half of one balloon, covering it with a layer about 1/4 to 3/8 inch thick. Leave a small uncovered circle around the balloon knot area so you’ll have an opening after the balloon is removed.
5. Smooth the surface gently with the trowel or your gloved hand, letting a little natural texture remain so it resembles carved stone. If the cement starts slipping, wait 5 to 10 minutes for it to firm up slightly before smoothing again.
6. Repeat with the remaining balloons, then let all of the coated balloons sit for 24 hours until the shells are firm enough to handle. Lightly mist them once or twice during the first several hours if the weather is hot or dry so the cement does not cure too fast and crack.
7. Once the shells are hard, gently turn each piece and add cement around the lower sides if needed to create a balanced sphere shape while still keeping the opening intact. Smooth and blend the new cement into the first layer, then let the spheres cure another 24 hours.
8. Pop the balloon inside each sphere and pull the rubber pieces out through the opening. Set the hollow spheres back down carefully and allow them to cure for 3 to 5 more days, misting lightly once a day for stronger results.
9. Sand any sharp edges around the opening or rough ridges on the outside with a sanding sponge or 120-grit sandpaper. Wipe away the dust and let the spheres dry completely before placing them in the garden.
10. Arrange the finished spheres in flower beds, tuck them beside planters, or cluster them in groups of three for the best visual impact. I like mixing different sizes together because it makes the display look collected over time instead of newly placed all at once.
Variations & Tips
Make different sizes: Use balloons in a few diameters to create a more natural-looking cluster. I think groups of small, medium, and large spheres look especially nice near shrubs or along a walkway.
Use a finer finish mix: If you want a smoother, more polished stone look, choose a cement mix with very fine aggregate or sift out any larger grit before mixing. That little extra effort makes hand-smoothing much easier.
Keep the layer even: Try not to go thinner than 1/4 inch, especially near the sides, or the shell can crack when you remove the balloon. If a spot looks weak, patch it during the second coat rather than hoping it will hold.
Work in cool shade: Cement behaves so much better when I’m not fighting direct afternoon sun. On hot Midwest summer days, I always move projects like this into the shade and keep a spray bottle nearby.
Create an aged look: After full curing, you can rub a little watered-down exterior paint or masonry stain into the surface and wipe it back off for an older garden-stone effect. Soft charcoal, mossy green, or warm taupe all work well.
Stabilize in the garden: If your bed is uneven, nestle the opening slightly into mulch or decorative gravel so the sphere doesn’t rock. The opening usually faces down or to the back, which keeps the illusion of a solid stone orb.