
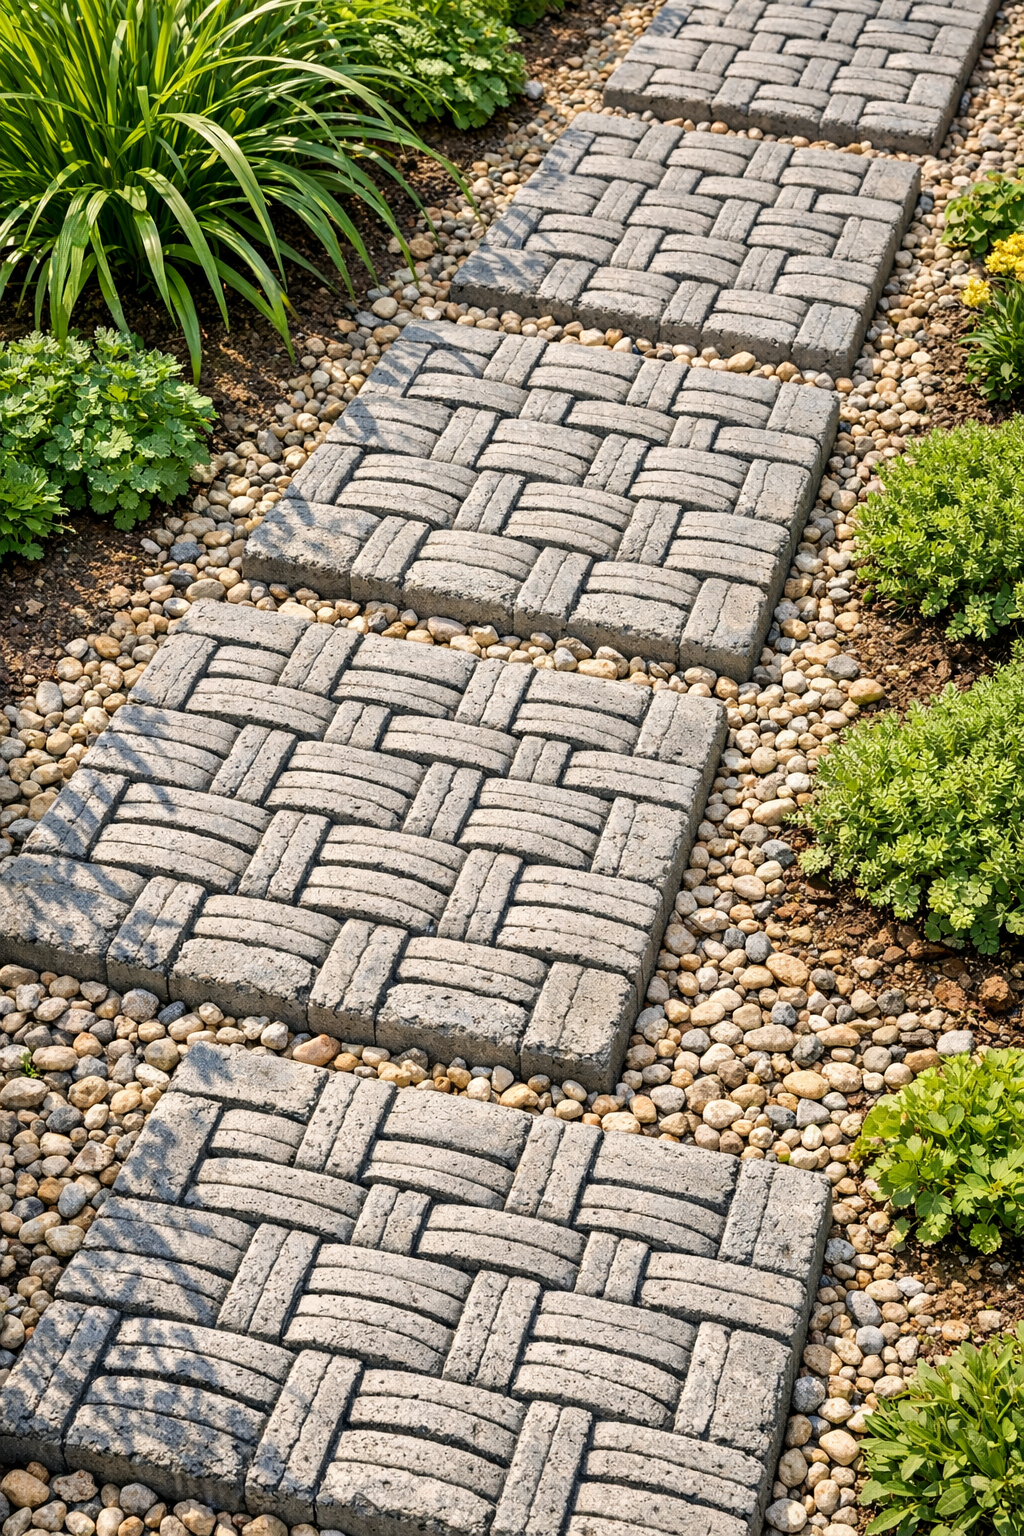
I love a garden project that looks far more expensive than it is, and these woven-look concrete pavers are exactly that kind of trick. By pressing the lattice side of a plastic laundry basket into wet concrete, you can create slabs that mimic the texture of woven planters or nursery stepping stones, but with the heft and durability you need for a path, patio edge, or tucked-away seating area.
This is a very approachable weekend project for anyone who wants custom garden hardscaping without buying premade pavers. If you can mix concrete and level a simple mold, you can make these. As someone who spends a lot of time thinking about texture in food and presentation in the kitchen, I find this project satisfying in the same way a good tart crust is satisfying: simple materials, careful timing, and a surprisingly polished finish.
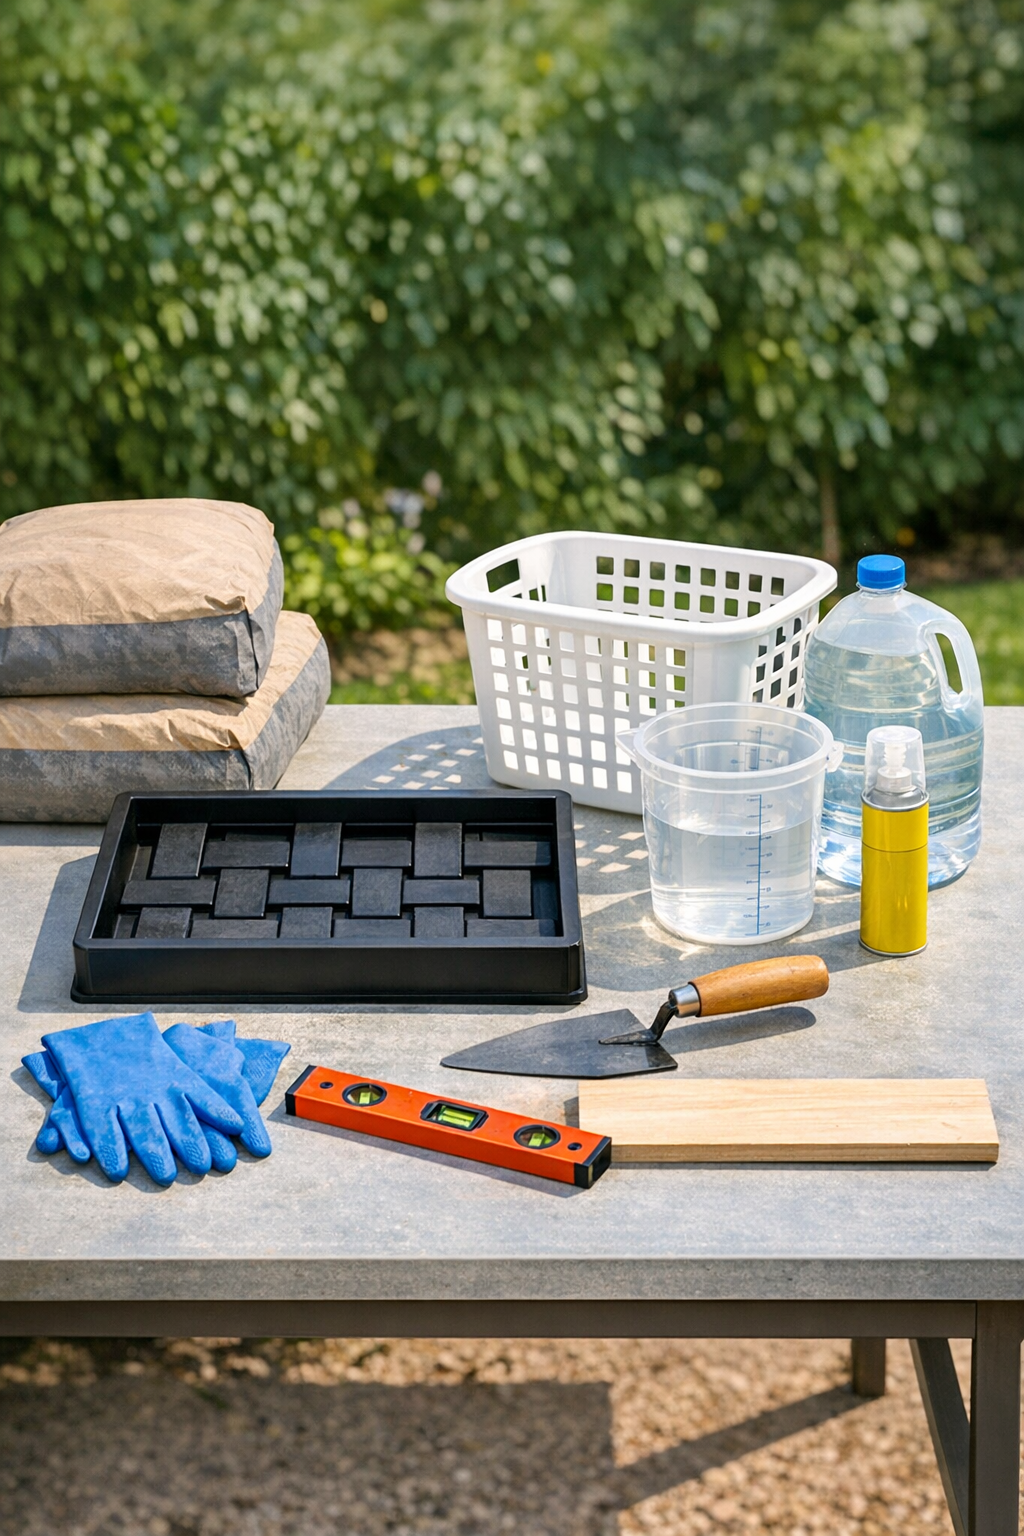
Materials
Fast-setting concrete mix, 2 bags at 50 pounds each
Instructions
1. Set up your work area on a flat surface outdoors or in a well-ventilated garage, and cover it with a drop cloth. Lightly spray the inside of the mold and the outside of the laundry basket side you plan to press into the concrete.
2. Place the mold on a level surface and check it with a level from front to back and side to side. Shim underneath if needed so your paver cures evenly instead of ending up thicker on one edge.
3. Pour the concrete mix into a mixing tub, then add water gradually according to the bag instructions until it reaches a thick brownie-batter consistency. If you want colored pavers, stir in the concrete colorant before the final bit of water so the shade distributes evenly.
4. Shovel or scoop the wet concrete into the mold until it is slightly overfilled. Tap the sides of the mold with a rubber mallet several times to release trapped air bubbles.
5. Drag the straight board across the top of the mold in a sawing motion to screed the surface level. Smooth any low spots with a trowel and tap again lightly if more bubbles rise.
6. Wait 10 to 20 minutes, just until the surface loses its watery sheen but is still soft enough to take an impression. This timing matters; if you press too early the pattern blurs, and if you wait too long the basket will not leave a clean weave.
7. Rub a thin coat of vegetable oil over the outside lattice area of the laundry basket, then position that side directly over the slab. Press down firmly and evenly with both hands so the basket pattern sinks about 1/4 inch into the concrete.
8. Lift the basket straight up without twisting it. If any spots stick or smear, clean the basket, wait another 2 or 3 minutes, and gently refine the edges of the pattern with the corner of a trowel.
9. Let the paver rest in the mold until it is firm enough to handle, usually 12 to 24 hours depending on the mix and weather. Cover it loosely if the day is very hot or windy so it does not dry too fast and crack.
10. Demold the slab carefully and cure it for another 3 to 5 days on a flat surface, misting lightly once or twice a day if recommended for your concrete mix. Avoid stacking the pavers during this stage.
11. Brush off dust and apply a coat of outdoor concrete sealer if you want deeper color and easier cleanup. Let the sealer dry fully before installation.
12. To install, dig out the path area 3 to 4 inches deep, add 2 inches of gravel and 1 inch of sand, then level it. Set the pavers in place, check that they sit flat, and sweep a little sand around them to lock them in.
Variations & Tips
Change the shape: Use rectangular or round molds instead of square ones if you want a more formal walkway or a softer cottage-garden look.
Try a different basket panel: Not every laundry basket has the same lattice depth, so test the pattern on a small practice slab first. I prefer baskets with a flat, regular weave because they read most like intentional garden stone.
Add color carefully: Charcoal, terracotta, and warm taupe pigments tend to look the most natural outdoors. Much like seasoning a stew, I find restraint pays off here; too much color can make the pavers look artificial.
Make a bordered paver: Leave a 1-inch plain edge around the mold by cutting a flat panel from the basket or pressing only in the center area. That little border makes the finished slab look especially tidy.
Prevent sticking: If the basket clings to the concrete, the surface is usually too wet or not oiled enough. A very light release coat and a short wait before stamping solve most of the trouble.
Use consistent pressure: Press with even force across the basket so one side does not sink deeper than the other. If you are making several pavers for a path, consistency in depth makes the whole set look professionally made.
Seal for longevity: In a Midwest climate with freeze-thaw cycles, I strongly recommend sealing the pavers. It helps preserve the texture and reduces moisture absorption over time.
Keep extras on hand: Make one or two more pavers than you think you need. It is the garden-project version of cooking extra rice: having a little buffer makes the whole job less stressful.